
Step 1: Log In to Your EveryAction Account
Start by logging into your EveryAction account using your credentials.
Step 2: Navigate to the Payment Gateways Page
On the left sidebar, search for and select Payment Gateways. This is where you can manage your Bonterra Payments settings. *Please note that access to the Payment Gateways page is limited to users with administrative access.
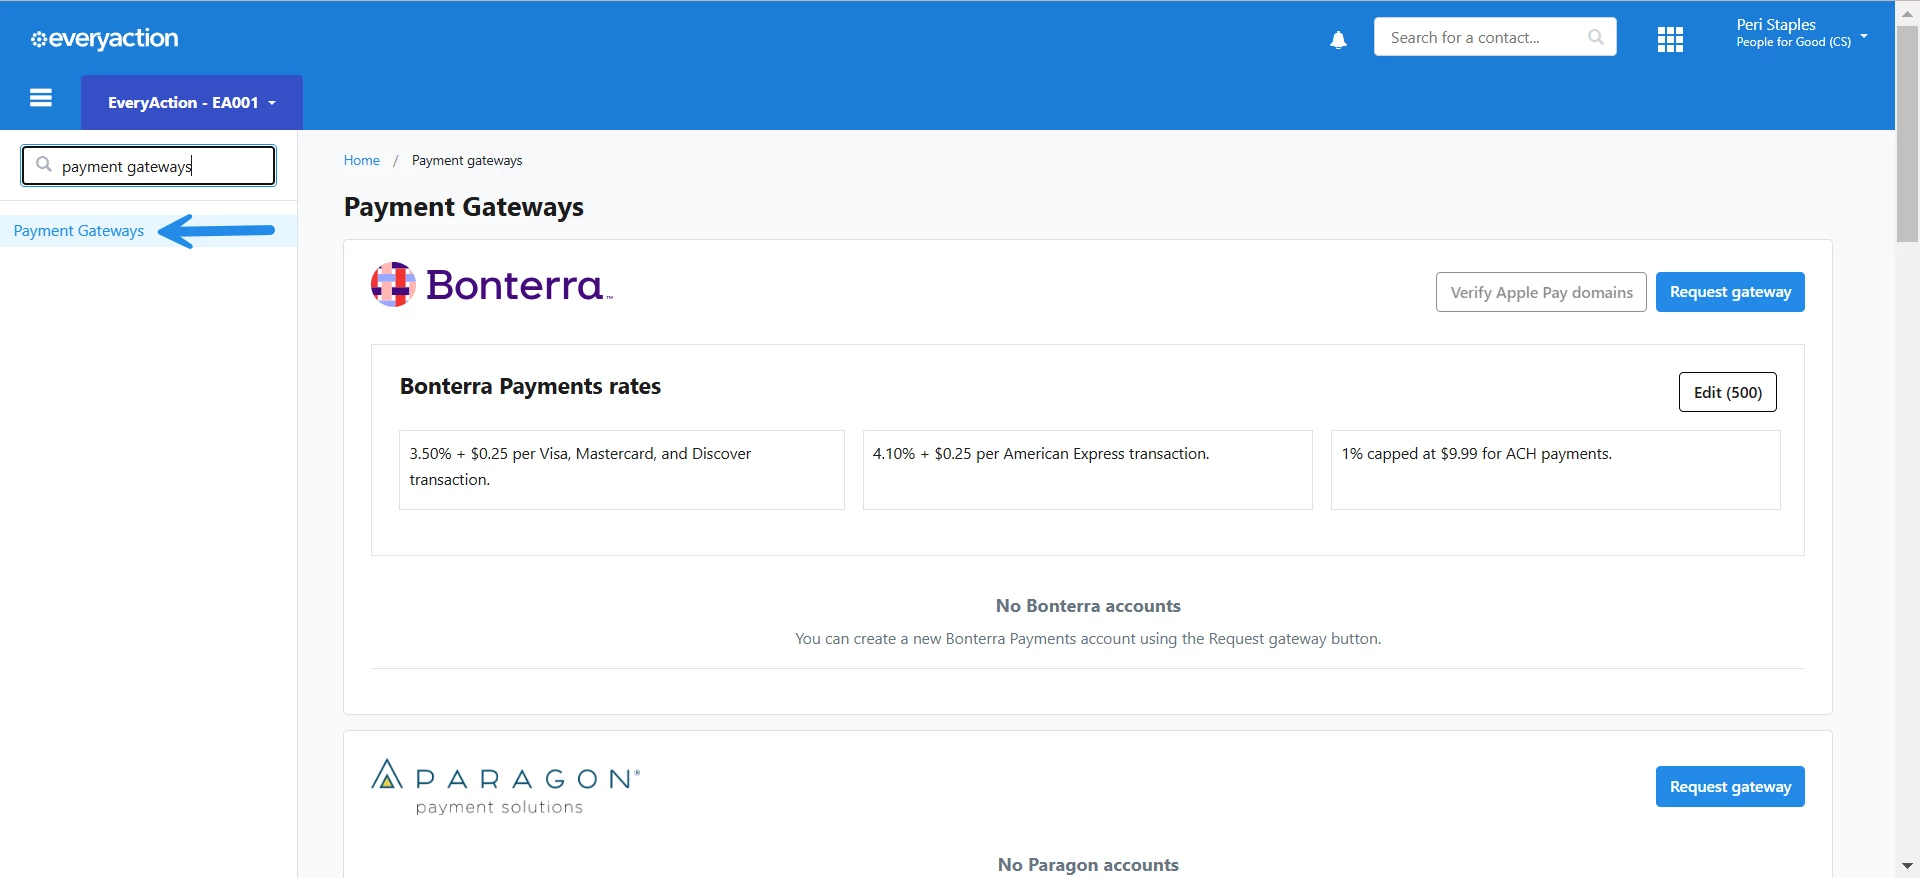
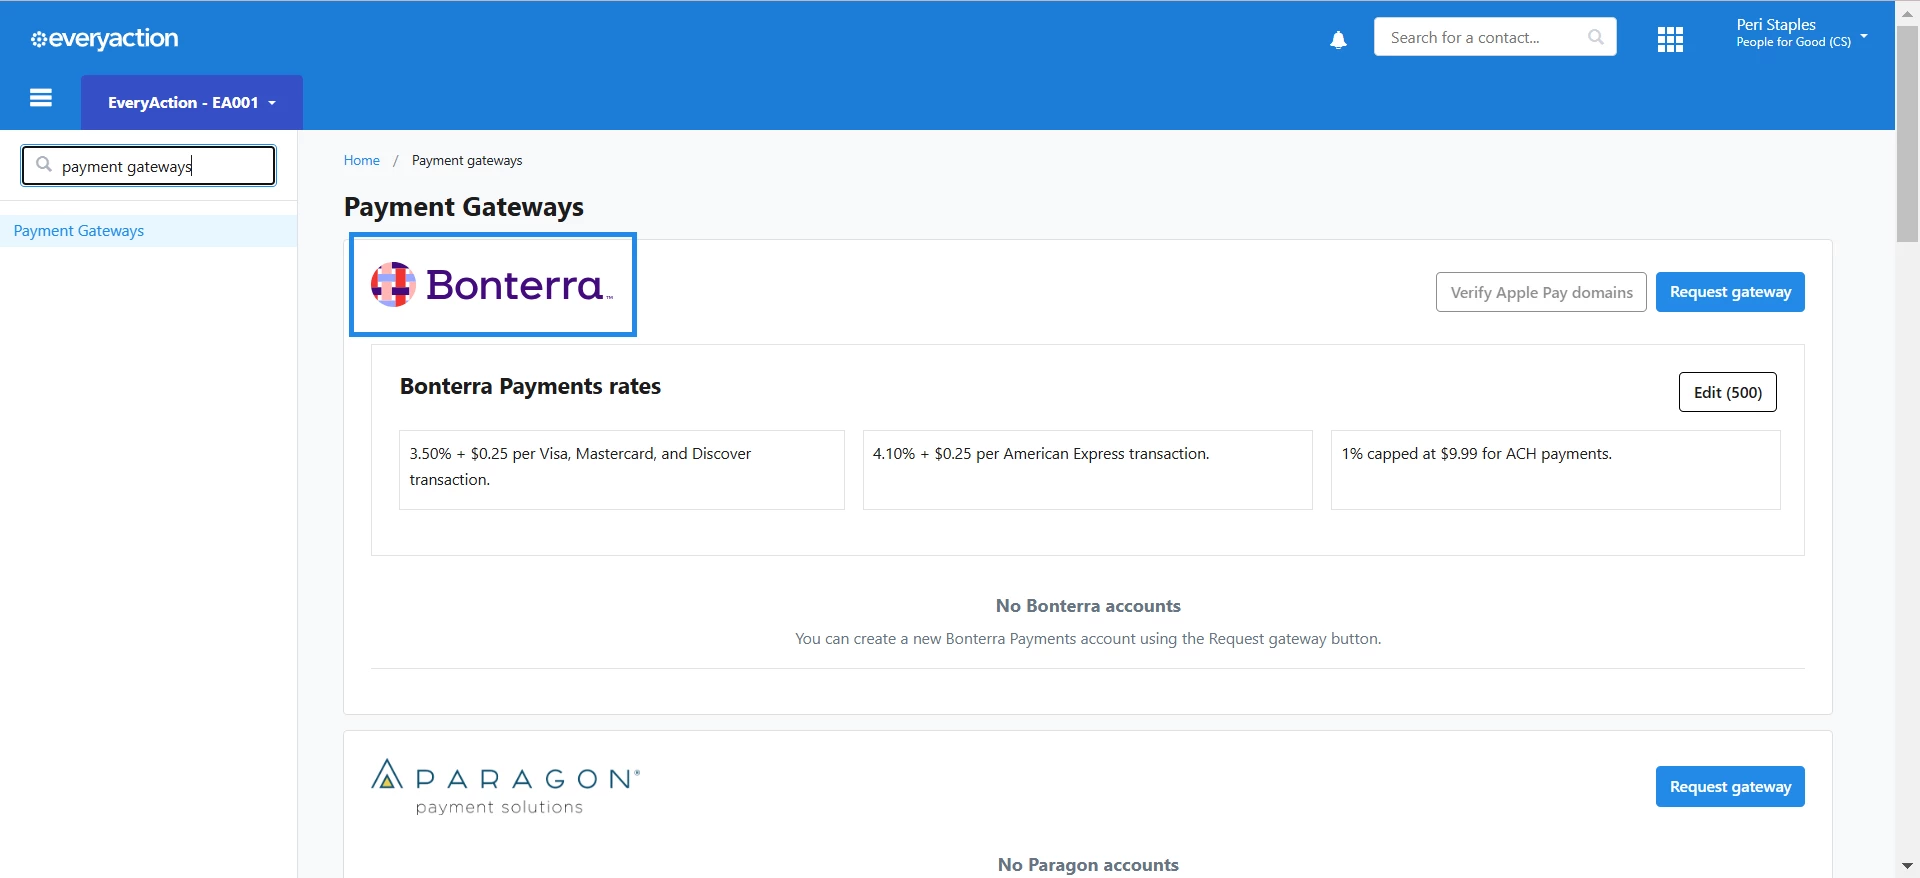
Step 3: Locate Your Bonterra Payments Gateway
From the Payment Gateways page, locate your Bonterra Payments Gateway.
Step 4: Click Verify Apple Pay Domains
In the gateway settings, look for the Verify Apple Pay Domains button in the upper right corner of the screen. This will take you to the domain verification process.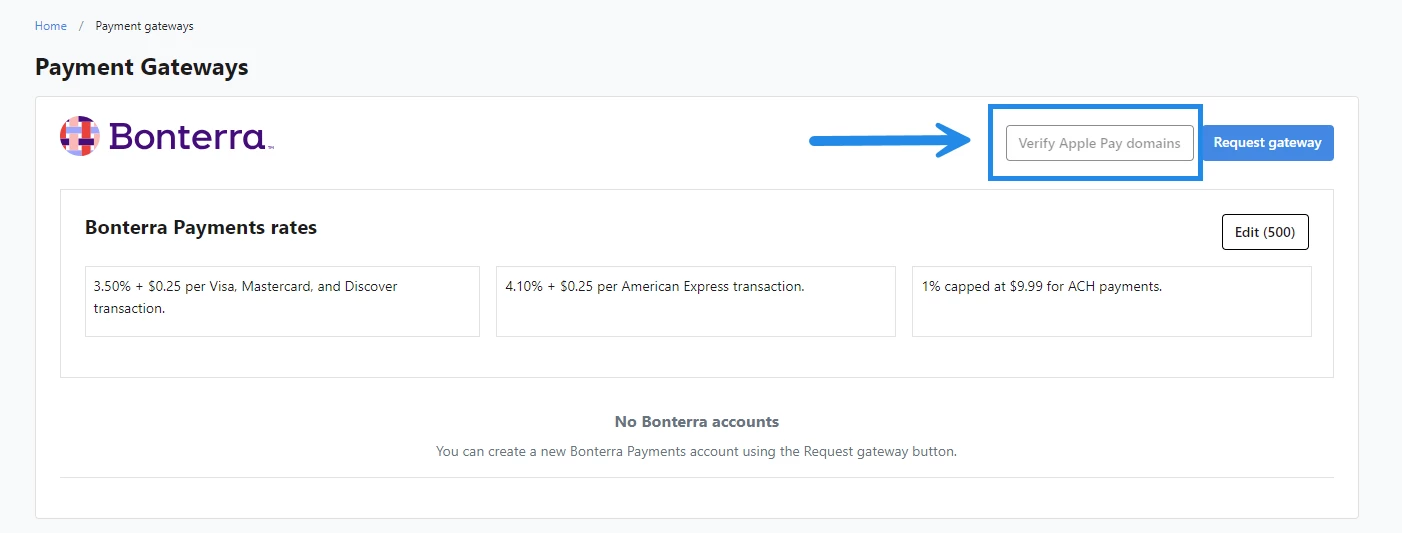
Step 5: Download the Verification File from Apple
Apple requires you to download a specific file that needs to be uploaded to your website. This file will be used to verify your domain and prevent fraud.
-
Click the Download File button and save the file to your computer.
-
You will need to upload this file to a specific location on your website.
Step 6: Upload the Verification File to Your Website
You will likely need assistance from your web development or technical team to complete this step. They will need to upload the file to your website’s `.well known` directory, which may require backend access.
-
Important: Be sure to communicate to your web team that this step requires creating a folder in the root directory of your domain called `.well known`. This is essential for Apple's verification process.
Step 7: Enter the Domain(s) to be Verified
Once the file is uploaded, return to the Payment Gateways page in EveryAction.
-
Enter the domains or subdomains you use for your hosted EveryAction forms into the verification area. If you have multiple domains, each one will need to be verified separately.
Step 8: Complete the Verification
After entering your domain(s), click Complete Verification.
-
Apple will check for the uploaded file, and if successful, a green checkmark will appear next to your verified domain(s).
-
If the verification fails, double-check that the file has been uploaded correctly and is accessible at the required path.
Step 9: Save Your Changes
Once the domain is verified, click Save to confirm your settings.
Additional Notes:
-
Technical Team Assistance: If you do not have access to your website’s backend, you will need to work closely with your web development team to ensure the verification file is placed correctly.
-
The verification process must be completed for each domain separately.
-
Contact support at EA-Help@bonterratech.com if you encounter any issues during the domain verification process.
- Please find our established Terms and Conditions for Bonterra Payments here.