
International fundraising and support is growing and our tools make it easier to capture more of those supporters and contributions. We offer support for non-US currencies, international dates, and non-US addresses and phone numbers in contact records. But getting these donors to take action requires additional effort on your part to overcome the communications gap and prove that you value their contribution.
By providing Online Action forms in a donor's native language, you are more likely to see greater engagement and more conversions.
While some of our forms for organizations (Event Signup, Ticketed Events, and Advocacy) are only available in English, most of our supporter-facing forms offer multilingual support for Spanish (Latin America) and French (Canada) including:
- Contribution forms
- Petition forms
- Signup forms
- Story Collection forms
- Volunteer forms
- Pee-to-Peer forms
Step 1: Enable Other Languages in Settings
Navigate to Settings at the top of your Online Actions header.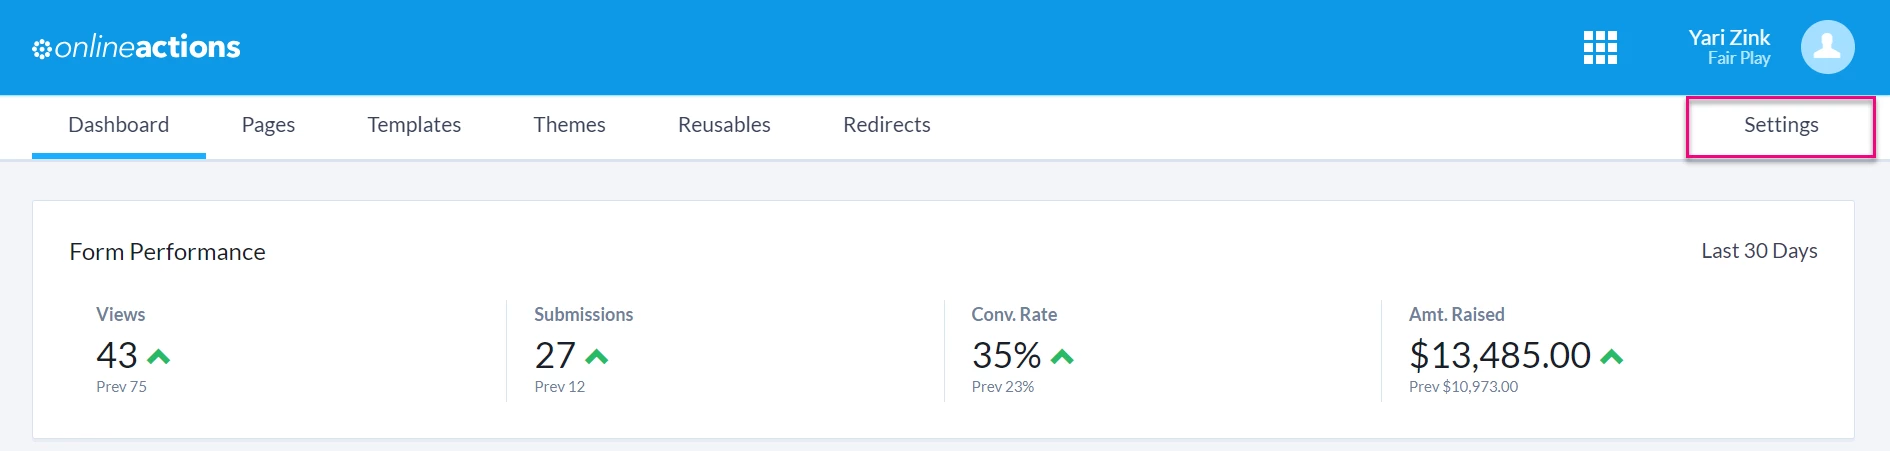
Find Languages on the left-hand menu and choose to enable English only forms, or combination English/French, English/Spanish, or All languages forms. You can change your language settings at any time, but the language selection for forms you have already created will not change. Once a form has been published, you will not be able to update the language, even if you update your language settings.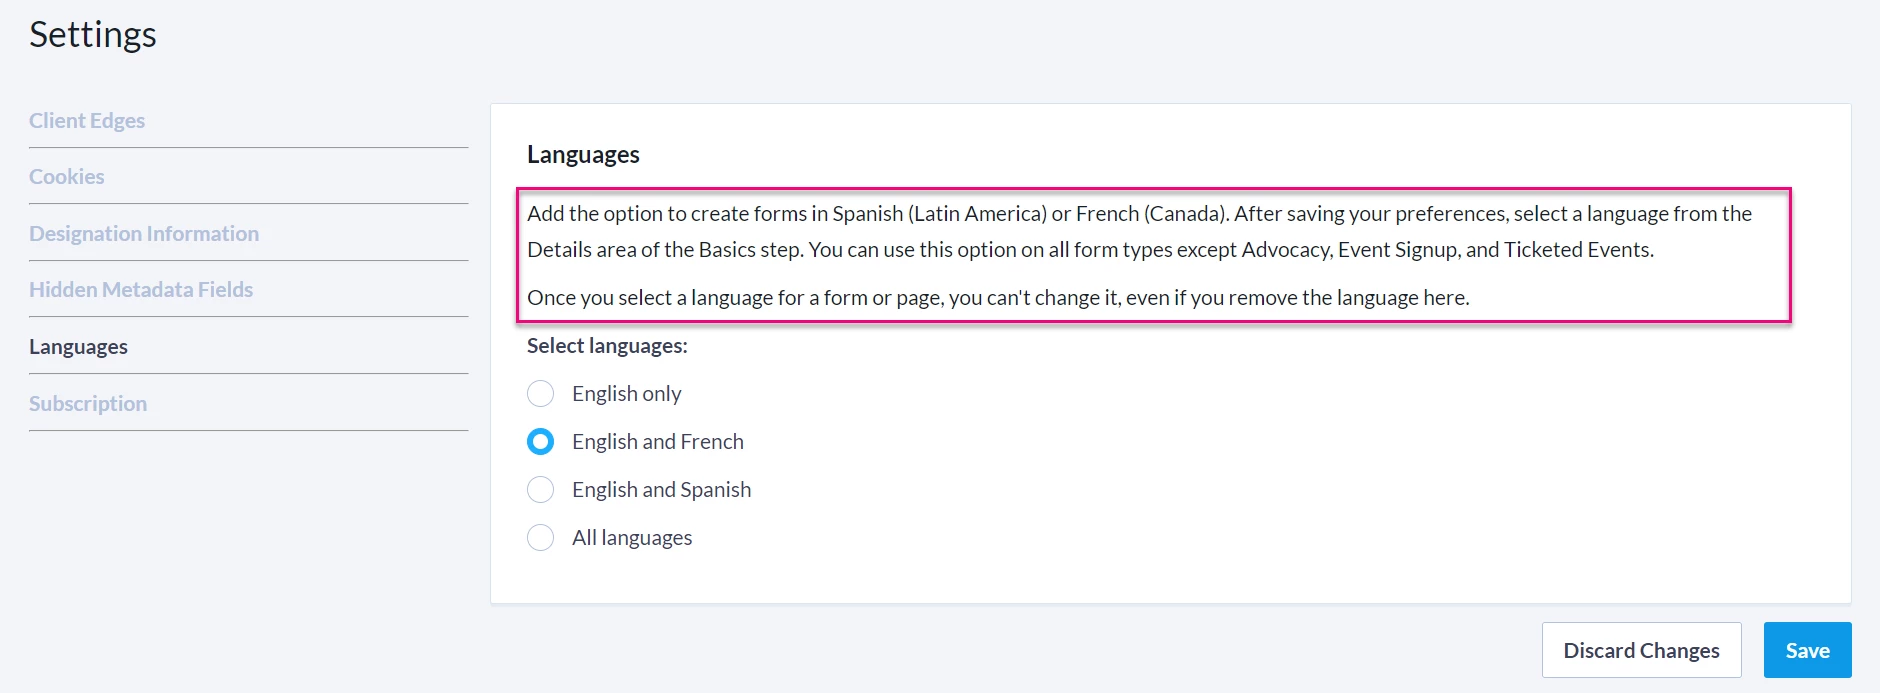
Step 2: Selecting the Language for Your Form
In the Details area of the Basics step of your form editor, navigate to the Language dropdown menu that will let you choose which language to use in creating the form.

Note: Once the language has been chosen and you have saved this step, you will not be able to change this setting later. When you return to edit the form, the language box will be grey and you will not be able to select another language. If you need to change the language, you will need to create a new form.
Step 3: Update Other Form Options to Match the Language
Once you have selected the language, you will see the change on the Build Page step. The field labels and content editors should now be prefilled in the language you selected.
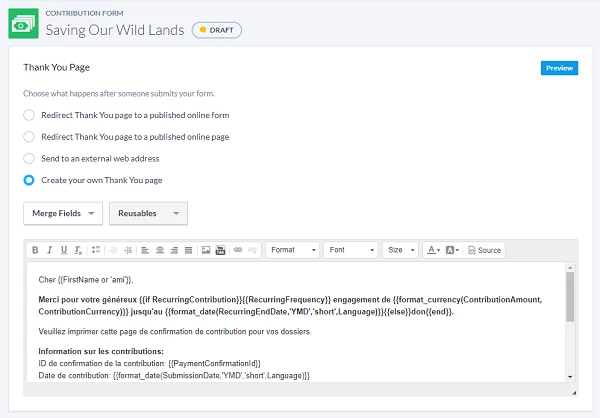
When you go to the Confirmation Page step, you will see that the default Thank You page and confirmation email content reflects the language you selected on the Basics step.
Step 4: Publish Your Form
On the Confirmation page, scroll to the bottom of the page and select "Publish Changes".
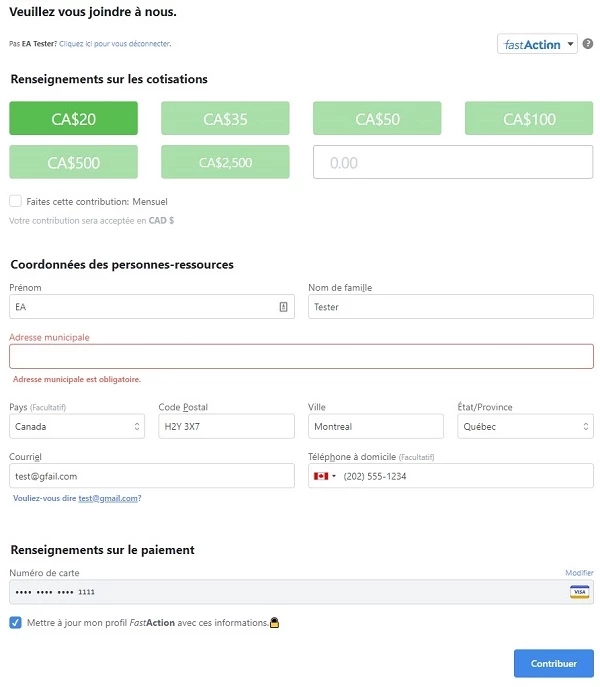
What donors see
When donors view your published form, they should now see all fields labels, dropdown values, and error messages displayed in the language you selected. The Thank You page and email will also appear in your chosen language.

What else do you need help with?
How do I set up Auto-Scroll for mobile devices?
How do I create an Online Actions form?