

The Contribution Report is the main report you should be using to track contributions from your donors and monitor how well your fundraising is going. It's a powerful report that can be filtered in many ways to suit your needs. You can also add many columns that can help you learn more about who is donating and more detail on their transactions. It is available as a Default Template report in Report Manager.
Read more about running reports in Report Manager
Getting started
To open the report, search for Contribution Report in the Sidebar.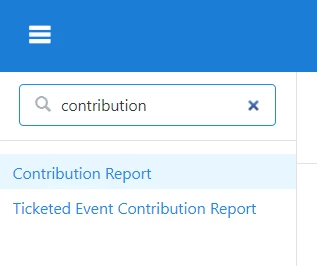
Once you open the report, you will see one row for each contribution from all of your contacts for the past year. 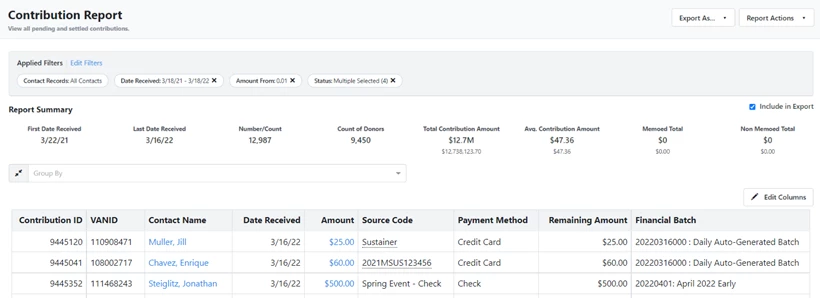
Filtering your report
You can use the filters at the top to narrow which transactions you see on the report.
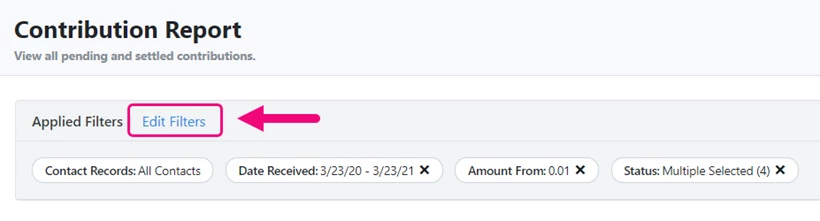
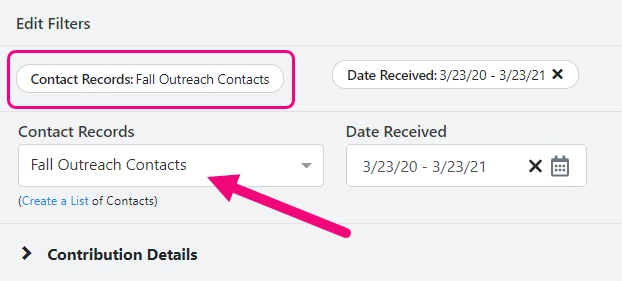
Filters help you dig into the specifics of how your program is doing. For example, you can use one of your saved lists or searches to narrow your universe by selecting it from the Contact Records filter dropdown. Or you can use the link below the filter to create a new list to narrow your report.
Read more about useful searches for fundraisers
Explore the other filters to find more ways you can focus your report. The filters you see here will depend on your package and user permissions.
Once you've selected the filters you want, you need to regenerate the report by selecting Run Report.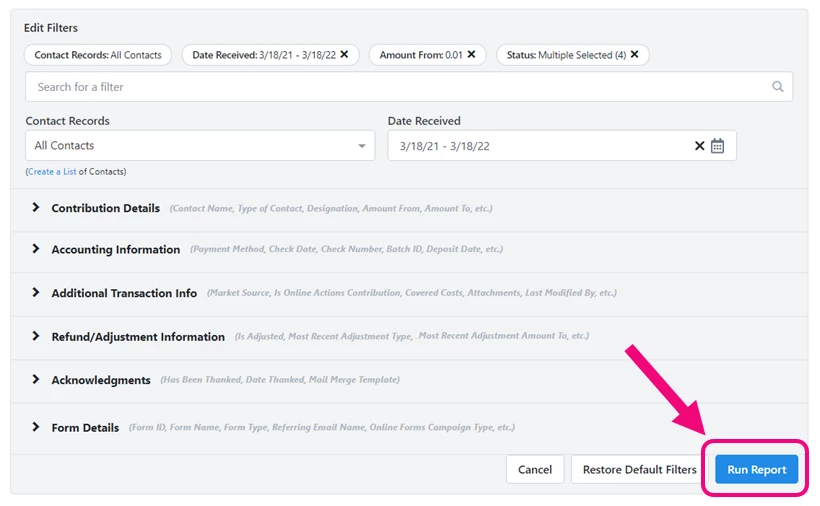
Adding more columns
You can add more information to your report (or remove information you don't need) by using Edit Columns. The options you see here will depend on your package and user permissions.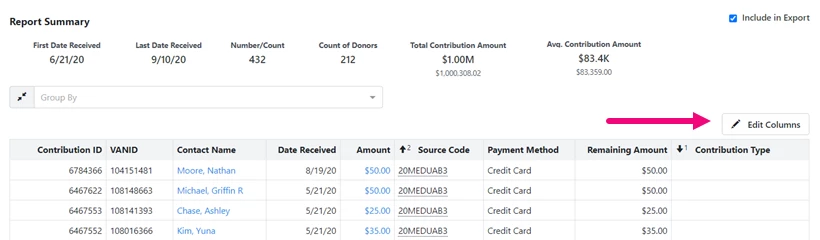
Grouping your report
Using the Group filter can be very helpful to see larger trends in your contribution data. For example, you could try Group by > Contact Name to see a quick overview of total contributions by each person in the last year.
Saving and scheduling your report
Once you've filtered your report and added the columns you need, you can then save the report using Report Actions > Save As.
You can also choose Report Actions > Schedule to email the report to yourself or others on a regular basis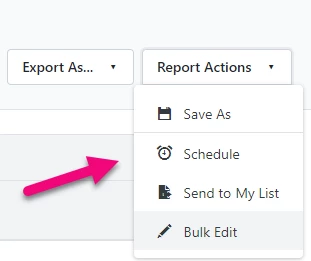
Exporting your report
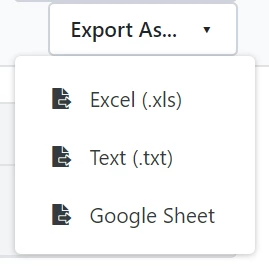
After you've saved your report, you can also share it by selecting Export As and choosing the file type for your export. Once the file has been generated, you will see a notification near your username at the top of your screen. You can also download it from Main Menu > My Export Files.
Using the report for bulk editing and deleting
You can use the Contribution Report to make edits to contributions and delete contributions in bulk. Filter the report to the transactions you want to change and add the columns for the fields you want to edit or delete. Select Report Actions > Bulk Edit and then map the changes you want to make. Use the Delete Contributions mapping to delete contributions.
Read more about bulk editing contributions
Read more about bulk deleting contributions
Looking for training?
Explore this feature at your own pace - join a live training session or watch a recorded webinar by clicking the link below.