

(4 min read)
Themes allow you to customize and standardize the look of your email messages by creating a standard template for your messages. Usually, this includes a header or footer you'd like to use repeatedly in Targeted Email, but you can include merge fields to create more dynamic content customized with your supporter's specific information.
Themes are only available if you are using the Classic editor in Targeted Email. If you are using the Drag & Drop editor, you should instead create and use templates for the same purpose.
Read more about choosing an editor in Targeted Email
Getting started
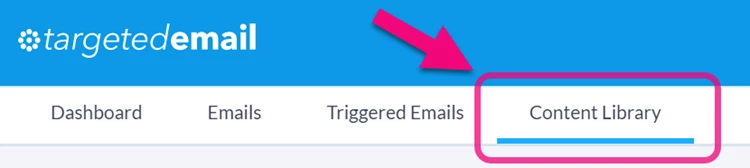
Themes are housed in the Content Library in Targeted Email.
You can see all your currently available Themes by opening the list from the menu to the left of your screen.
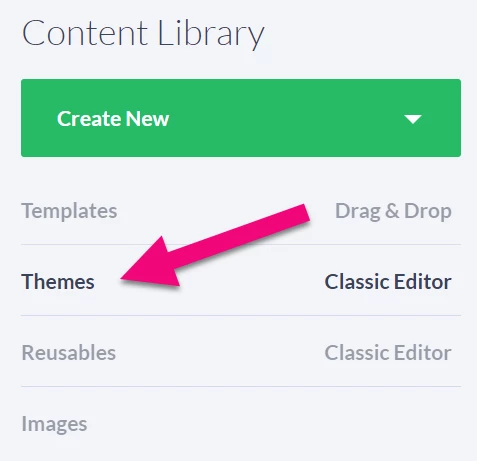
To create a new theme, select Create New > Theme. 
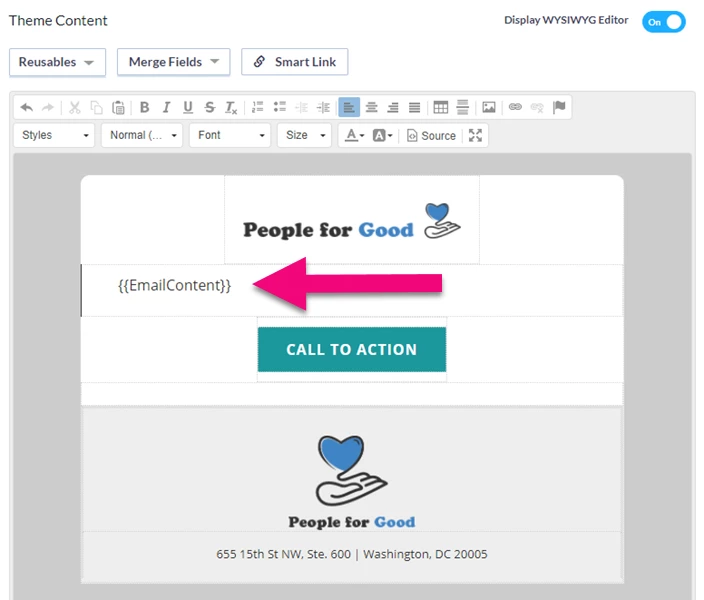
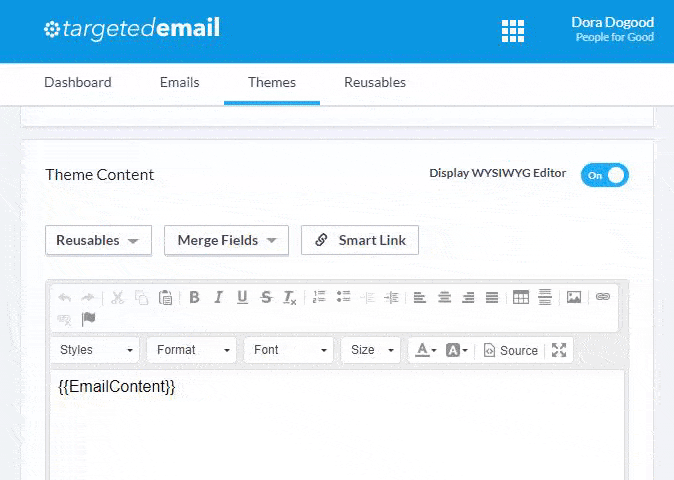
Themes will automatically contain a default merge field for {{EmailContent}} in the body already. This creates the structure that will wrap your Theme elements around your email content.
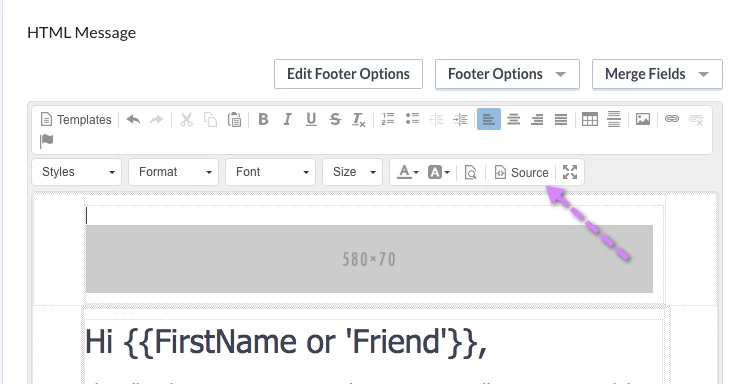
If you prefer to work directly with the HTML code, you can use the Source button on the editor to see the underlying HTML. You can also turn off the WYSIWYG altogether if you are experienced with coding. However, once you turn off the WYSIWYG, you cannot turn it back on.
Your Theme must contain the <head> </head> and <body> </body> tags. If your Theme does not contain the closing 'body' tag, your email opens will not be tracked correctly.
Once you are finished, Save and Publish your theme to make it available. You can edit it at any time from the Content Library tab in Targeted Email.
Creating conditional content for Online Actions confirmation emails
You can use your Themes with your confirmation emails for Online Actions forms. This allows you to keep your branding consistent across all your emails.
If you plan on using a Theme on a form's confirmation email, you should make sure the Unsubscribe link is suppressed and not shown. Supporters are not able to unsubscribe from these transactional emails. You can do this by creating conditional content that uses the merge field IsSentByTargetedEmail from the Merge Field dropdown menu in your Theme.
For example, you can suppress the unsubscribe link (or any other content) by adding and customizing the following conditional content (replace the italicized text with your own values):
{{if IsSentByTargetedEmail}}When sent by Targeted Email, this content will be shown{{else}}When sent by Online Actions, this content will be shown{{end}}
Preventing changes to Themes
If your organization is sharing email Themes with many users, there may be certain sections of the Theme you want to make sure other users aren't able to edit once they add it to their Targeted Email message.
In order to lock down a section of a Theme, open the Source code for your message and insert contenteditable="false" into any tag (such as <span>, <div>, <img>, and <p>) you want to lock down.
For example, if you want to lock down your placeholder banner, you can modify the image tag:
<img contenteditable="false" class="center" src="http://bannerplaceholder.it/580x70" style="outline-style:none;text-decoration:none;-ms-interpolation-mode:bicubic;width:auto;max-width:100%;clear:both;display:block;margin-top:0;margin-bottom:0;margin-right:auto;margin-left:auto;float:none;" />
After making the field not editable, switch back to the non-source view of the email and try clicking on the banner. You'll notice that you are unable to select the banner and add a new image or any other content to that section of the email.
Even after locking this content, be aware that:
- Other users can still use the delete button to remove the entire content.
- No one is forced to use one of the Themes available.
- You cannot 100% prevent users from editing a section you have locked down. Other users can still change the content if they are familiar with source code editing.
Using Themes with multi-committee setups
If you have access to multiple committees, you will see a box on the Themes editor that will show you which committees have access to the Theme you are creating. You can share Themes between committees by selecting the committee by using the selector. If you want other committees to be able to use the Theme but not change it, you can restrict editing by unchecking the Committees with access can edit theme.
