

Financial Batch Manager makes it easy to streamline the process of entering contribution data, making it faster for your data entry staffers, and reducing the number of errors during data entry.
Read more about creating batches in Financial Batch Manager
You can streamline your data entry using Quick Entry Configurations to customize the information you'll see when you are entering financial batches.
For example, you may want to add fields to your Quick Entry that will speed up your workflow for adding contributions:
- that are processed in-app (Credit Card, Electronic Funds Transfer)
- that are deposited and require manual entry (Check, Cash, etc.)
- from a specific effort that have extra fields that need to be entered
- from contacts that don't yet exist in the database (acquisition)
Read more about adding Contributions to financial batches
If you are using a data-sharing setup, your configurations will need to be created and saved for each committee to which you have access.
Creating a new Quick Entry Configuration
To begin, open the Financial Batch Manager from the Sidebar and select Quick Entry Configurations.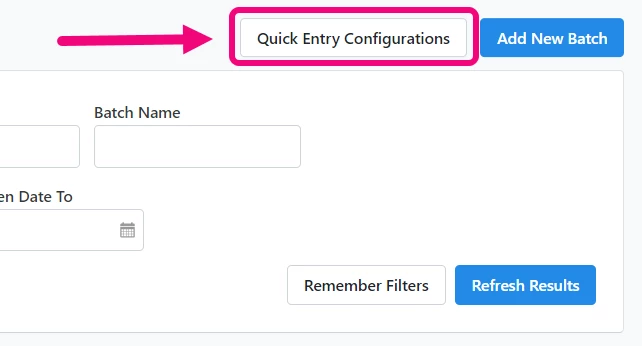
From the Quick Entry Configurations screen, you can update the default configuration or create new configurations for different types of batches.
The easiest way to create a new configuration is to copy your default configuration by selecting More > Clone.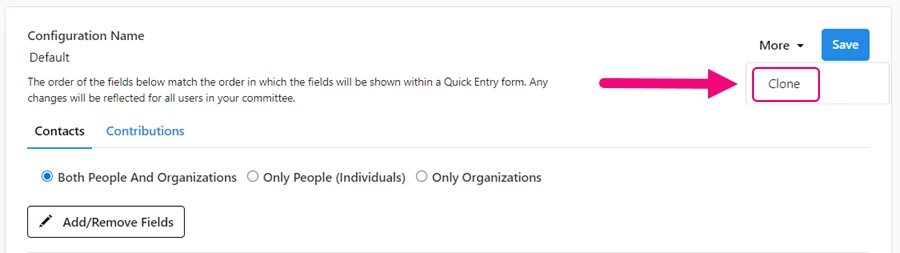
You can then change the Configuration Name and select whether the gift entry configuration should be used for People and Organizations, Only People, or Only Organizations.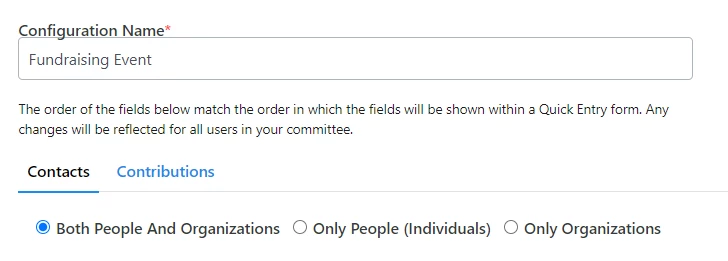
Adding and removing fields
You can select which Contact and Contribution fields you want to include using Add/Remove Fields. Select or deselect the checkbox next to the fields you want added or removed and select Apply.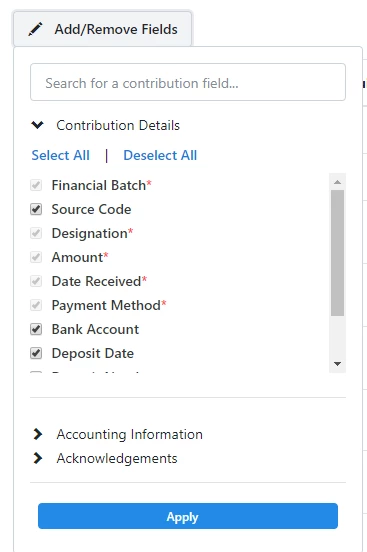
You can also remove fields from the list using the X.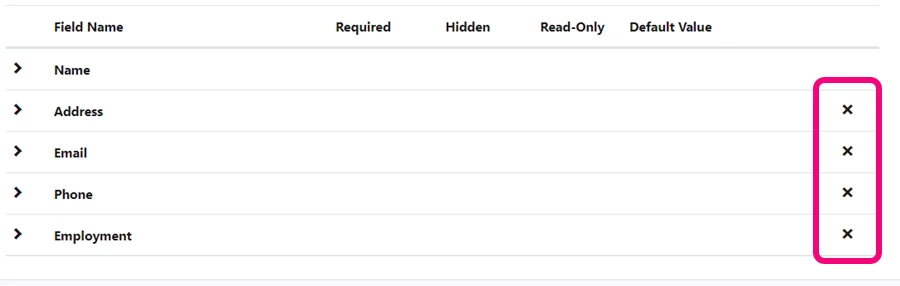
Each of your fields can also have a pre-determined input rule and you can set a default value. You can use these to help you improve the speed and accuracy of your data entry. 
The rules you can select include:
- Required: A contribution cannot be saved unless you input data in this field. Some fields that are required by the system will already have this checkbox selected but disabled.
- Hidden: The field does not show in the Quick Entry but a value can be saved to the record automatically.
- Read-Only: The field displays but can't be edited as you are entering the Contribution. This requires a default value to be set.
- Default Value: The value that is displayed by default in the field. This value may or may not be editable based on whether you selected Read-Only or not.
Some fields are required to create a contact record or contribution so you will not be able to remove or edit them.
You will also see a variation in which fields are available and required depending on the contribution method selected. For example, requiring Check Date will only be available if you selected Check, Electronic Pay System, and Money Order.
Once you are finished selecting and configuring your fields, select Save.