

(15 min read)
As a first step in creating your Membership Management program, you'll want to be sure you understand your own internal rules used to classify members in your hierarchy. You'll use these rules to create the logic that will automatically assign member levels to your contacts. You don't want to have to do a lot of manual clean-up of your records later, so it can be helpful to have these rules written down to refer to as you go through the setup of your membership scheme. Read Fundamentals: Membership Management (before you begin) for a downloadable spreadsheet and help with gathering the information you will need.
There are several steps to the initial set up of your Membership Management program:
- Creating membership levels
- Adding benefits
- Configuring universal membership settings
- Testing your settings to make sure your membership program was set up correctly
- Turning on the overnight process
Getting started
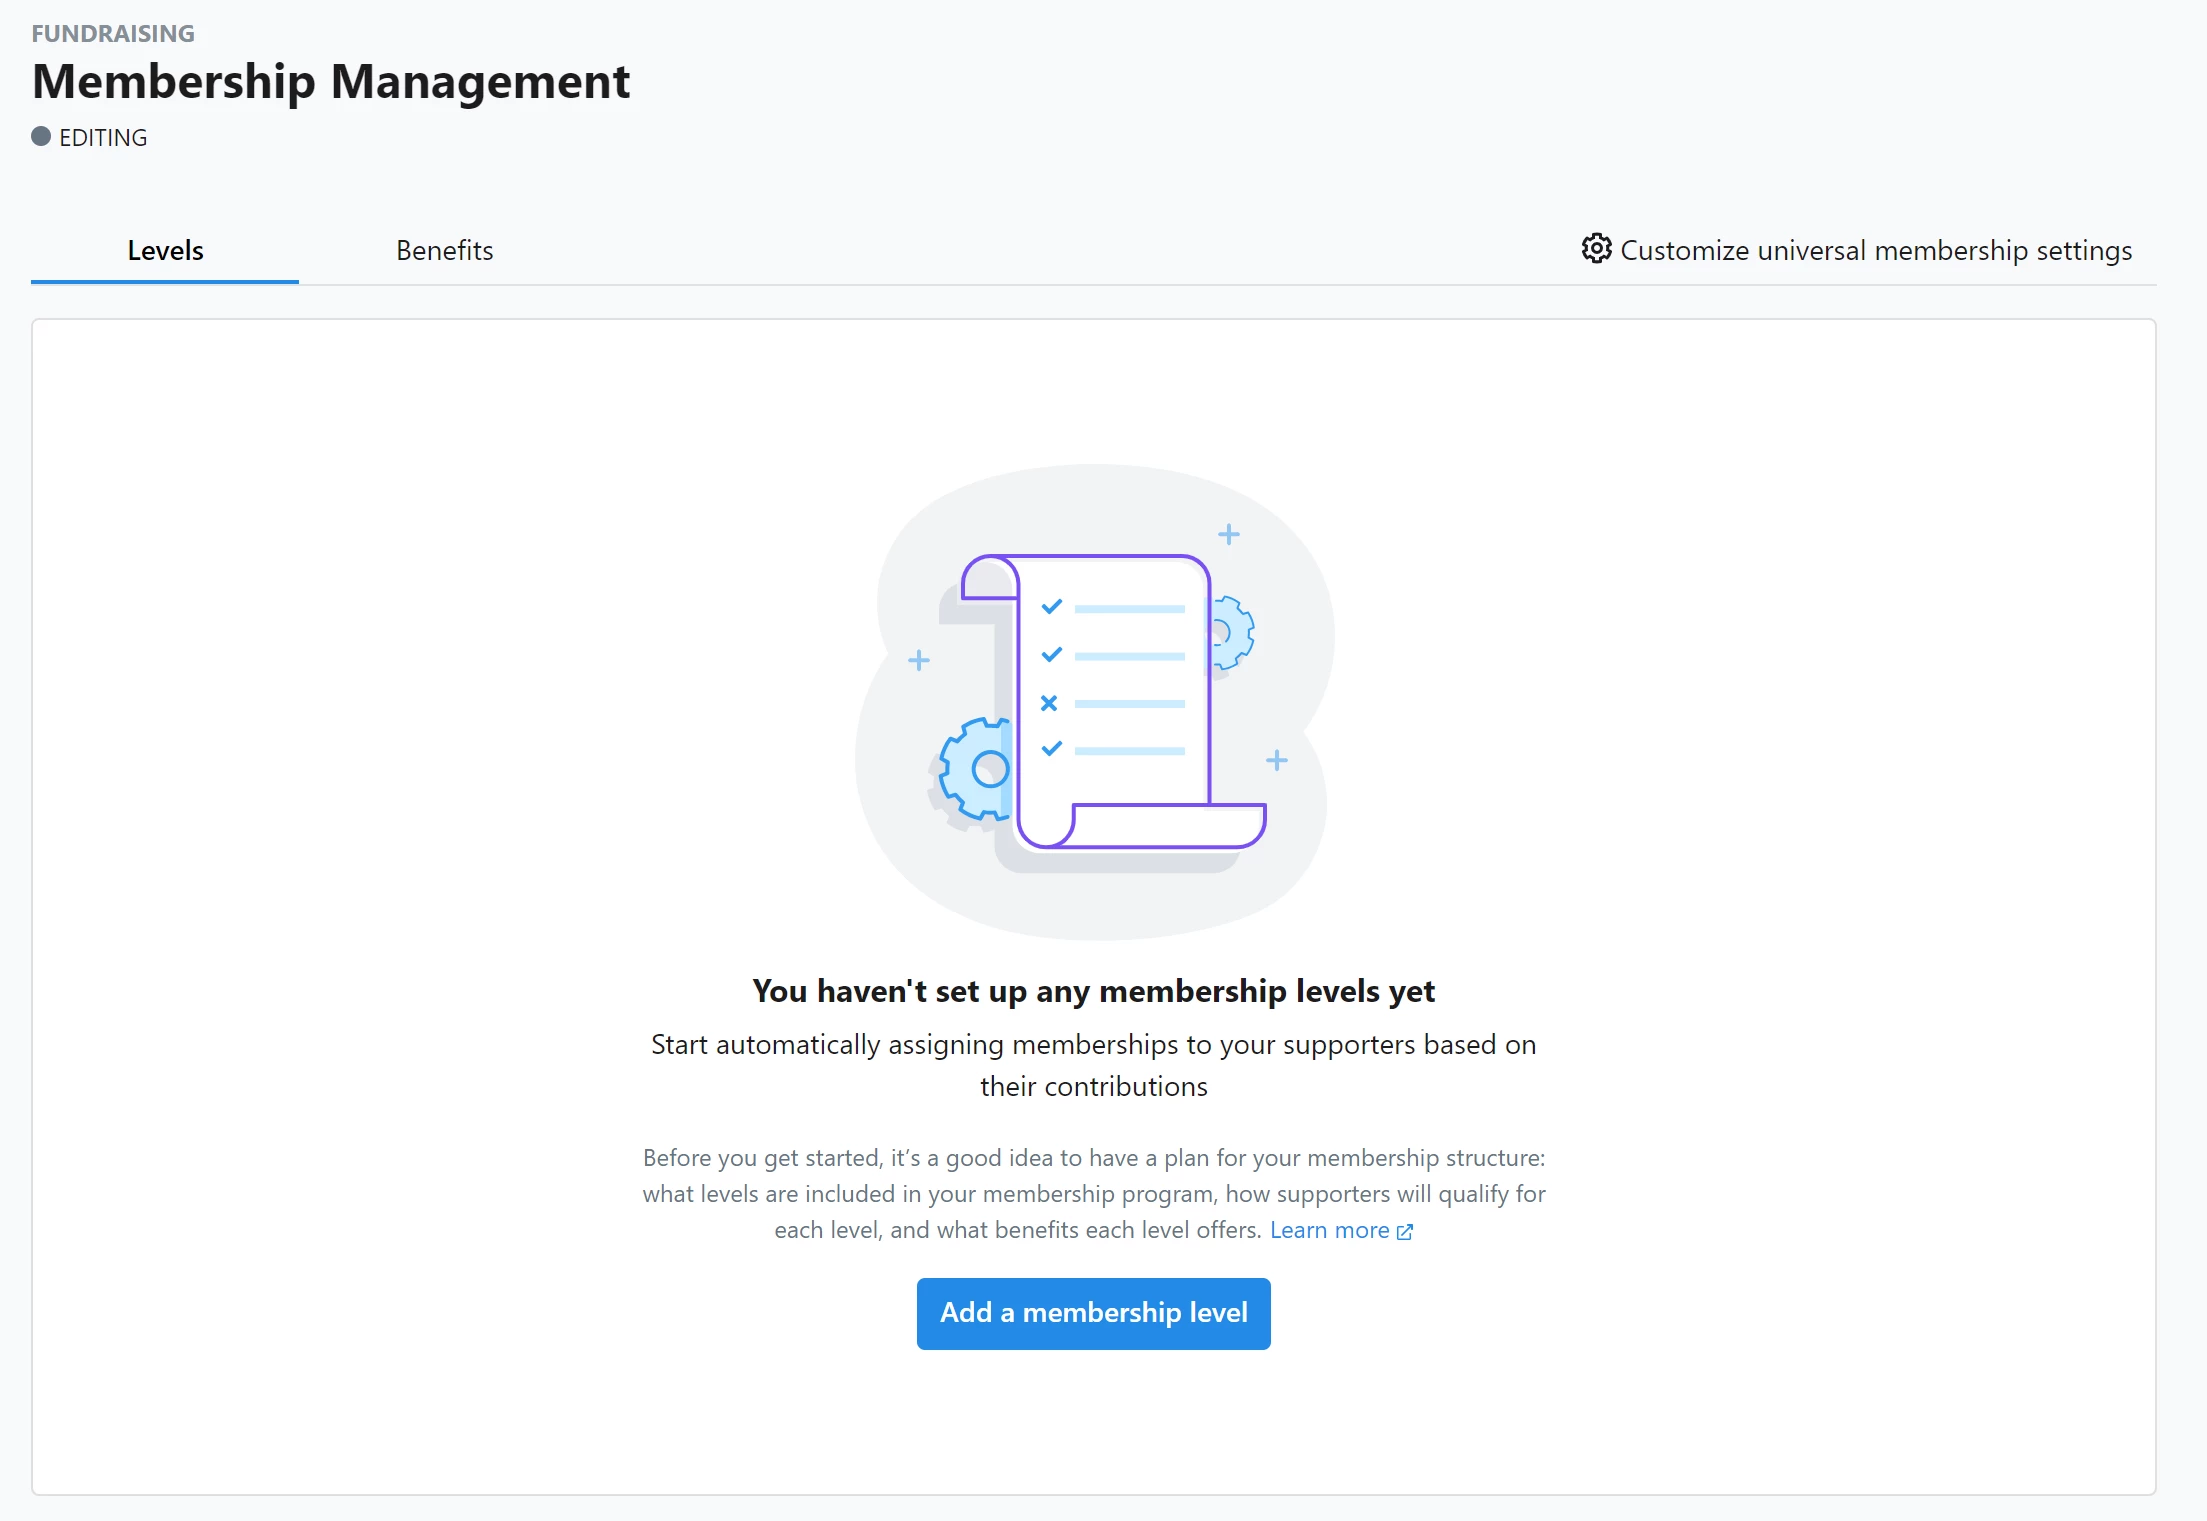
To begin the setup, you should look for Membership Management in the sidebar menu or in Main Menu > Fundraising.
Once you land on the Membership Management page, a status indicator at the top will let you know where you are in the set up process. Begin by adding a membership level to familiarize yourself with the process and criteria selection. You will have the opportunity to create benefits and customize universal membership settings as you move through that workflow.
Adding membership levels
You are now ready to begin adding the levels or tiers of your membership hierarchy. When you select Add a membership level, you'll be taken to a page that will let you add a new level to your membership structure. Start with the highest level of your scheme so you will not have to re-order the levels later in the process. You will have the opportunity to re-sort them in a later step if you need to reorganize them.Step 1: Details
To get started, enter the level name and an optional description and then click Next.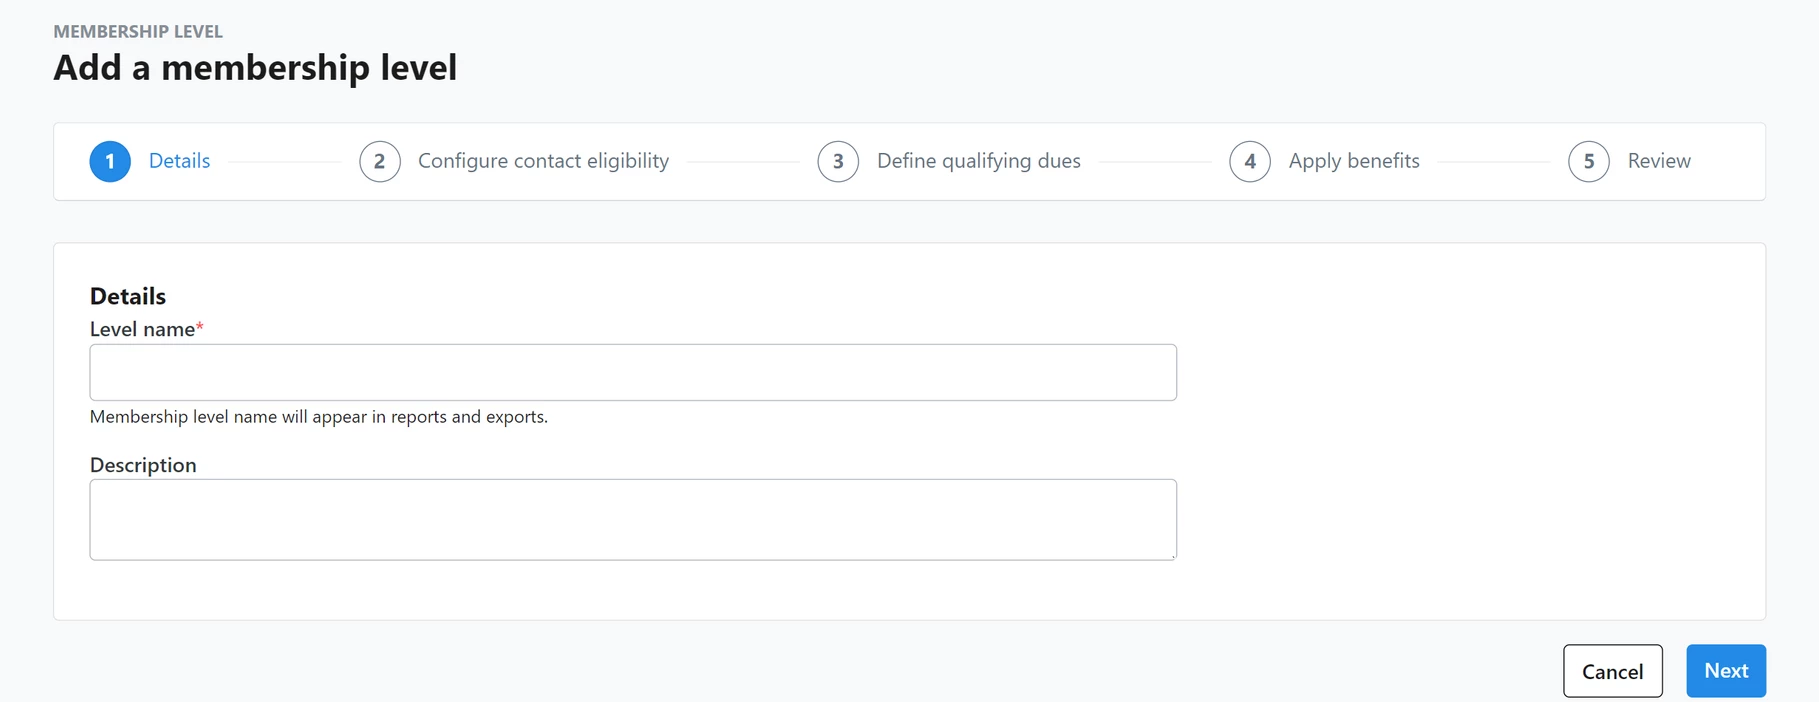
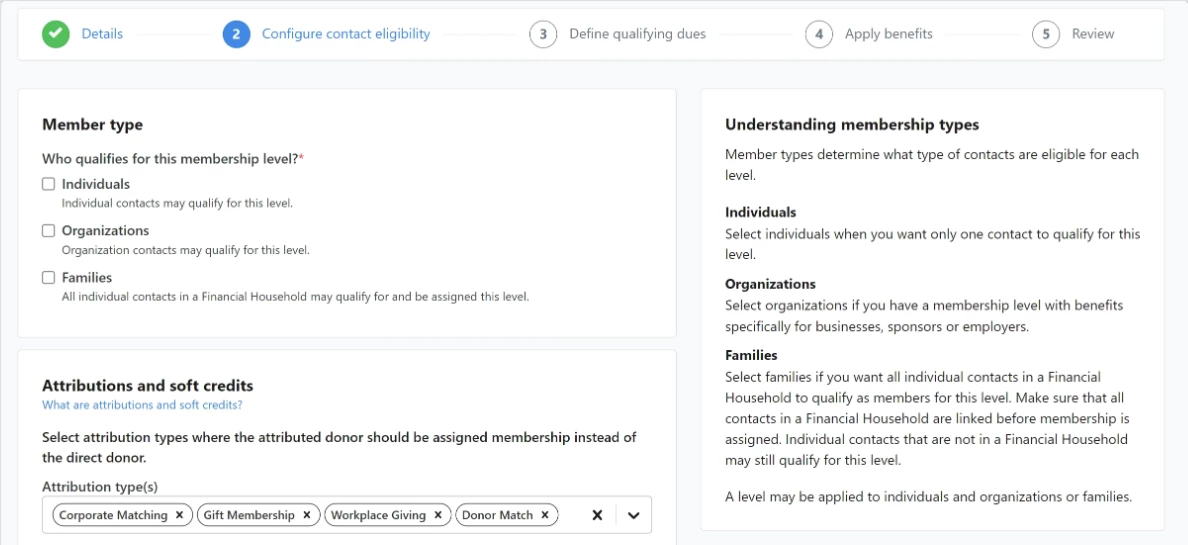
Step 2: Configure contact eligibility
In this step, you will select who should be eligible for the level. Your options are:
- Individuals - limited to individuals only
- Organizations - limited to organizations only
- Families - this option allows individual contacts (not organizations) in a Financial Household to have the same membership status. As long as one member makes a dues-qualifying contribution, all members of the financial household will be sorted into that membership level.
A level can be set up for individuals only, organizations only, individuals and organization (both checkboxes selected), or families.
Additionally, you may also have instances where you would like to assign membership to an attributed donor instead of the direct donor. You can select which attribution types are eligible in the Attributions and soft credits panel.
The settings and choices you in this step include:
| Setting | Options | Explanation |
|---|---|---|
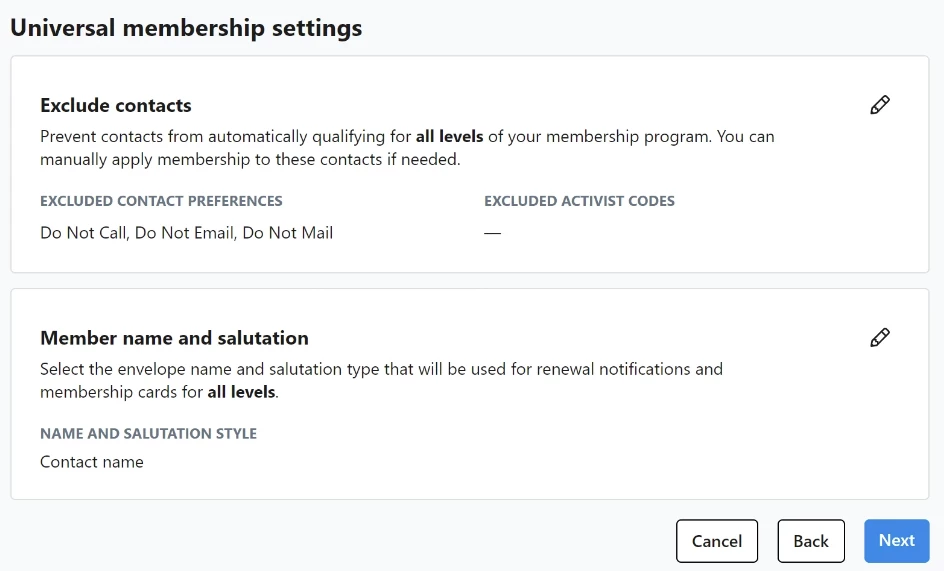
| Member name and salutation | Informal, Formal, Additional, Contact name |
Which name or salutation from the contact record should be used for the membership file? Read more on How to: Manage Salutations and Envelope Names |
| Exclude contacts |
Contact preferences: Do Not Call, Do Not Email, Do Not Mail Activist codes: Yes, No |
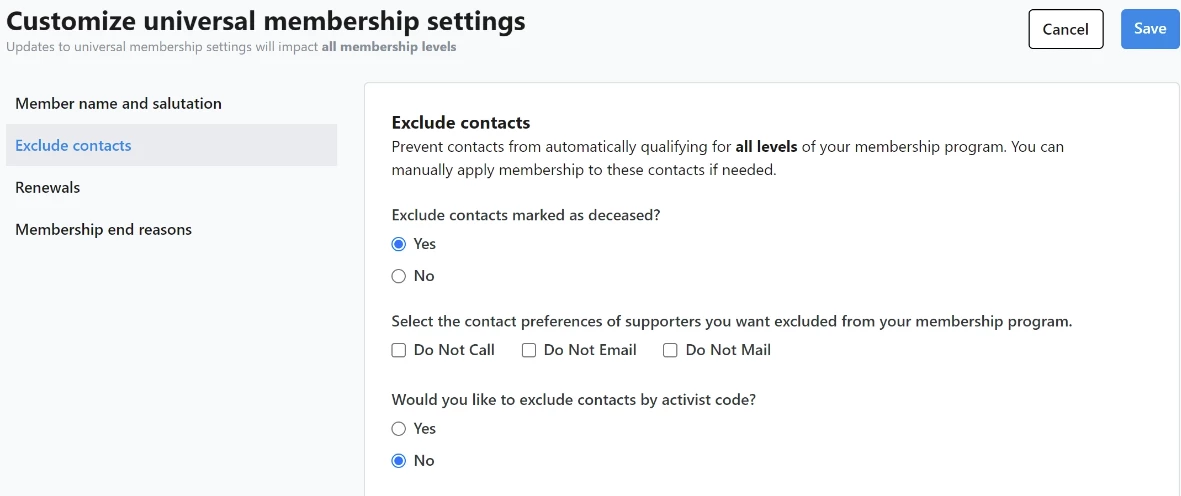
Who is not eligible for membership? Mark any standard suppression fields that apply or you can use activist codes to select which contacts to exclude from membership. For example, you can use an activist code to exclude staff members from qualifying for membership. Exclusions noted in this section will prevent contacts from automatically qualifying for all levels but you can manually apply memberships to these contacts, if needed. |
Changes made to these settings will apply to all levels. Click Next to further define the dues and duration for that level.
Step 3: Define qualifying dues
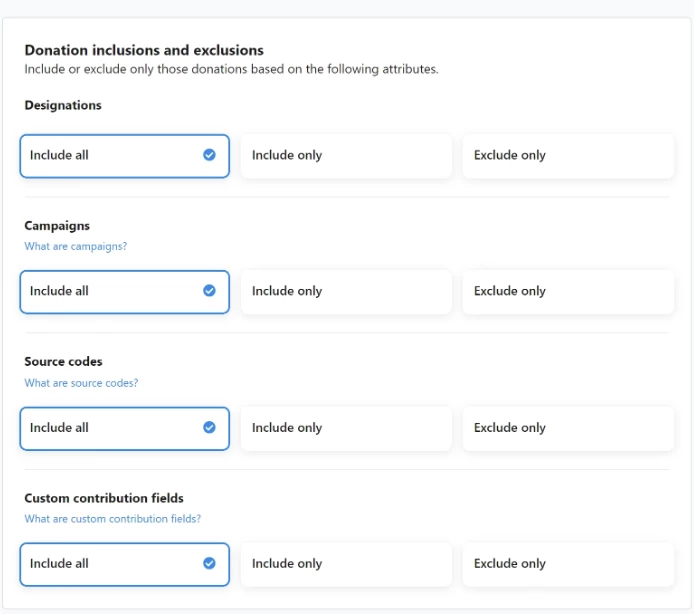
- Inclusions and exclusions
You will be asked to define which kinds of contributions will count as dues towards a membership. The default is to accept all contributions as counting toward dues, but you can use the tile buttons to include or exclude particular designations, campaigns, source codes, and custom contribution fields in your membership scheme.
The source codes filter will allow you to control which contributions can be considered for dues payments. Use the include only or exclude only selectors to specify if contributions need to have specific source codes to qualify or if having those source codes would disqualify a contribution from qualifying a donor for membership.
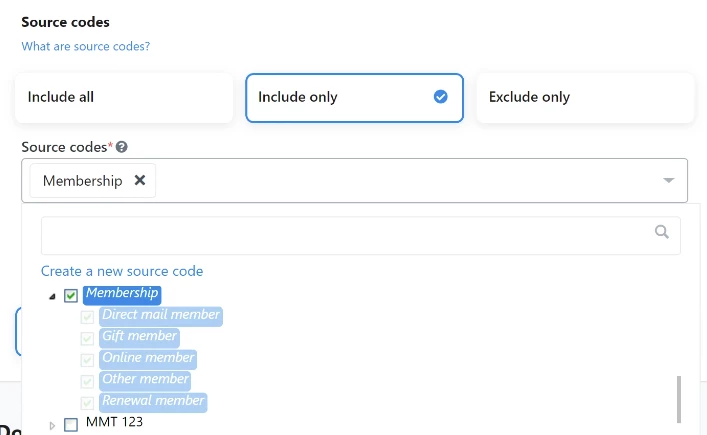
You can use a wildcard character (% or *) to filter on a broader range of source codes. Using a wildcard is helpful to keep your codes up to date without a lot of effort. Wildcards let you dynamically select all current and future children of a parent source code. For example, if you update your source codes annually for membership, such as changing Membership 2019 to Membership 2020, you can use a saved wildcard string like Membership% that will automatically include any source codes you may add going forward that use that same starting string.
You can also choose to include or exclude contributions for consideration as dues payments based on custom contribution fields with the dropdown or checkbox format. Free text, date, number, or currency custom contribution fields are not available as a filter for dues payments.
- Donation type
The next section allows you to choose which donor contributions are eligible for membership. You can choose whether you want to count one-time contributions, recurring commitments, or both as eligible dues and what amounts qualify them for membership at that level.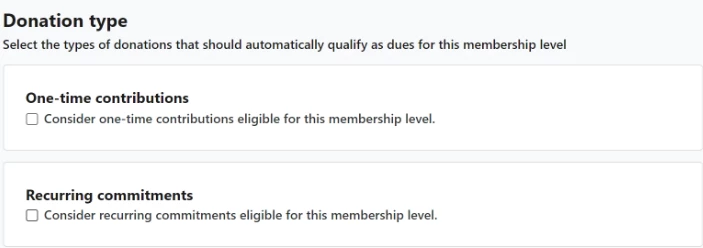
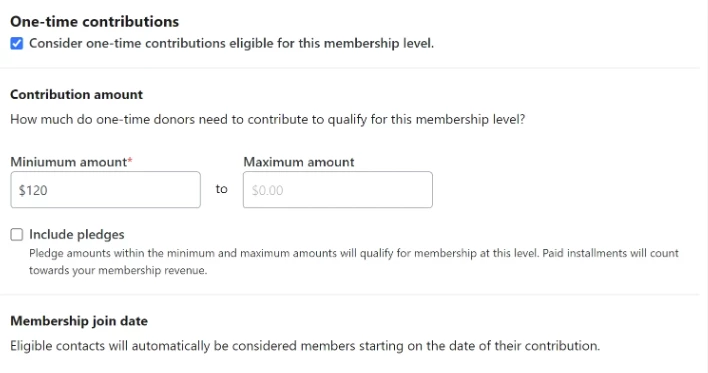
If you select one-time contributions, you’ll need to enter the minimum amount that would qualify for that level and you can also select whether you wish to Include Pledges as eligible dues. Pledges must meet the conditions you set in the Inclusion/Exclusion step. This setting is for the "to give" promised amount, not payments toward pledges.
For one-time donors, the membership join date will default to the contribution date.
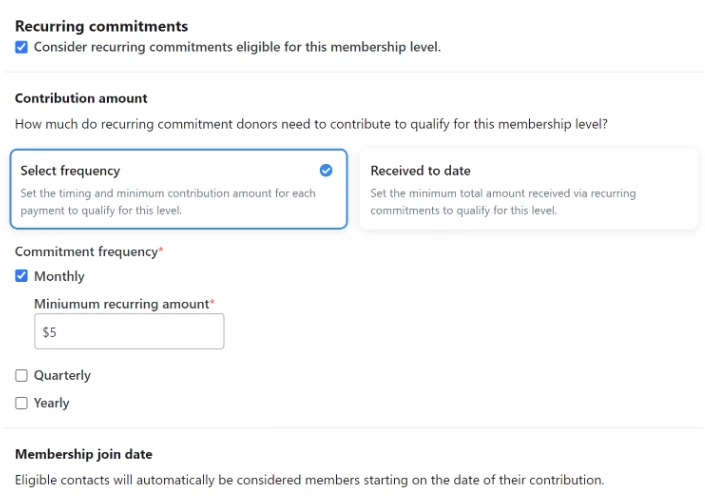
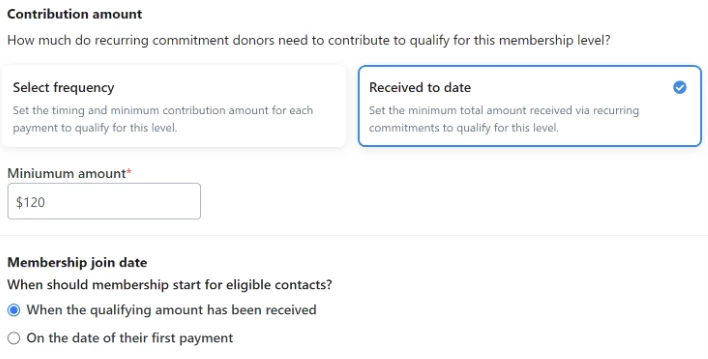
If you select recurring commitments, you will have the option to select whether you'd like to use a frequency (monthly, quarterly, or yearly) or set a minimum total amount received to date via a recurring commitment to qualify for this level.
When frequency is selected, you will need to enter a minimum recurring amount for each frequency selected. The membership join date for these donors will default to the date of the first contribution associated with that recurring commitment.
If received to date is selected, the membership join date will default to the date the qualifying amount is received but you can choose to base it off of the date of their first payment.
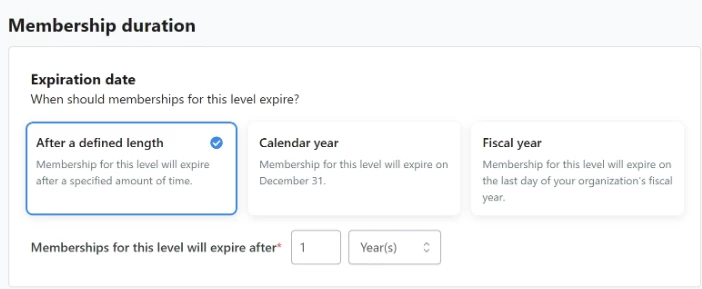
- Membership duration
This panel asks you to define the length of the membership: Calendar Year, Fiscal Year, or another pre-defined length. Fiscal Year will only appear as an option if you have this configured for your committee. Contact Client Services if you need to add this option.
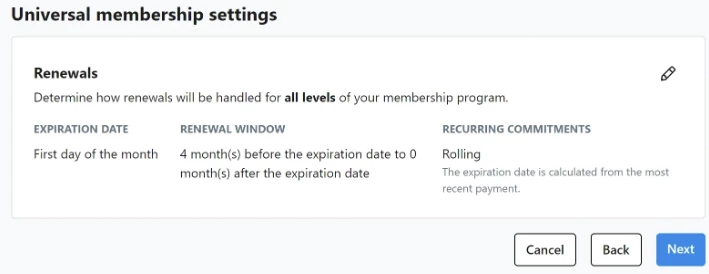
If you would like to make changes to the Universal membership settings related to renewals, click on the pencil icon in the Renewals panel.
The settings and choices in this step include:
| Setting | Options | Explanation |
|---|---|---|
| Expiration date | Join date, First day of the month, Last day of the month | When it's time for a membership to expire, what day should be used for the official expiration date? |
| Renewal window | Enter a numerical value for X months before and Y months after the expiration date |
This allows you to set up a renewal window so that extra contributions that are given outside of the stated time period are treated as extra donations rather than membership renewals. Consider aligning the renewal window to the timing of your renewal notifications. For example, if your first notification is sent three months prior to the expiration date and the last is sent two months after, set the window to start three months before and end two months after the expiration date. |
| Recurring commitments | Rolling, Fixed |
When a member has a recurring commitment, how will you handle the expiration?
|
Changes made to these settings will apply to all levels. Click Next to note whether this level includes a membership card or any other benefits.
Step 4: Apply benefits
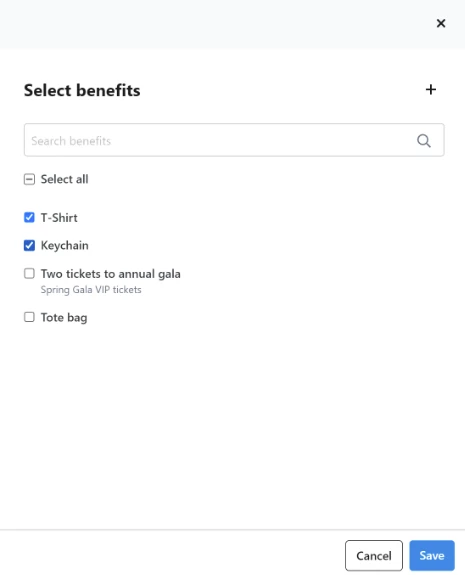
If this level includes a membership card or any other benefits, you can select them in this step. If you have already created benefits in the Benefits tab, you can see the full list and make your selections by clicking Select benefits. If the benefit you’re looking for is not there click on Create a benefit button or the + icon to add the name and description of the benefits you offer.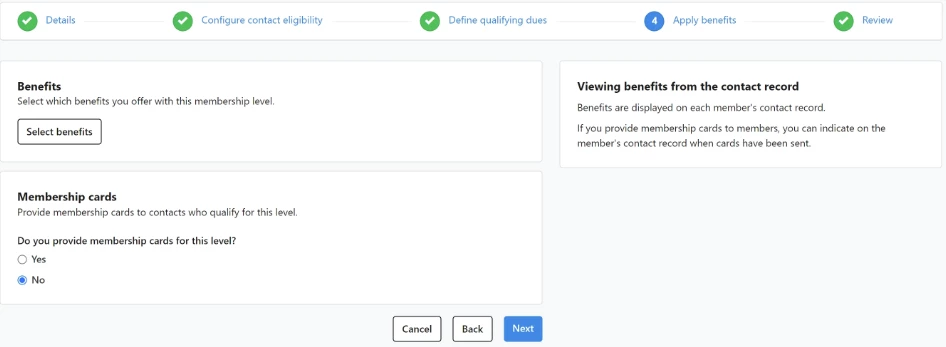
Step 5: Review
Next, you will be taken to a review screen. If you need to change any of the criteria that you have established so far for this particular level, you can use the pencil icons to go back in and edit each section.
Once you are satisfied with the current level, select Save. You will be taken to the Membership Management overview dashboard.
Add or prioritize levels
To add more levels, click + Add a membership level and continue setting up levels until you are ready to set up the process to automatically classify your contacts into the membership program.
From your Membership Management overview dashboard, you can select the priority order of your levels. Should a donor qualify for more than one level, the priority order will determine which level they will be placed in. Each contact can only be in a single level.
Just click on a level and drag it up or down the list.
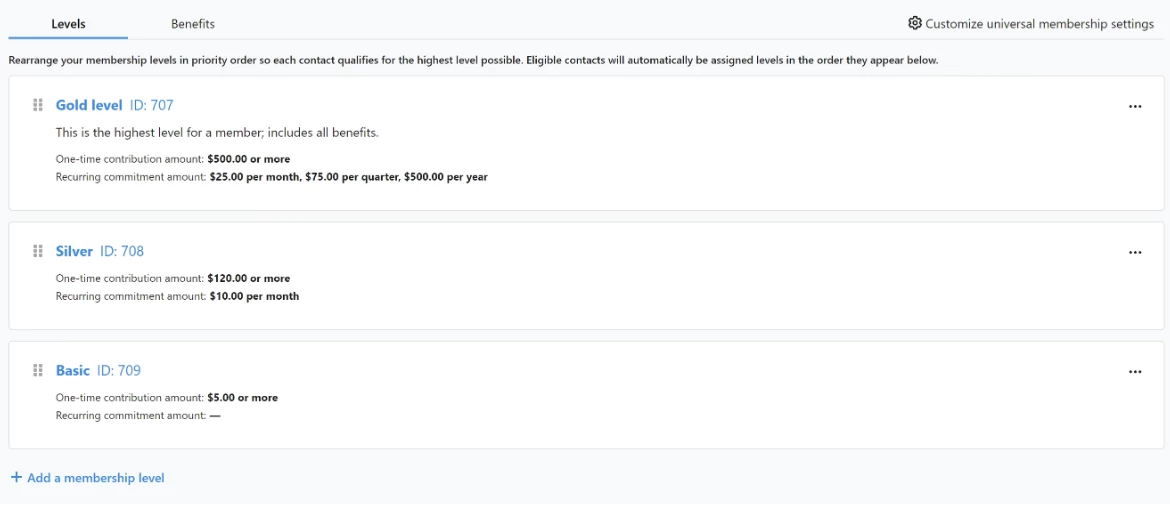
Membership levels are processed from top to bottom, so you will want to have them listed from highest (most restrictive) to lowest.
Keep in mind that membership levels that are configured to apply to a family will apply to all current individual members of a Financial Household. As long as one member makes a dues-qualifying contribution during the renewal window, all members of the financial household will be sorted into that membership level.
Customizing universal membership settings
Click on the Customize universal membership settings button to do a final review of your prior selections keeping in mind that these settings will apply to ALL membership levels and includes:
-
how to address the contacts,
-
what contacts should be excluded from membership,
-
how memberships expire or can be renewed, and
Click into the Membership end reasons tab to add a list of standard reasons someone might use to end their membership. Keeping track of why a member may end their membership will help you analyze why members might be ending their terms early and take action if you are seeing many people giving the same reason for leaving.
You can apply these reasons from the contact record page if you need to end a membership before the expiration date. Read more about how to end a membership in Managing membership records.
Once you are satisfied with your selections, Save these settings and move to the next step in the setup process.
Testing your settings
Please test your settings several times before moving to the next step. If you turn on the overnight process in the next step and your settings are not correct, it may require assistance from Client Services to correct your records.
Once you have finalized your priority order, you will want to test your settings to make sure your logic is working the way you expect. Click the ‘Test and approve’ button on the top right to generate an exportable file that will let you confirm that your contacts will be given the correct level. This file will look at the last 15 months for qualifying dues payments and show the level and expiration date for each VAN ID that would qualify for membership, along with the ID of the Dues payment.
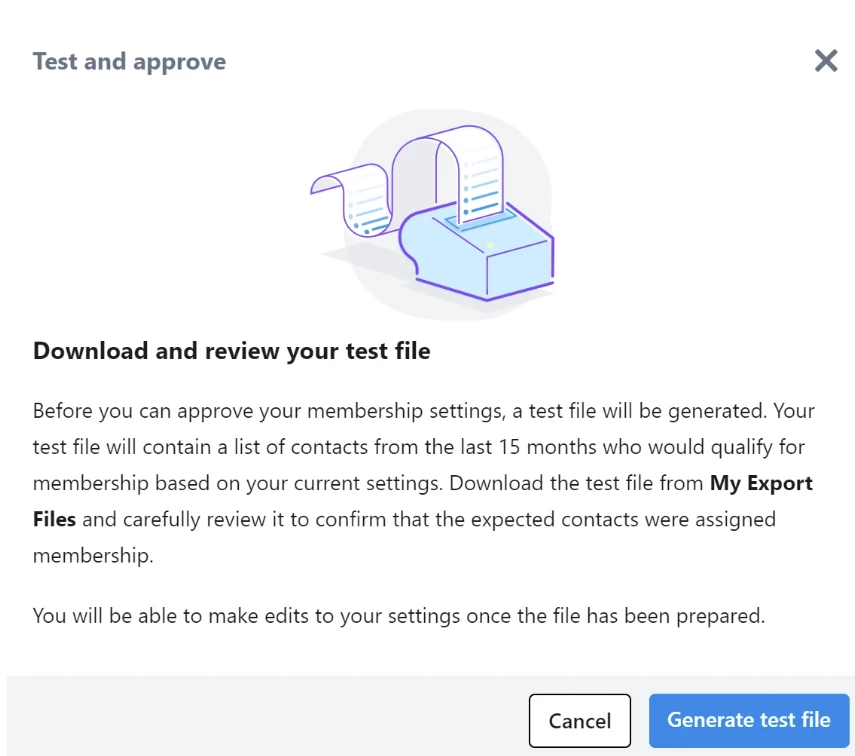
Once you choose Generate Test File, your membership program’s status will change to Testing. After your membership file has been generated, if you have changes to make to your settings, you can click the Edit button to revert the program’s status back to Editing.

Approving settings and turning on the overnight process
Once you are certain your membership levels are set up correctly, you can use the Approve button at the top right to activate the overnight process. Once you select Approve, you will see one last warning or reminder to test your membership structure before turning on membership management's nightly processing.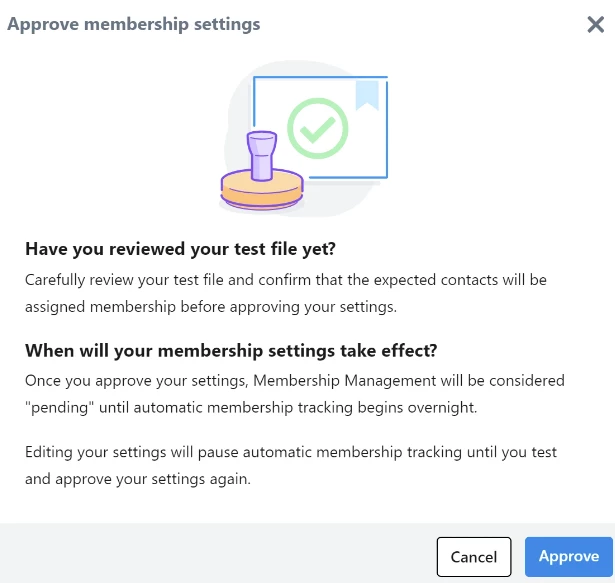

When the program is Active, we run an automatic process every night to apply membership levels to contacts using the unique rules that you've configured in the system based on your organization’s membership program structure.
Once you have configured and applied your membership settings to your selected contacts, you will be able to see membership details on a donor's contact record and use membership details for searches and reports.
Editing an Active membership program
If you need to make any changes to your membership program settings after the program is Active, you can click the Edit button on the top right to pause overnight tracking and edit your settings. While the program is paused, donors will not be automatically identified as members until you have tested and approved your settings again. Please note that any changes made at this point will only apply to future memberships.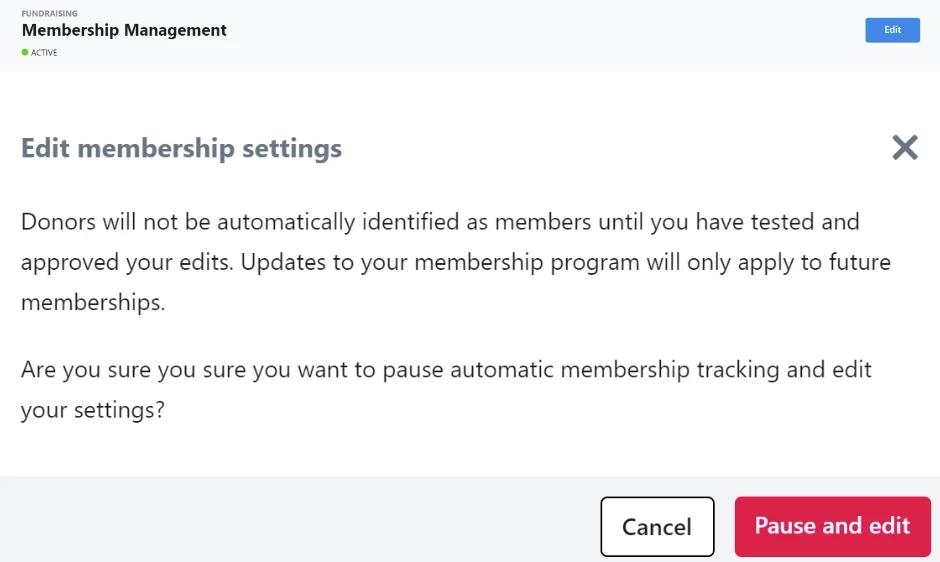
Don't hesitate to contact your Account Manager or Client Services if you have more questions about Membership Management setup.