

When you send Targeted Emails to your contacts, it is important to have an up-to-date Organization Address and Disclaimer included in the footer of your email. Targeted Email provides two merge fields to make it easy to remember to include this information: {{OrganizationAddress}} and {{Disclaimer}}. You have the option to enter this information when you create your first email, but you may eventually want to update these fields.
When you select the Organization Address merge field, the values you see are pulled from the most recently sent message. You can update the address on the current email draft. Once that email is sent, you will see the new address values when you create subsequent drafts with the merge field.
All organizations should include an Organization Address, while a Disclaimer is only required for political candidates to stay compliant with CAN-SPAM and electioneering laws.
Although the information provided in the Organization Address or Disclaimer fields is mandatory, using merge fields is not. You can also type this information directly into your emails if you prefer. When you manually type these for each email, a warning will appear when you are ready to send, but you can still send the email without these specific fields.
Getting Started
An Organization Address, shown as {{OrganizationAddress}} in your email draft, is the physical address of your organization.
A Disclaimer, shown as {{Disclaimer}} in your email draft, is only required for political campaigns and should say that the candidate endorses the message.
When you first create an email, you will be asked to enter an Organization Address and a Disclaimer.
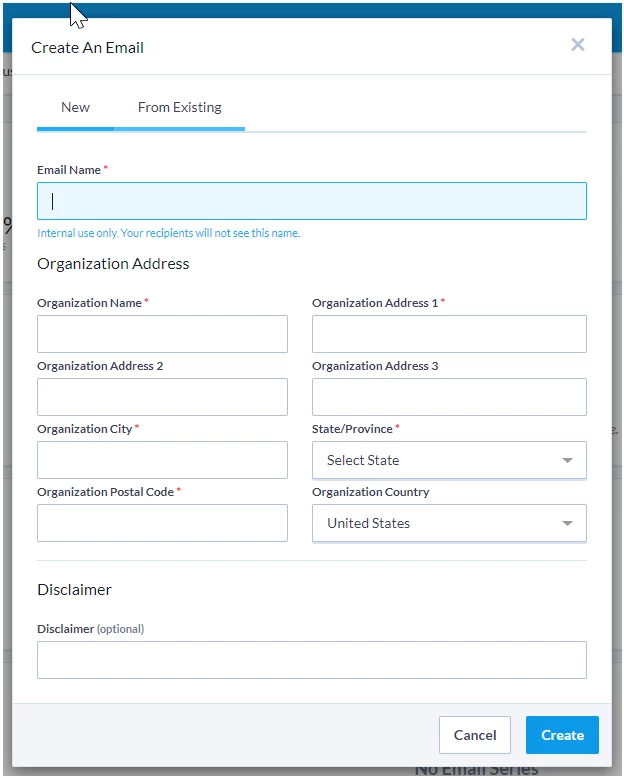
These values are stored in this initial email. For all future emails, whether you copy an existing one or create a brand new email, these values will be automatically filled in with what was saved in the most recent draft email.
Updating merge fields in Drag & Drop editor
Once you have opened or created a new email, follow these steps to update merge fields:
-
Click Compose Message in the top menu

-
Find the Drag & Drop Editor section
-
Click Edit
-
Drag a Text or Title box into the template
-
Click Merge Fields

-
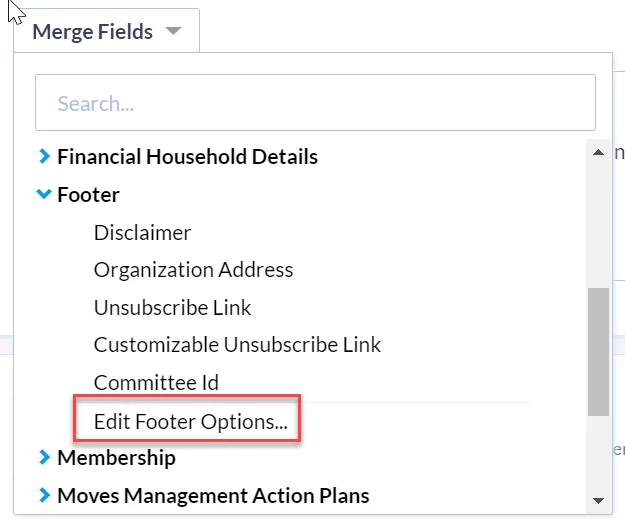
Find and click Footer in the drop down list
-
Click Edit Footer Options…
-
Type your new Organization Address and/or Disclaimer in the appropriate fields
-
Click Save
Updating merge fields in Classic editor
Once you have opened or created a new email, follow these steps to update merge fields:
-
Click Compose Message in the top menu

-
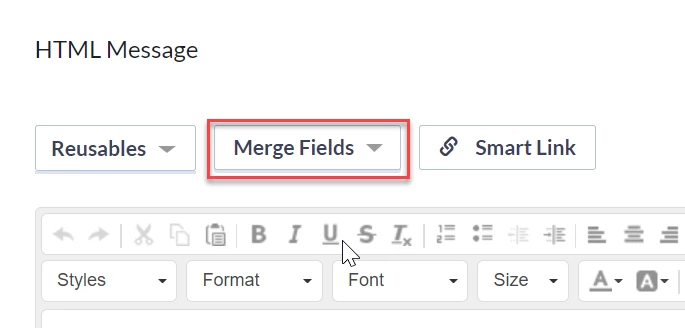
Find the HTML Message section
-
Click Merge Fields
-
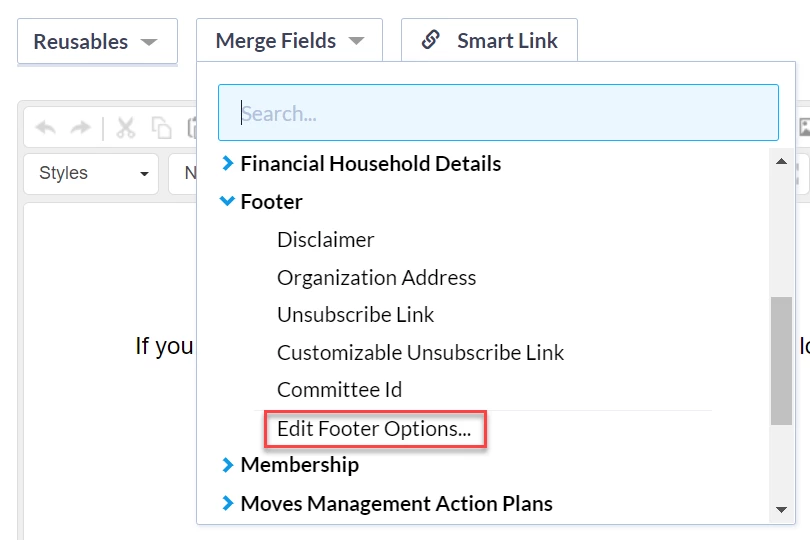
Find and click Footer in the drop down list
-
Click Edit Footer Options
-
Type your new Organization Address and/or Disclaimer in the appropriate fields
-
Click Save
Important Note About Merge Fields
If you're using merge fields, keep in mind that the field won't update unless an email is sent where the updated merge field is used.
If no email is sent, the merge field may revert to the previous value, even if it was recently changed.
💡 Tip: To ensure your changes stick, make sure the updated merge field is included in an actual email send.
Using Targeted Email
Learn more about sending Targeted Emails and how you can easily customize your emails using merge fields: