

Overview
If you use Bonterra Payments or NGP VAN Payments, you can now add Google Pay to your Online Actions forms with no additional setup.
Verifying your domain
If you embed EveryAction/NGP VAN forms on your website, or if you use a vanity domain, you’ll need to verify your domain before proceeding.
Note: If you’ve already verified your domain for Apple Pay, you don’t need to do it again.
To verify your domain, navigate to the Payment Gateways page and select Verify domain.

Follow the instructions In the pop-up window that appears.
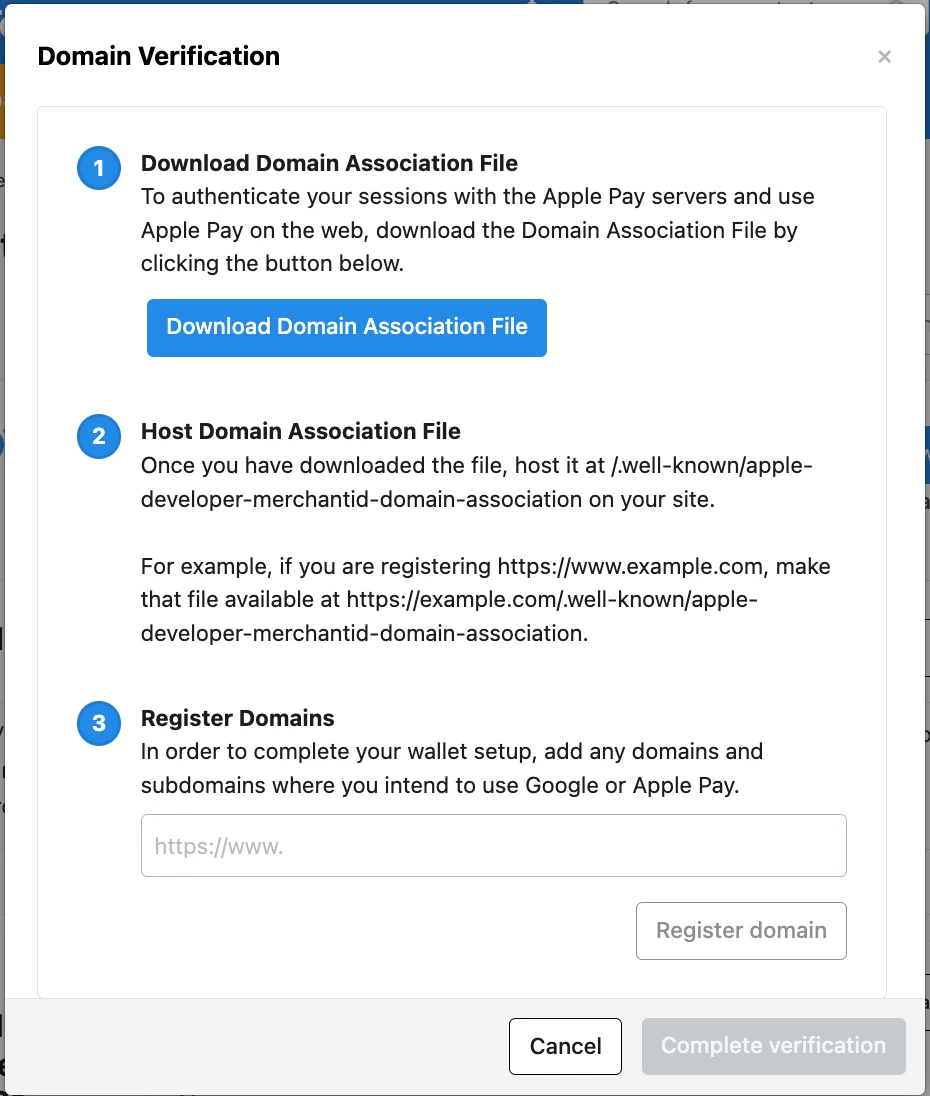
If you’re only setting up Google Pay (and not Apple Pay and Google Pay simultaneously), you’ll skip steps 1 and 2, and proceed to step 3. If you’re setting up both Google Pay and Apple Pay, you’ll need to complete steps 1 and 2 before proceeding to step 3.
If you’re completing steps 1 and 2, you’ll download the Domain Association File and host it on your website (this may require the assistance of a web developer or other technical contact).
In step 3, enter your domain (e.g. www.peopleforgood.org) and select Register Domain.
If you use any subdomains or alternate domains (e.g. donate.peopleforgood.org), you’ll need to register each one.
Disabling Google Pay
Google Pay will be enabled by default on new forms.
To disable Google Pay, navigate to the Basics section of your Contribution or Ticketed Event Form.
Under the Digital Wallet Payment Options section, toggle off Enable Google Pay.
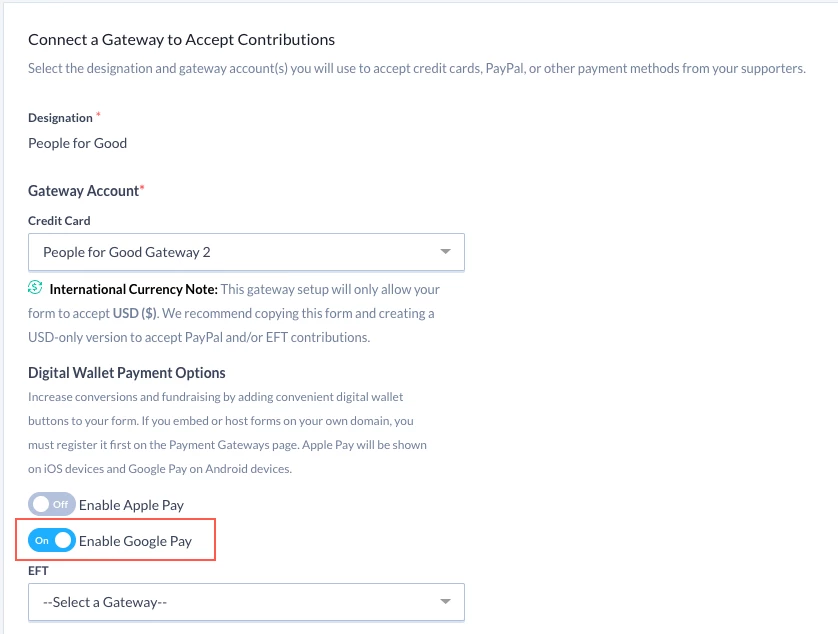
Note: Google Pay will not be enabled by default on existing forms. To enable Google Pay on an existing form, toggle Enable Google Pay in the Basics section.
Using Google Pay
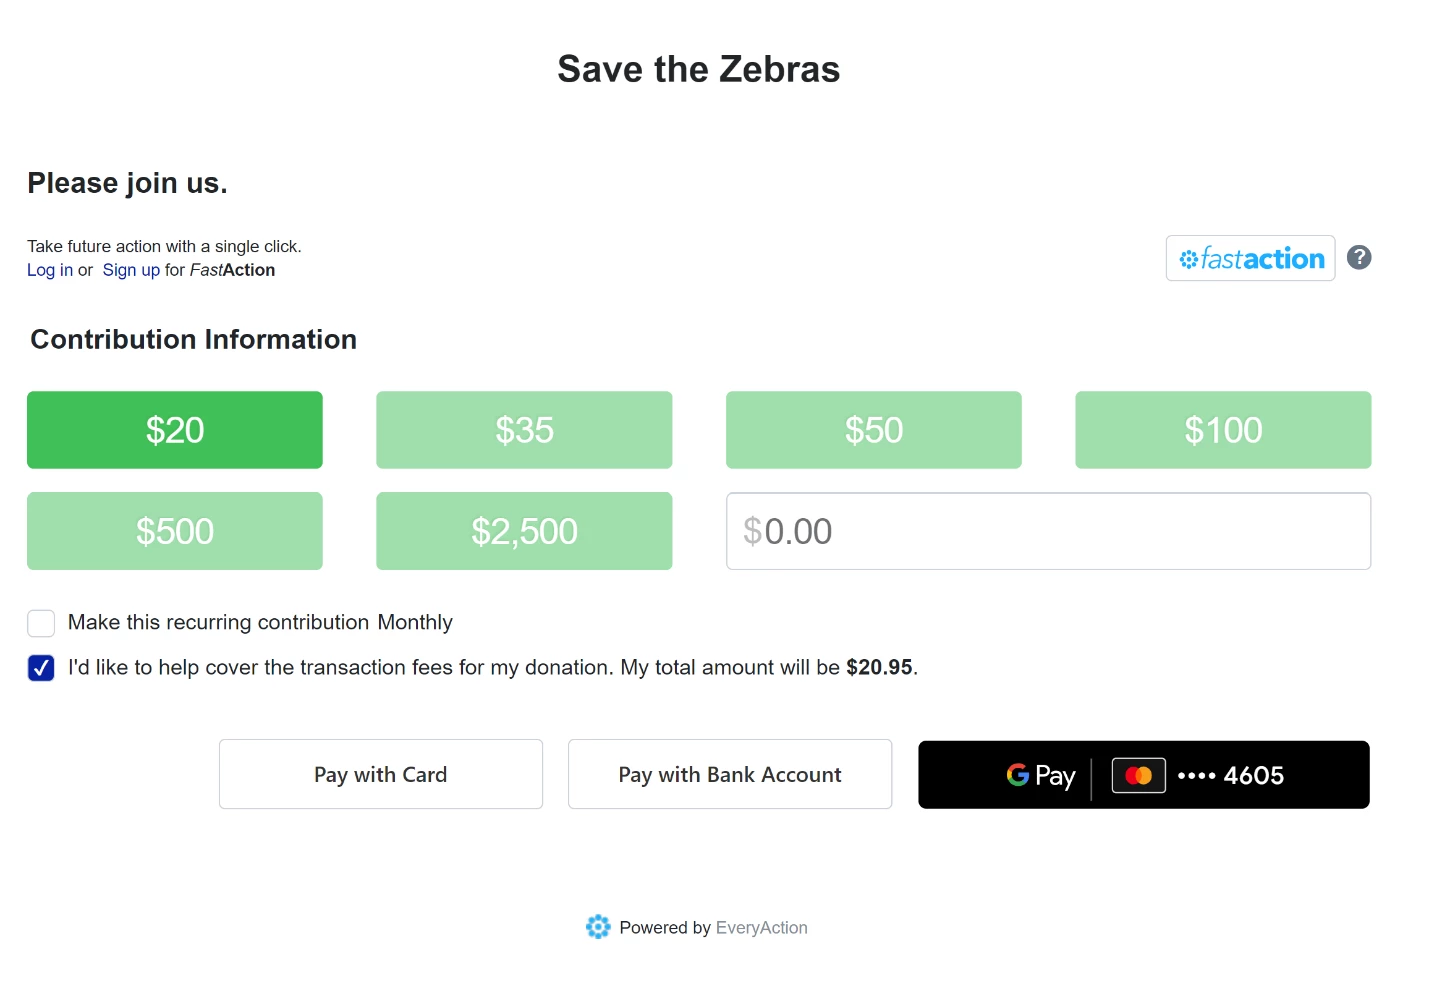
On forms with Google Pay enabled, users on most browsers (whether on mobile or desktop devices) will see a Google Pay button.
If users have Google Pay set up on their mobile device, or if they are logged into Google Pay on their desktop browser, they’ll be able to pay using instant processing. If not, they’ll see the option to log in or set up a new Google Pay account.
How do I feature overview: google pay? | How does feature overview: google pay work in EveryAction? | Why can't I feature overview: google pay? | Where do I feature overview: google pay in EveryAction? | What is feature overview: google pay in EveryAction? | How to feature overview: google pay? | Can I feature overview: google pay in EveryAction?
