

Step 1: Prepare Your File
Before updating records, use Custom Export in My List to export a backup copy of the values you want to update. This can be useful if you need to restore the original values.
Step 2: Access the Bulk Upload Wizard
- From the homepage, navigate to the left-hand menu. Click Contacts > Bulk Upload > Bulk Upload New File.
- Or use the Search for a page field and type Bulk Upload New File.
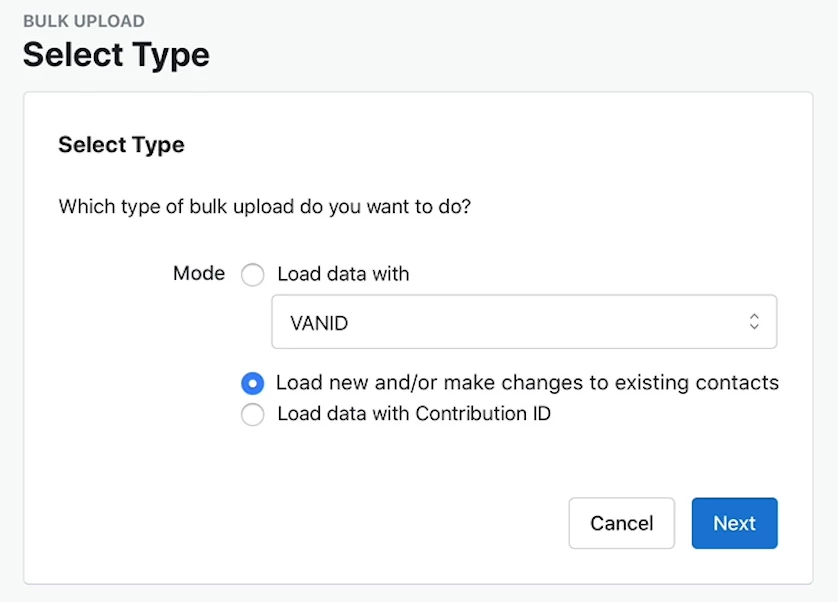
Step 3: Select Bulk Upload Type
Choose your upload type based on your needs:
- Load Data with Unique ID: Match records using a VANID or other unique ID for updating specific records.
- Load New and/or Update Existing Contacts: Use this option if you’re adding new contacts or matching records based on basic information like Name, Address, Email, etc.
- Load Data with Contribution ID: Select this to update contributions using Contribution ID.
- Edit Source Codes by Source Code ID: Use this to edit Source Codes directly.
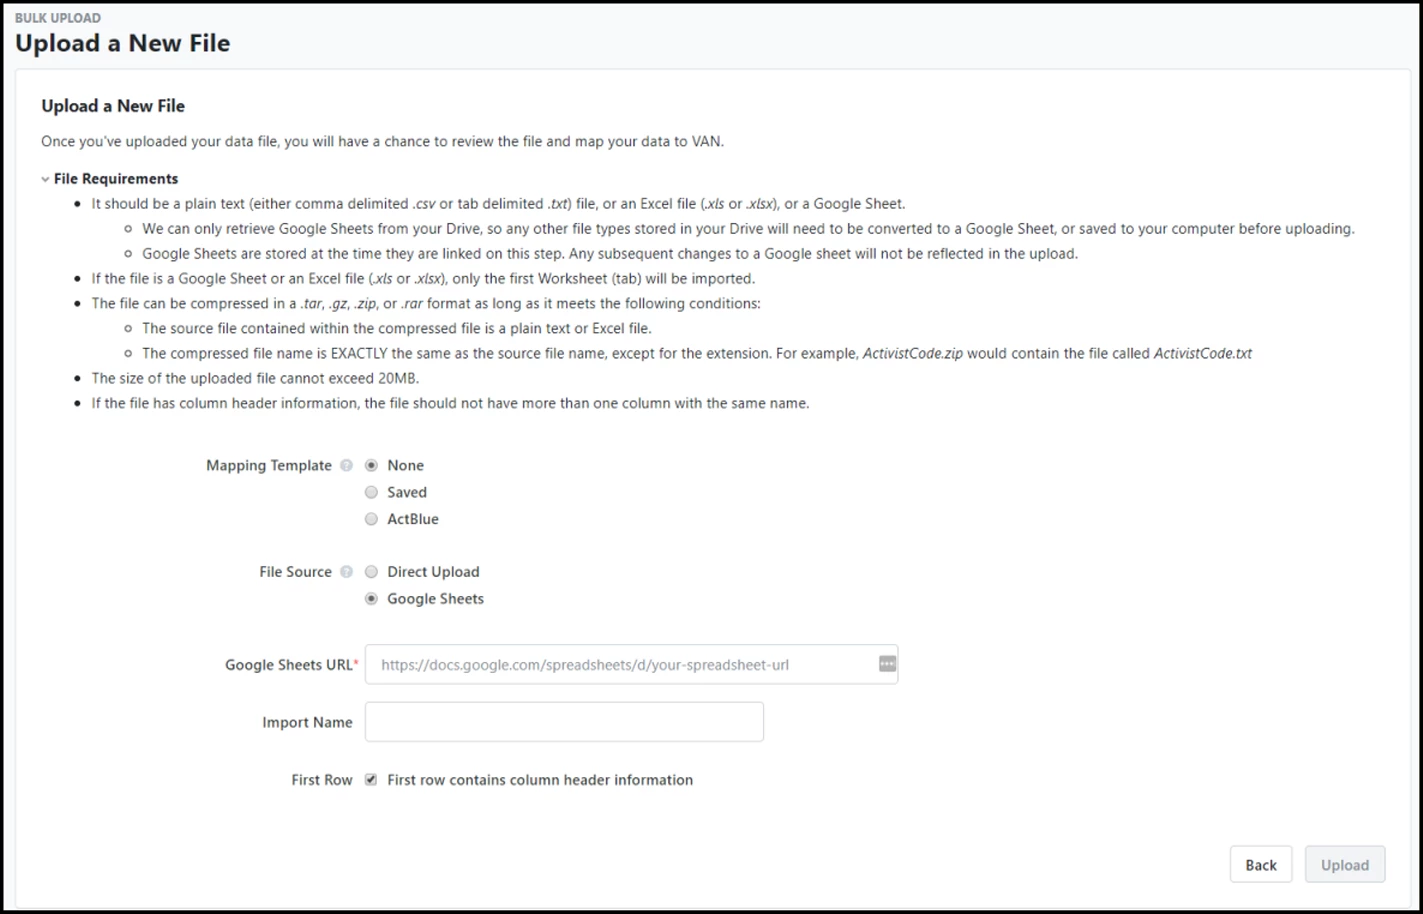
Step 4: Check File Requirements
Review the file requirements carefully. If the file name contains parentheses, rename it before uploading.
Step 5: Map Your Data
Select the columns from your spreadsheet that should map onto corresponding database fields.
Choose to apply the same value to all records or select Choose Column from Data File to apply values from a specific column.
Step 6: Save or Finish
Click Save Mapping Template if you want to save your mappings for later. When you’re ready, click Finish.
Please note: In some cases, your upload may need to be approved by your administrator. All Contacts uploads will need to be approved before the upload will process. If your file needs approval, you will see a notice under it.
Looking for training?
Explore this feature at your own pace - join a live training session or watch a recorded webinar by clicking the link below.
Not quite what you were searching for?
- Navigate back to the Bulk Upload and Edit Resource Index.
How do I perform a bulk upload? | How does perform a bulk upload work in EveryAction? | Why can't I perform a bulk upload? | Where do I perform a bulk upload in EveryAction? | What is perform a bulk upload in EveryAction? | How to perform a bulk upload? | Can I perform a bulk upload in EveryAction?
