

(5 min read)
As you cultivate donor relationships and build your supporter base, you will find that sustained, quality contact reaps rewards. Use follow-ups to track which donors need attention and assign next steps to other staff members.
Add, update, or complete follow-ups from your Main Menu and your Fundraising Management dashboard.
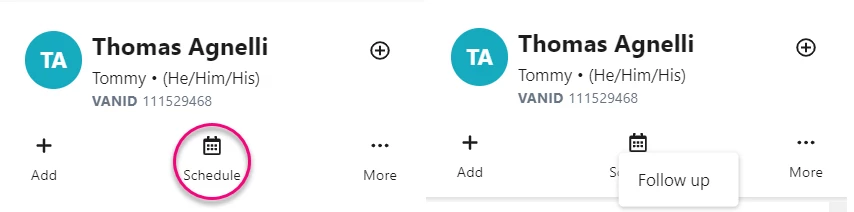
You can also Schedule Follow Ups from the contact record by selecting the Schedule icon.
Understanding Follow Ups
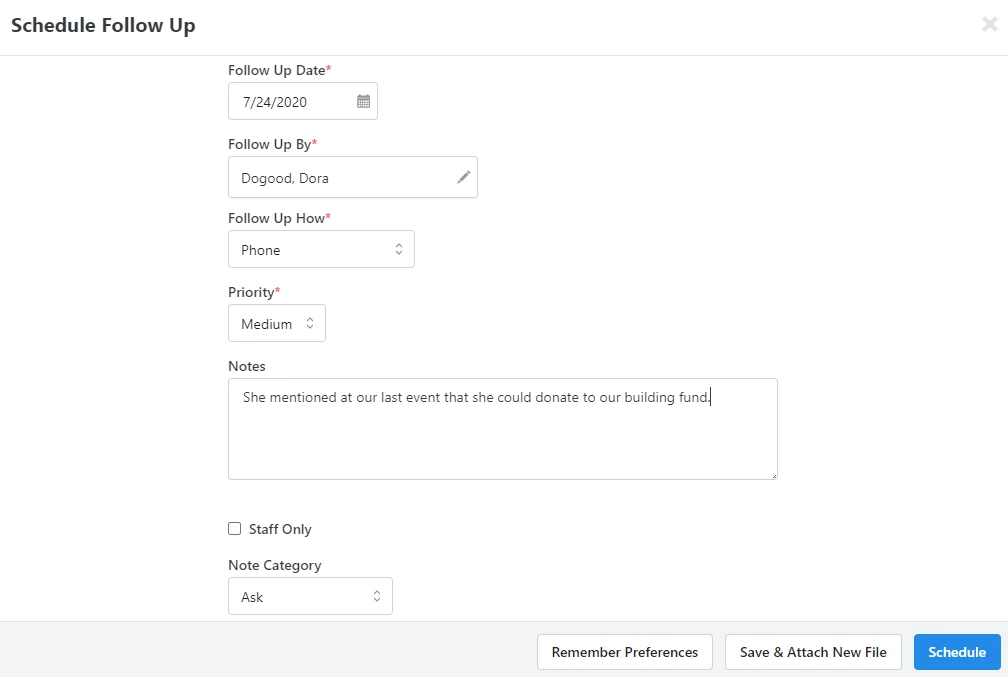
Whenever you schedule a follow-up with a contact, you’ll be asked to track specific information, including:
- Follow Up Date - Set the due date for the follow-up.
- Follow Up By - Assign someone to do the follow-up. By default, the person creating the follow-up is assigned, but you can change this at any time.
- Follow Up How - Select the method of communication you'll use in the Follow Up.
- Priority - Select the urgency - low, medium, or high - of the follow-up.
- Notes and Note Category - Add your related information about the contact follow-up.
- Link to an Action Plan - If you have a package that includes Moves Management, Planned Giving, or Grants, you will also be able to link the follow-up to a specific Action Plan.
Read more about high touch fundraising Follow Ups
Once you've set a follow-up notice on an individual contact record or on an action plan, you will see a reminder for upcoming or past due follow-ups every time you log in.
Completing and editing follow-ups
Manage overdue and upcoming follow ups from the Activity tab of the contact record.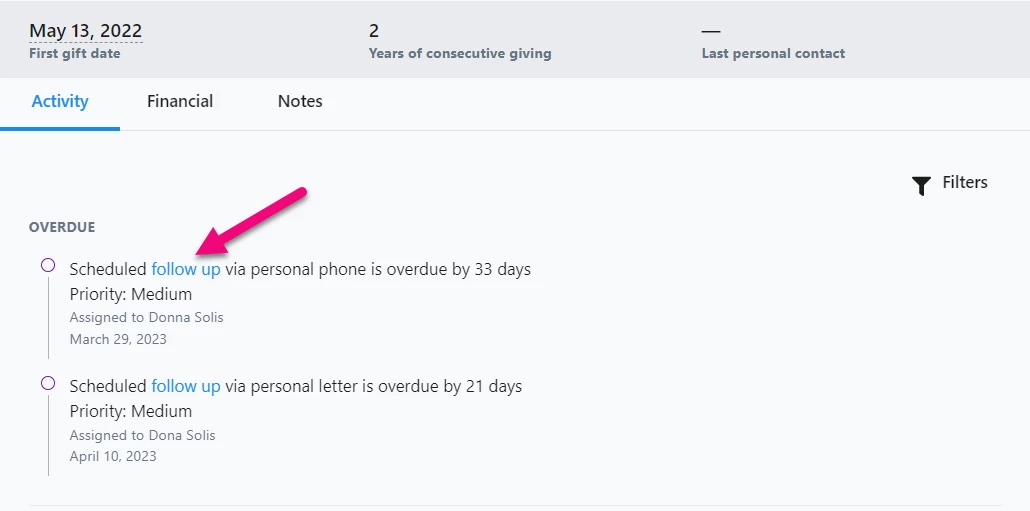
When you click the follow up hyperlink, a window opens with the option to complete, edit, or cancel the appointment.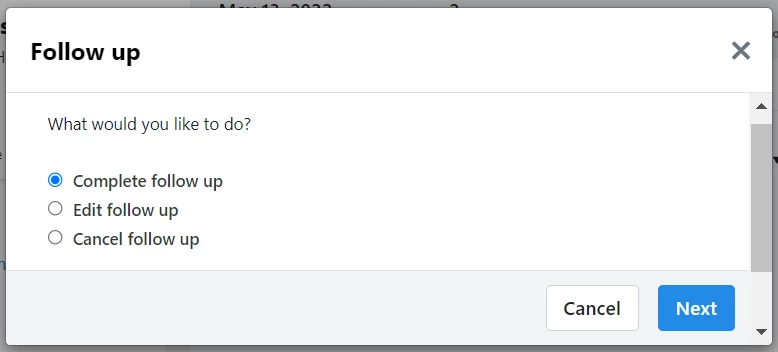
- Complete follow up - Record the result of the follow-up by selecting an option from the Result dropdown. Result options vary depending on your permissions and the type of contact (Individual/Person or Organization).
- Edit follow up - Change any details recorded for the follow-up
- Cancel follow up - Mark follow-up as canceled in the contact history.
Viewing on the Fundraising Management dashboard
If you use the Fundraising Management dashboard as a home screen, you can add the Follow Ups card that will display a short, detailed summary of all your scheduled follow-ups.
Read more about customizing the Fundraising Management dashboard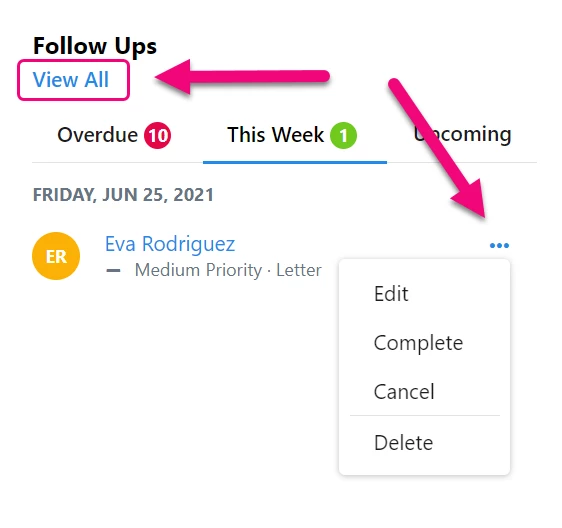
- Use the tabs to see Overdue follow-ups, notices for This Week, and Upcoming reminders.
- Select individual contacts to see more follow-up details.
- Use the Action dropdown menu (three dots) to Edit, Complete, Cancel, or Delete your follow-up.
- View All brings you to the Follow Up Report.
Viewing on the Main Menu
If you are using the Main Menu as your home screen, you will see a number in red next to the Follow Ups entry. This indicates how many supporters you still need to contact in the coming week, as well as any that are overdue. Follow-ups further in the future will not appear on this screen yet.
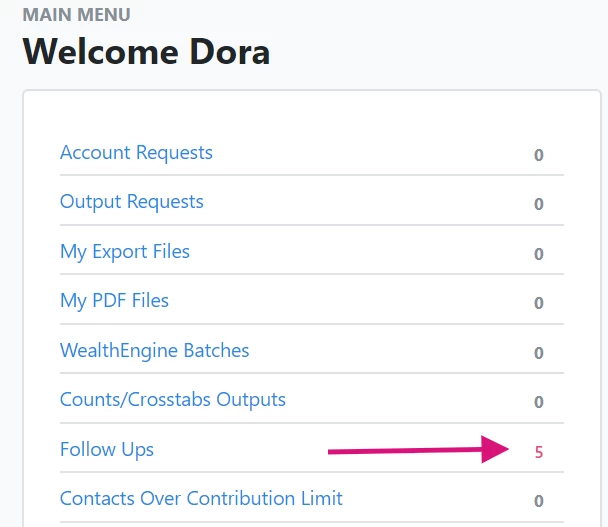
Clicking the Follow Ups link will take you to the Follow Ups Report.
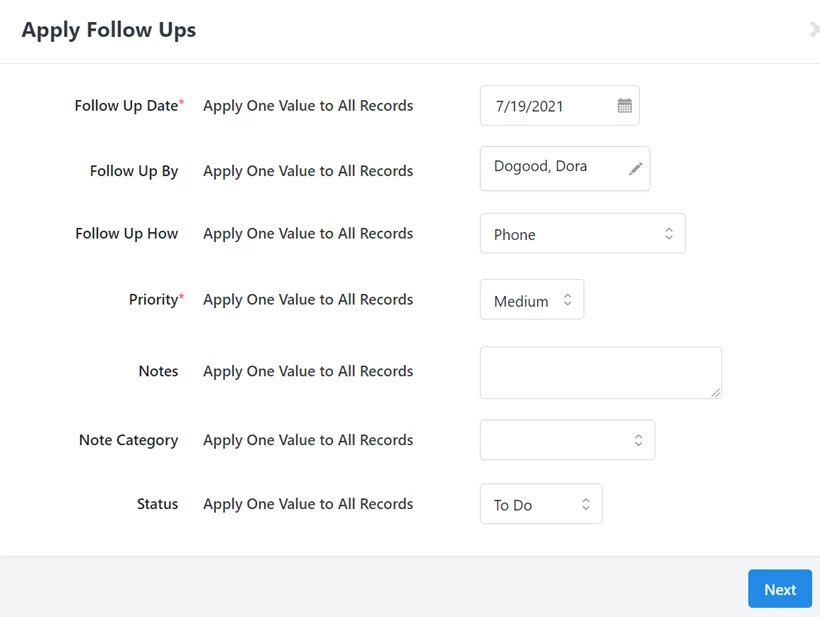
Using Bulk Upload and Bulk Apply
If you want to add or update several follow-ups at once, you can use Bulk Upload and Bulk Apply/Bulk Edit. Select Apply New Mapping > Apply Follow Ups to add your follow-up details.
If you select Status > Completed, you will be asked to select a Result for those records.
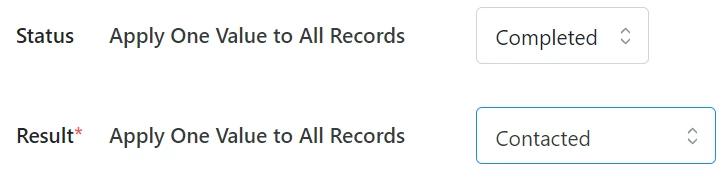
You will not be able to Bulk Edit or change any follow-ups previously marked as completed.
Working with the Follow Ups report
The Follow Ups Report helps you stay on top of which contacts need to hear from you soon. When you first open the report, it will show you follow-ups assigned to you that are still pending for the current week.
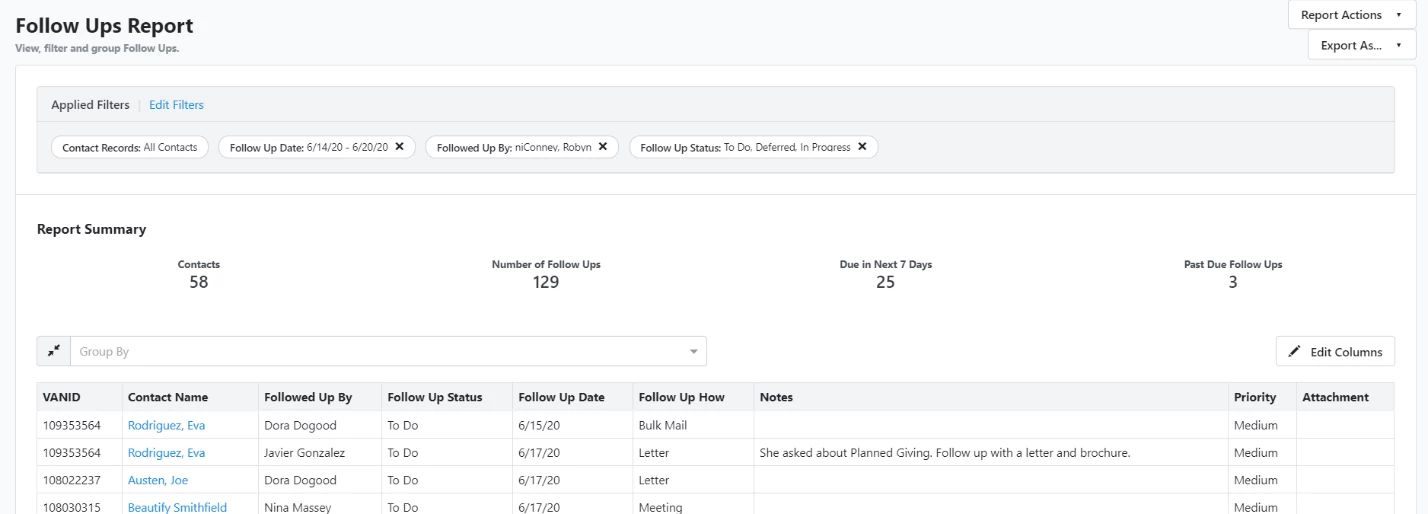
- View overdue follow-ups by using Edit Filters to select a larger range for your Follow Up Date. Choosing This Calendar Quarter or This Month can be a useful balance of more information without too much overwhelming detail.
- To include all dates, remove the Follow Up Date filter option.
- To choose any other range of dates, use Edit Filters to edit the Follow Up Date filter.
- If you want to see follow-ups scheduled for other users, edit the Followed Up By filter.
- Use Edit Filters and Edit Columns to customize the report with any other information you need.
Save your custom report by using the Save As option under the Report Actions dropdown menu. Once you've saved it, use Report Actions > Schedule to send the report to your email, daily or weekly.
You can also update or complete several follow-ups at once by filtering the report and then select Report Actions > Bulk Edit. Then, select Apply New Mappings > Edit Follow Ups.
To mark the follow-ups as complete, set the Status to Complete and then select the Result you want to add.