

Grid View allows you to see everyone on your list on the same page. Simply select a result from a dropdown menu and move on to the next person. This view is the most popular way to enter data into the system, as it is generally the fastest way to manually enter data into the system; it is available for lists of 100,000 contacts or fewer.
Using Grid View
There are two ways to access the Grid View tool.
- From the main menu, you can click on Grid View from the Load Data menu.
- From My List, click on the Grid icon.
Depending on the tools you have access to, you may not see all of the icons pictured below, or you may see more.
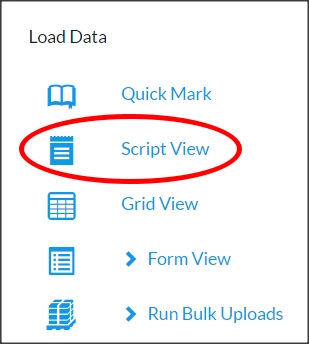

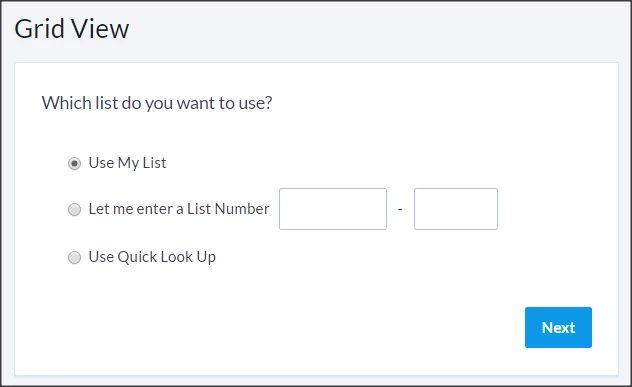
If you click on Grid View from the Load Data menu, you will be able to select from three or four options
- Use My List - allows you to enter data on contacts in a grid view, much like a spreadsheet view
- Let me enter a List Number - allows you to easily enter data from a list that was printed for a canvass. If a list is not associated with canvassing - i.e. door knocking - you should select another option.
- Continue my work - allows you to resume recent Grid View data entry. This will only appear if you have been working on Grid View data entry recently.
- Use Quick Look Up - will direct you to Quick Look Up after the parameters for Grid View are selected. You can then look up each record one at a time.
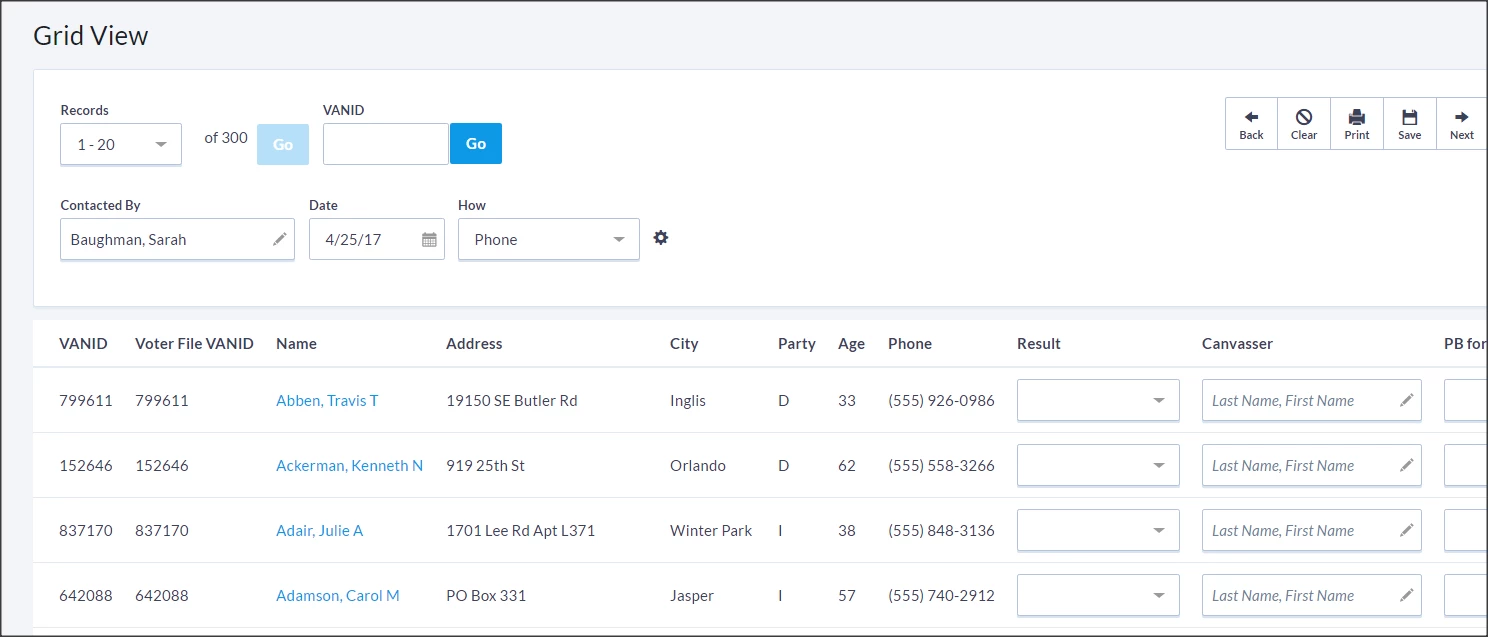
After selecting the option you want, you can choose which saved scripts to use, the canvasser, canvass date, and contact method. The script determines what information can be edited or added to the record, based on the fields and contact methods that have been added to the script.
NOTE: If you select a contact method that is not included on the form, then you will not be able to update the information.

On the next page you will see all of the names on your list and a result column with a drop down menu. Select a result for each person and move on to the next person. Once done updating the page, click Save or Next to move on to the next page of the list. If done with the entire list, click Save.
FAQs and Tips
- You can adjust the previously selected settings by clicking the gear icon next to the contact method field.
- As it's common to need to enter many Not Home results, there is a Mark Remaining Not Home button at the bottom left of each page, so you can more quickly enter data by filling in the results where contacts were made, and then clicking the button to auto-fill the rest.