

Attention: EveryAction Digital is now Bonterra Digital. Please bear with us as we update our screenshots to match our new name.
Digital advertising is an important part of any multi-channel fundraising effort, providing more leads for donor acquisition and helping you increase organization recognition when building donor relationships. Our digital ad tools make it easier for you to track your digital outreach efforts and see the results of those efforts over time.
Read more about Digital Ad Plans
Creating the right audience is a crucial first step for any digital ad campaign. You don’t want to waste your budget on contacts you already have if you are running an acquisition campaign and you don’t want your existing donors to see messaging that doesn’t fit their giving profiles.
You can use Ad Audiences to help you create customized audiences for your Facebook ad campaigns and automatically sync any changes in your contacts and saved searches every evening to these active campaigns. Your campaigns will always use your current contacts without needing extra monitoring and you’ll have a better handle on who you are reaching with your Facebook ads.
Before you begin
You will need to enable the Facebook Ad Manager in your Facebook Business Account and make sure that the staff members who will be managing your ads have access to the account.
Create your ad on Facebook and link it to your Online Action form, website, or another landing page. Be sure to add source codes and market codes on any links to your forms, so it will be easier to track your results using our fundraising and activity reports.
If you need help with setting up your campaign in this step, you should contact Facebook Support.
Connecting your CRM
Once your ad is ready, you will need Admin-level access in your Facebook ad account to link it to your CRM. Open Ad Audiences from the Sidebar and then select Connect ad account.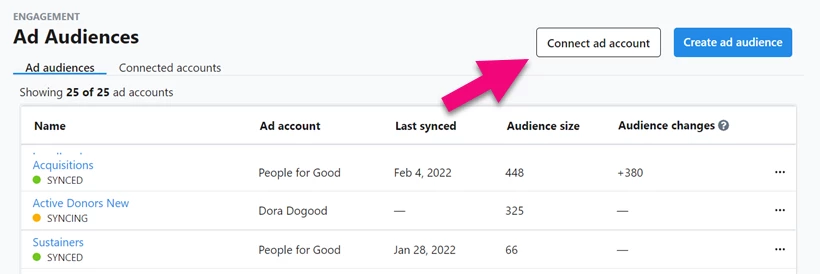
You will see the Facebook login screen and be asked for permission to link it with your Bonterra Digital or NGP account.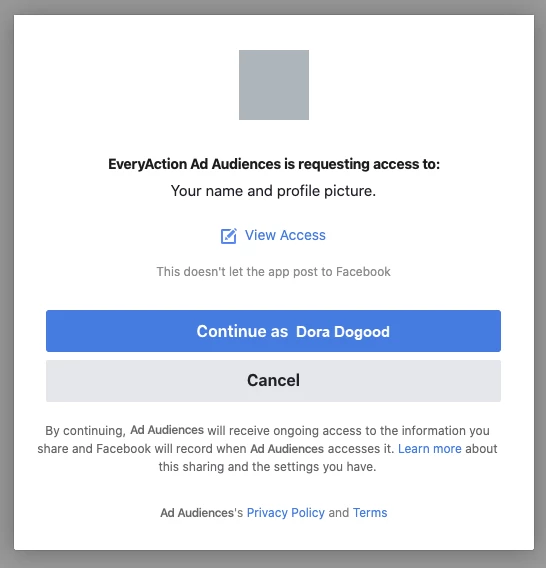
You can select which ad account to include in the audience tool if you have access to more than one.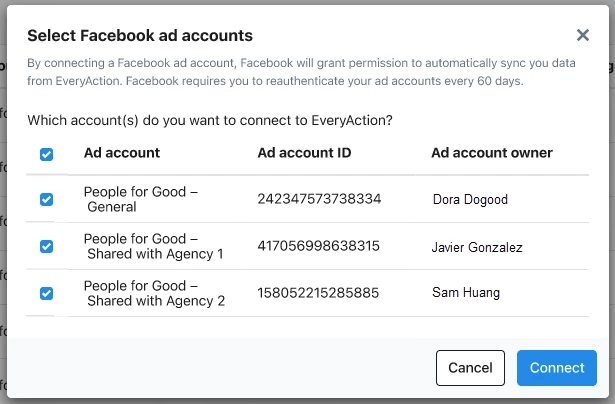
Once your account is linked, it will appear under the Connected accounts tab. Anyone in your organization who has permission to access your Facebook ad account will now be able to create new audiences using that link.
Accounts need to be reauthenticated every 60 days.
Creating your audiences
There are three ways you can use your contact lists to create audiences for Facebook:
-
Targeting displays your ad directly to the Facebook users who are in your contact search
-
Lookalike uses the contacts in your search to help you find Facebook users who have similar characteristics
-
Suppression will exclude all the users in your search from your ad campaign
The easiest way to begin is by opening Ad Audiences from the Sidebar and selecting Create ad audience. You can choose from several pre-configured recommended audiences or choose one of your saved searches.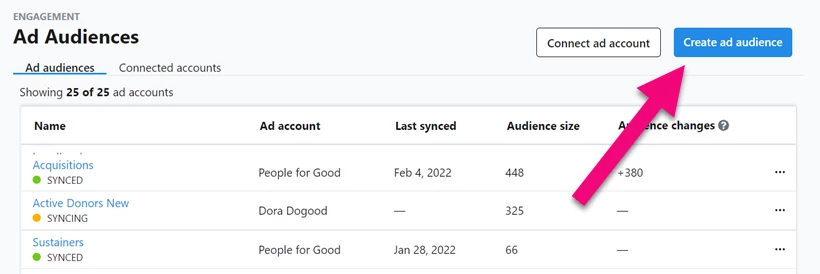
You can also begin from the My List page by saving a search using the Advertising link and then selecting Create Ad Audience.
Add a name and description for your audience and confirm that you are using the search you want to include. You can edit the search or change from a pre-configured audience to one of your own saved searches.

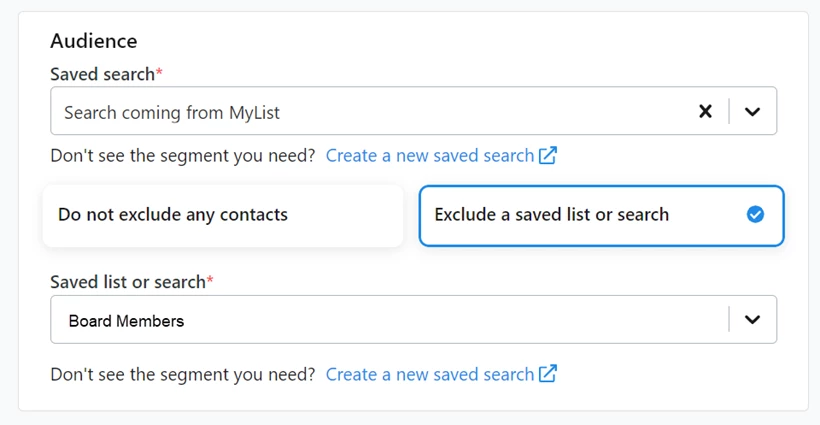
If you are using a saved search, you can choose whether you want to also add an exclusion to the saved search you are using to build your audience. The exclusion can be either a saved list or a saved search and is used to fine-tune the final audience you will use to create the Targeted, Lookalike, or Suppression audience.
Once you have the search the way you want, you should update your count to make sure you have the right number of contacts in your audience.
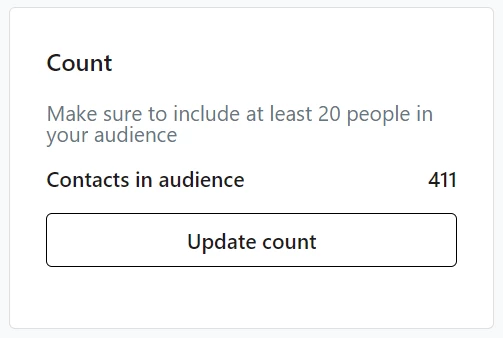
Your audience should always be larger than 20 contacts to work with the Facebook ad engines. If you are using a saved search that drops below 20 contacts, your sync will fail the next time it runs and you will need to manually change your search to include more contacts.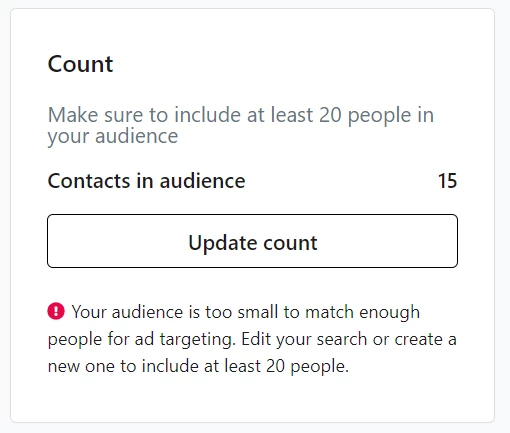
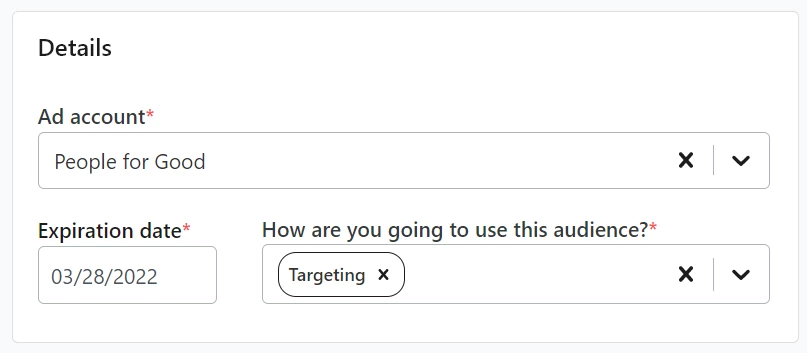
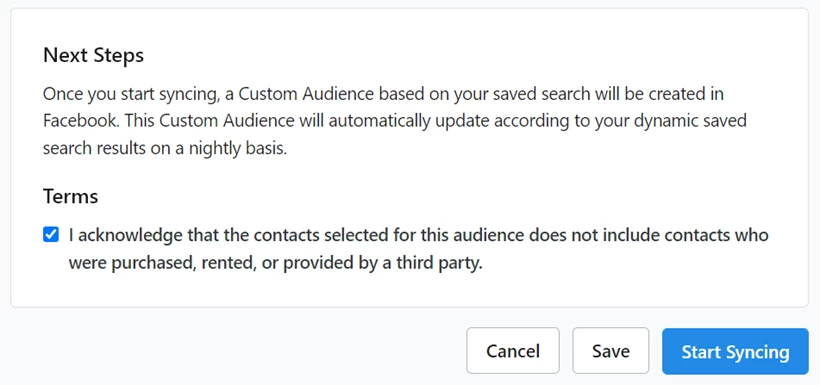
Once you have the correct audience size, you can then choose which Ad Account you want to send this audience to, specify the type of audience you are creating, and add the expiration date.
When you are ready, you can accept the Terms and Conditions and Start Syncing to Facebook.
Tracking your Facebook audiences
From the Ad Audiences list page, you’ll be able to see which of your audiences are successfully syncing and which are failing or inactive. You’ll also be able to use the action dropdown (…) to Deactivate or Delete an audience.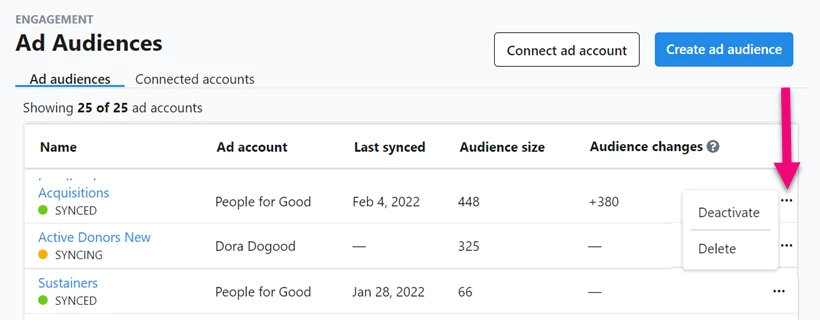
Open any of the audience details to see the name and ID number you can use to help you track your ad results on the Facebook platform.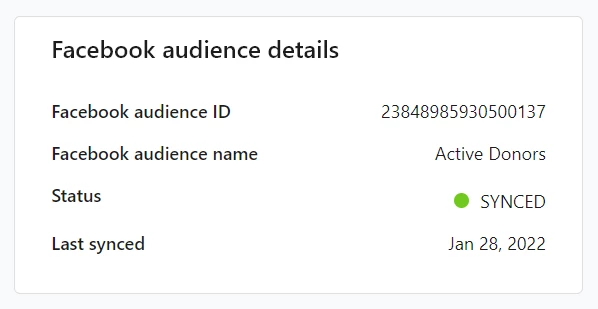
If you included source codes and market codes on the links from your ads to your Online Actions forms, you will also be able to track your progress using the Contribution Report or the Online Activity Report.