Direct Response Plans help you manage your Direct Mail acquisition efforts. Easily compare campaigns and choose the most effective list segmentation or messaging for your program. Measure the long-term value of the donors you acquire and review the ROI of each mailing or calling round to fine-tune your program and improve your results.
Using Eliminator files
At the start of each acquisition effort, create an Eliminator file to exclude anyone that you already have in your database and export it to send to your vendor. Create these lists regularly and alert your vendor to any changes, to avoid paying for records you already have in your housefile.
Using Acquisition Lists
If you provide the names of your acquisition lists when you moved onto our system, those lists have been added to your database. To add or change acquisition lists, or if you are starting a new Direct Mail acquisition program, update your list names and details by searching Acquisition Lists on the Sidebar.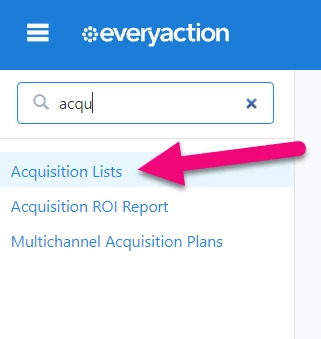
From your list page, select the name of a list to edit, or choose Add new Acquisition List at the top of the page. Add or update the details for each of the lists you plan to use in your effort.
Creating source codes
Track where donor contributions come from by linking them to a particular outreach effort with source codes. Add a unique source code to each segment in your Direct Response Plan.
You can create source codes for Direct Mail acquisition efforts as you would any source code. Open Source Codes from the Sidebar or select Source Codes from the Codes • Questions • Scripts dropdown on your Main Menu. Choose to Add New Source Code or select the Name of an existing code on your list to edit. From there, you can track contributions according to three categories under the Track Your Efforts section.
-
Campaign Type & Campaign - Select Acquisition: [Effort Name]
-
Channel & Contact Type - Select Mail: Direct Mail
-
Revenue Stream & Type - Select Direct Mail: Acquisition

Uploading packages
Upload packages from your design team or vendor to your database to link them with the correct list segment.
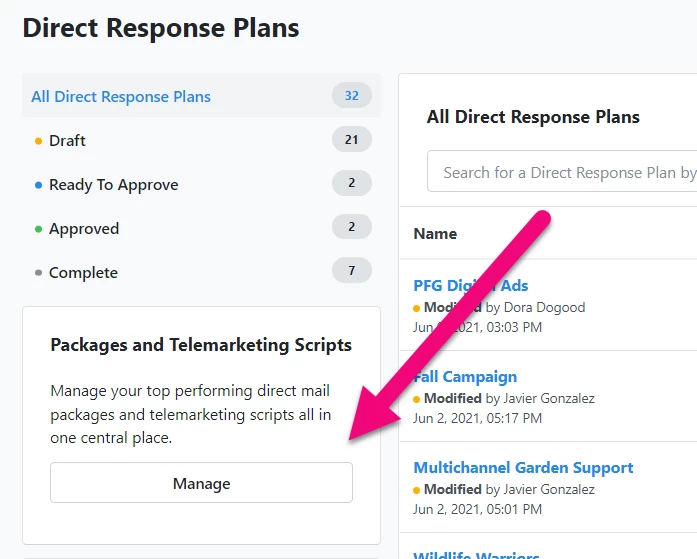
To upload your packages, search Direct Response Plans on the Sidebar. Select Manage under Packages and Telemarketing Scripts.
Creating your Acquisition Plan
Open Direct Response Plans from the Sidebar or, if you’re working from your Fundraising Management dashboard, select View All on the Direct Response section.
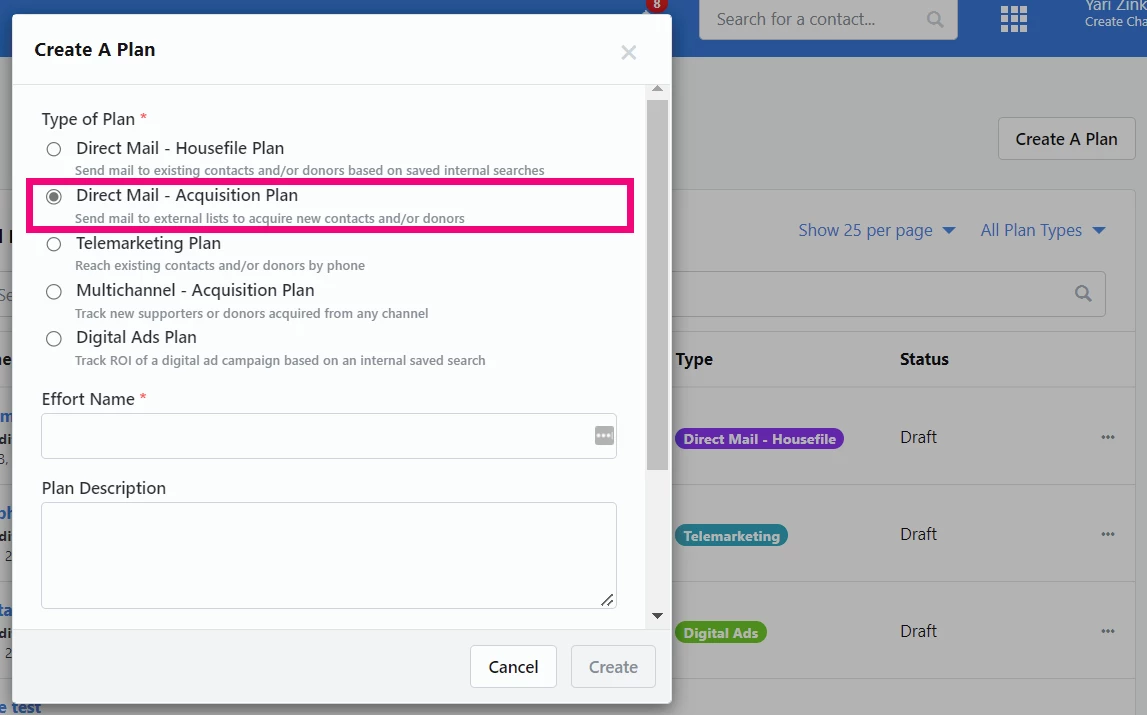
Create A Plan from the top of your list page and select Direct Mail - Acquisition Plan.
Add the preliminary Details about your plan and select Create. You can add additional details during this first step that help you track ROI and log vendor information before you Continue to the next step.
The Budgets & Projections information you add can be monitored later from the Direct Response sections of your Fundraising Management dashboard.
Next, enter Vendor Information, including mailing and list instructions, and select Continue.
Building your audience
Add or import the details about each of the segments in your mailing.
If you already have your list of segments and source codes in a spreadsheet, Import them directly into your plan. Download the sample template to make sure your spreadsheet is formatted correctly before you move to the next step.
If you have not already prepared your segments, choose Add Segment. Create your first segment by selecting one of your pre-loaded acquisition lists (see above) and naming the segment. Make sure you Save before adding additional details.
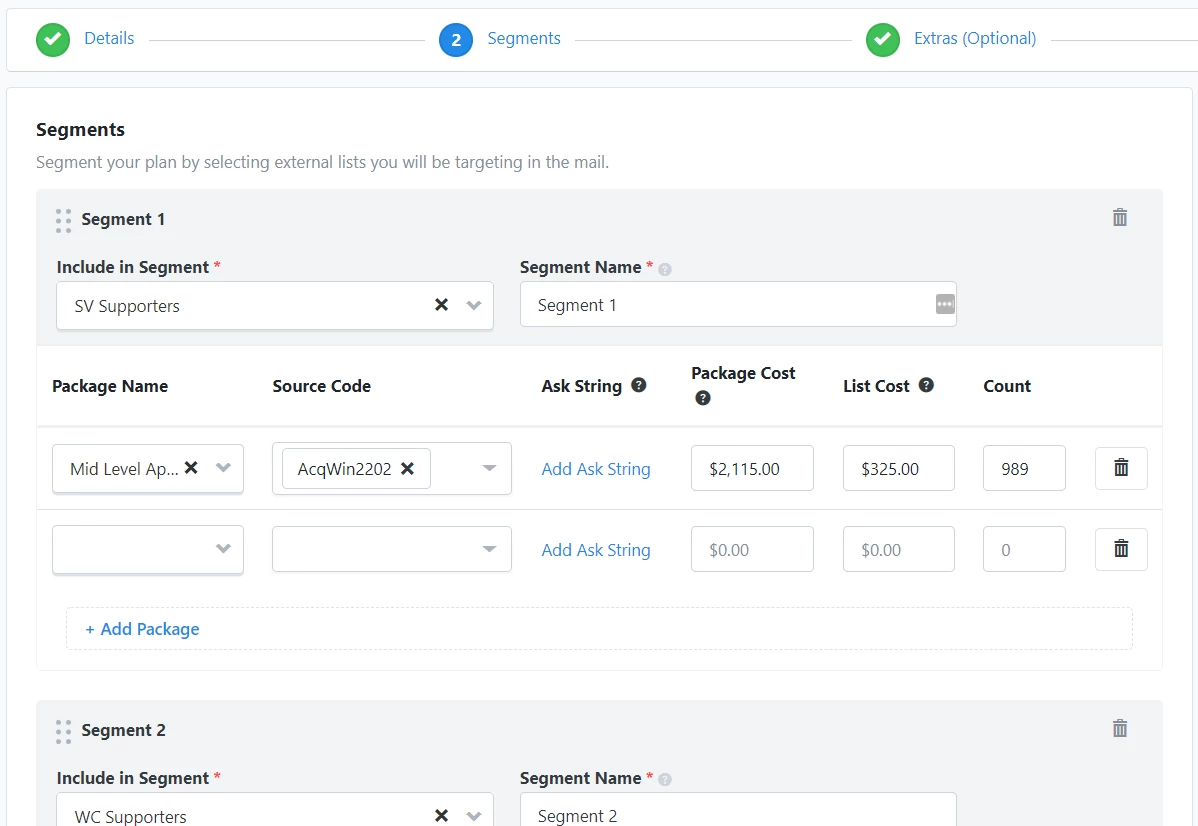
Continue adding details for that segment. Select your Package from the dropdown. If you have multiple packages, use + Add Package to include another one in your segment.
Next, add Source Codes to track the responses you get from this segment. If you choose to Add Ask String, you can include up to six ask amounts for that particular segment. You can also track ROI by adding costs for the package, the list rental, and/or the total number of pieces mailed for the segment.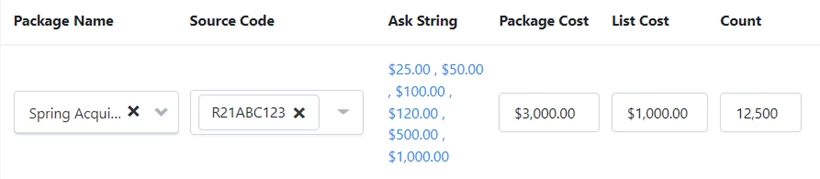
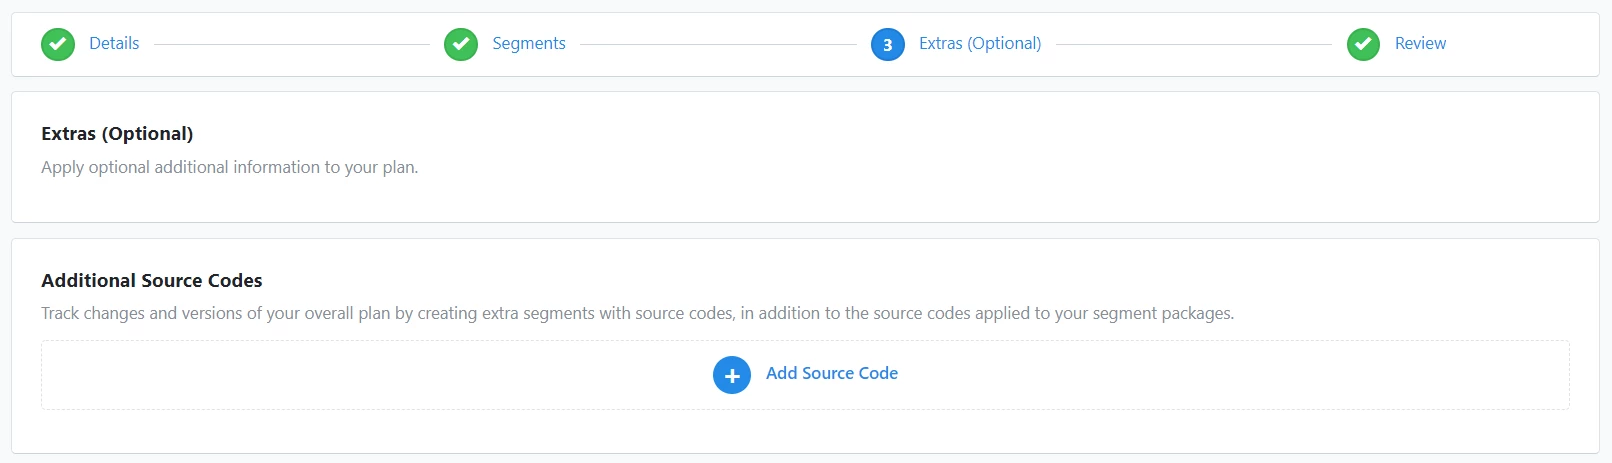
Continue creating additional segments for your plan. On the third step, Extras (Optional), you will be able to add any other source codes and segments you need to include with the plan. As an optional step, however, you can choose to leave it blank.
Reviewing and exporting your plan
On the final step, you will be able to review and, if necessary, edit your plan.
Move the Status to either Ready to Approve (if you have a reviewer) or Approved.
Once approval is confirmed, Export & Complete your plan. Retrieve your plan from My Export Files on your Main Menu to deliver it to your vendor or keep it for your records.
When a Direct Mail - Acquisition plan is marked Completed, you can only edit certain cost fields in the plan.
Managing responses to your effort
Coding contributions and responses with the same source codes you used for your segments allows you to easily track your ROI and measure the influence of your mailing on your program.
If your vendor provides you with a Finder file at the end of your effort, ask Client Services to add it to your account as a shadow table you can use to add people to your contacts as they respond to your effort without extra data entry on your part.
You can also track any non-contribution engagement responses to your efforts by creating Activist Codes for responses to your petitions or surveys, or that identify contacts who submit a Planned Giving Information Request.
Reporting
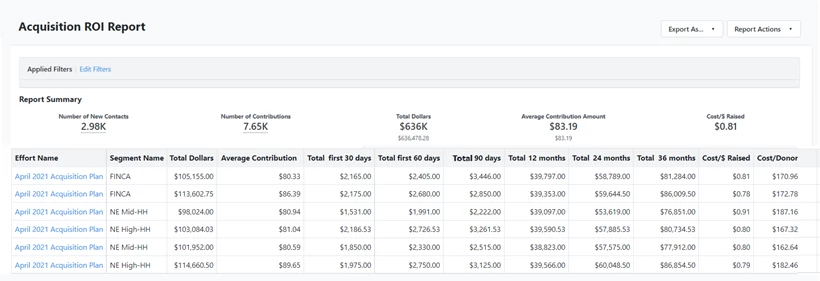
After you export your Direct Response Plan, use your Acquisition ROI Report in the Report Manager to track responses to your effort.
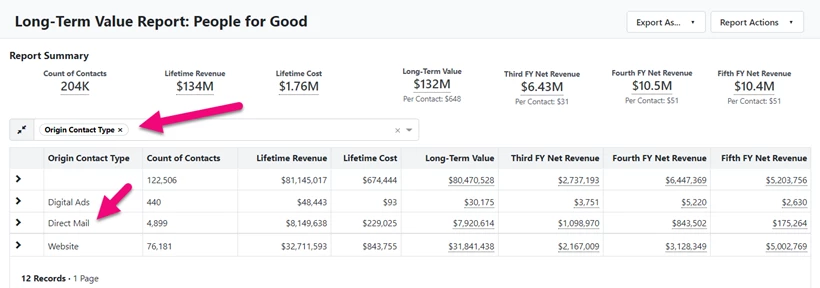
Use your Long-Term Value Report to track the value of the donors you are getting from your acquisition efforts. To view the results of your Direct Mail efforts, Group By > Origin Contact Type.