Custom Fields allow you to design your own special fields for contact records, contributions, and disbursements. They help solve tricky data storage issues when Activist Codes, Survey Questions, or other fields aren’t the right tools to record the information you need.
Uses for custom fields can include things like meal preference at an event, whether someone has signed a waiver, the date that members joined an organization, and employment status. Custom Fields are particularly useful when posed as Single-Response Questions on an Online Form for supporters to self-select their response. Once you’ve created these fields, you can then add your data and view them in your records, use them for searching, and add them to your reports.
If you have a Development Pro package, you can also create Custom Calculated Fields, which will let you create customized comparisons of giving amounts over time or track the number of gifts donors are giving of specific kinds.
Understanding custom fields and groups
Custom Fields can be created by administrative users. Each Custom Field is assigned to a Custom Field Group that will help you categorize and control access to it. Committees that have access to a particular Custom Field Group will have access to all of the Fields contained within that Group. If you want to disable a custom field, you can mark the entire group it belongs to as Inactive.
Depending on the type of package and permissions you have, you will be able to create different kinds of Custom Field Groups:
-
Contact - used to add custom information to contact records
-
Contributions - used to add custom information to each contribution
-
Disbursement - available for organizations using a compliance setup that need to track customized expenditure information
If you are a Development Pro user, you will also be able to create Custom Calculated Fields, which have slightly different capabilities, and which you can use to make it easier to track aggregated results in the contact record.
-
Read more about creating Custom Calculated Fields (EveryAction)
Committees have different Custom Field limits. Some committees can create up to 150 Custom Fields of each type (Contacts, Contributions, Disbursements), and other committees can create up to 150 Custom Fields total.
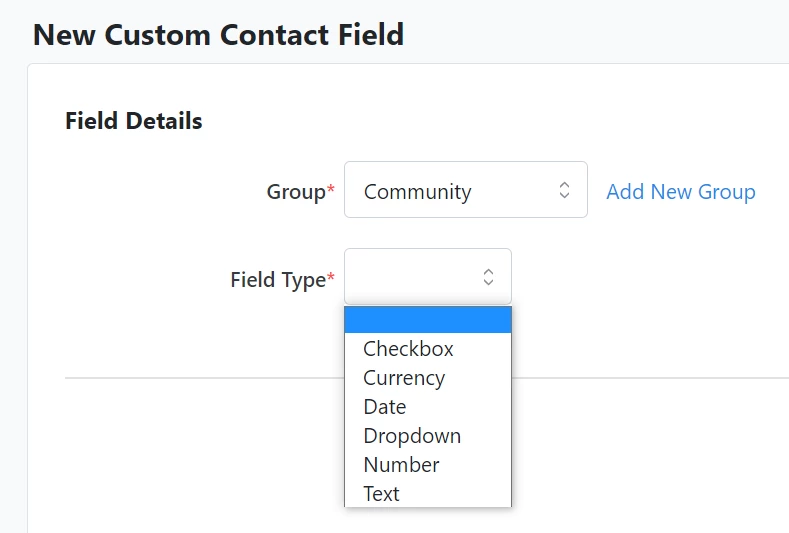
Each Custom Field can be configured to have a format field type, such as Checkbox, Currency, Date, Dropdown, Number, and Text (single-line). These fields are viewable on a person’s individual record and can be used as search criteria or added to specific reports. They can also be applied in bulk.
Creating a Custom Field Group
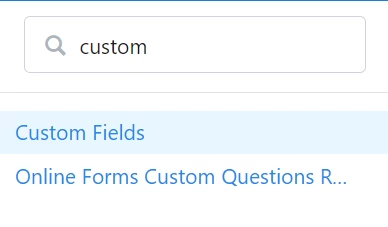
If you first want to create a new Custom Field Group, search in the Sidebar for Custom Fields.
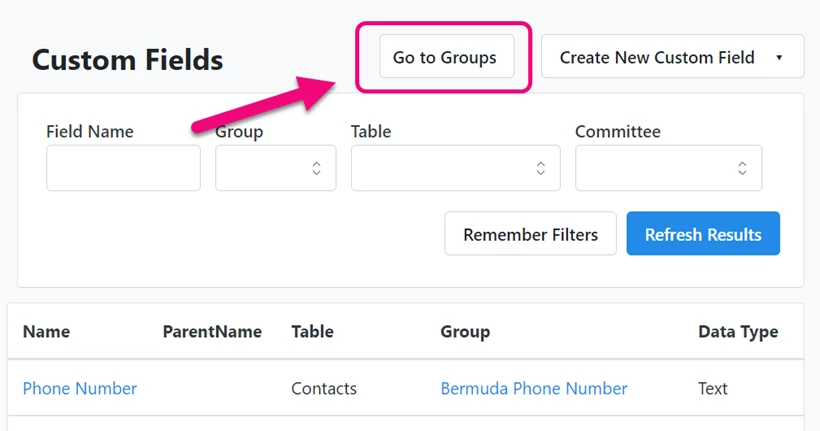
At the top of the list page, you will see a link for Go to Groups. (You can also create a new group directly from Create New Custom Field by selecting Add New Group next to the Group dropdown selection menu.)
From the Groups list page, you can select Create New Custom Field Group and choose the type of group you want to create. The type of group you select will appear where the custom fields will be available (on contact records, contributions, or disbursements).
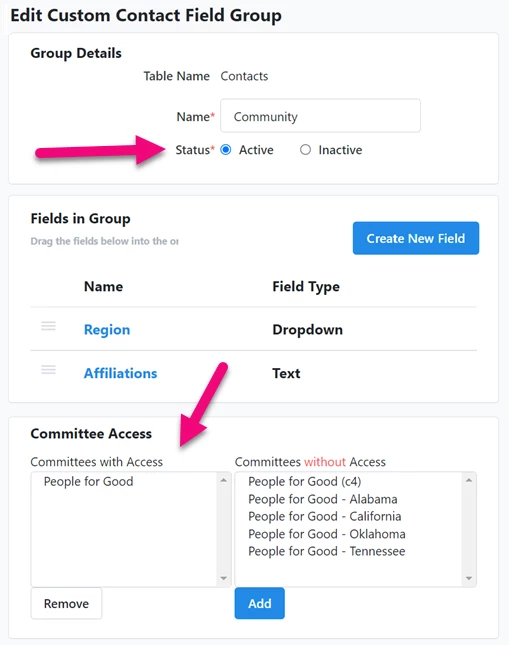
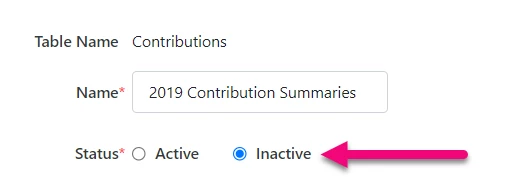
After naming and saving your group, you can then begin creating new fields. You can also select which Committees will have access to the fields in that group. If you later decide you no longer need the custom fields, you can mark the group as Inactive.
Once you have created a Custom Field Group, you can then begin adding your Custom Fields.
Creating Custom Fields
You can either use the Create New Field link from the group you just created or search in the Sidebar for the Custom Fields and select Create New Custom Field. Choose the type of Custom Field you want to create and then select the Group from the dropdown (or select Add New Group and follow the instructions above if you need to add this field to a new group.)
Next, select the Field Type (checkbox, dropdown, currency, and so on).
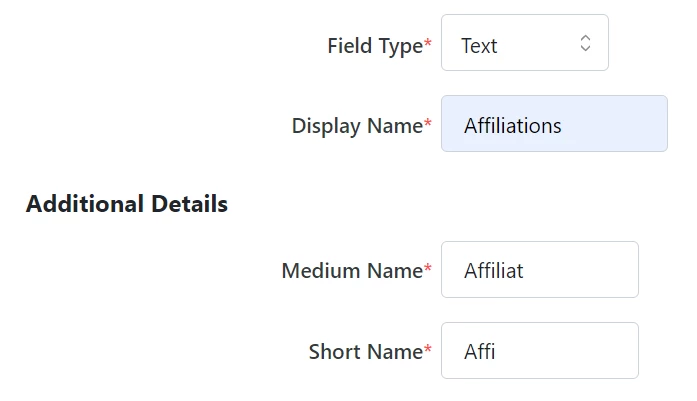
Select a Display Name that will appear as the field label in your records (this can be edited at any time). Medium, Short, and Plural Names (if applicable) will pre-populate with values once you enter a Display Name.
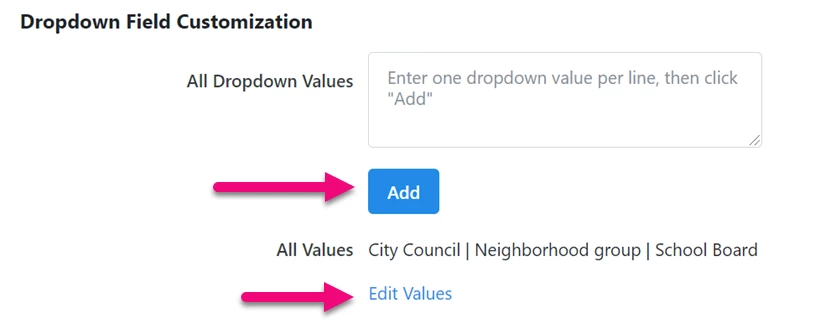
If you chose the Dropdown field type, you will then be asked to add the values you want to include in the dropdown. When configuring the values, make sure each item is placed on a separate line. There is no need to use commas, semicolons, periods, or any other punctuation or demarcation.

After you save the custom field, you can return to edit the dropdown values by selecting Add or the Edit Values link below the list of fields.
If you are creating a Contribution type Custom Field, you will also be asked whether the field should be applied to every contribution that is part of a recurring commitment or only the first contribution.

Editing Custom Fields
You can always edit any of your custom fields after you’ve created them. Return to the Custom Fields list by searching in the Sidebar. You can then filter the list and click on the name of the field you want to edit.
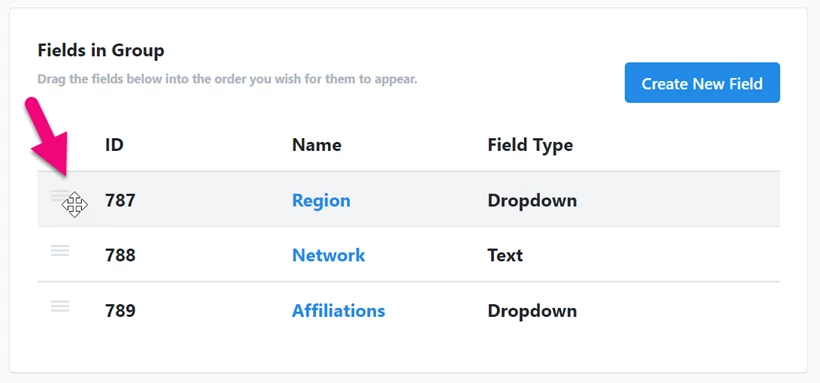
You can change the order in which your fields appear in your contact records, contributions, disbursements, and Create a List. Select Go to Groups from the Custom Fields list and click the name of the group you want to edit. Go to the Fields in Group section and drag and drop the fields in the order you wish.
Exporting Custom Field data
Users with the ability to create custom fields can also export custom field data.
Exporting allows you to review custom field data before deleting it, to ensure that you’re only deleting data that you no longer need. By exporting before deleting, you’re also creating a backup of your custom field data that can be re-uploaded (using Bulk Upload Wizard) if you need it in the future.
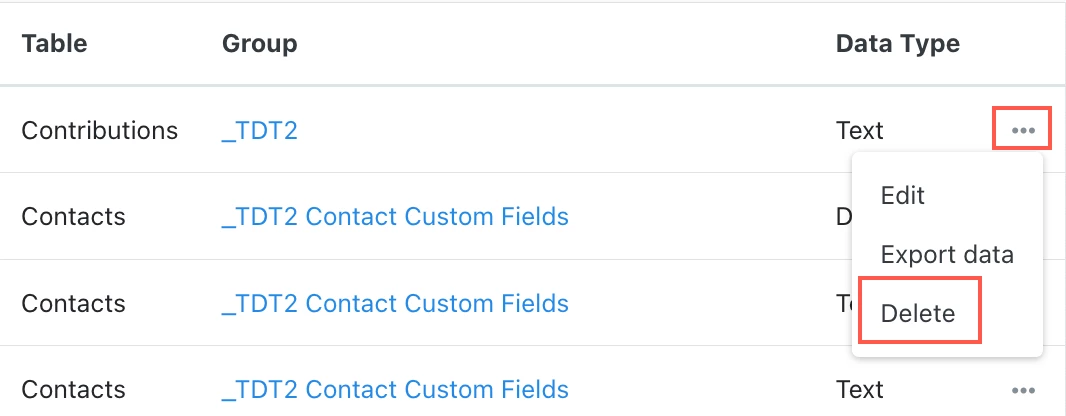
To export custom field data, navigate to the Custom Fields page. Select the 3 dots on the far right of the row of your desired custom field to open a dropdown window with the options to Edit, Export data, or Delete.

Selecting Export data will open a pop-up window with more information.
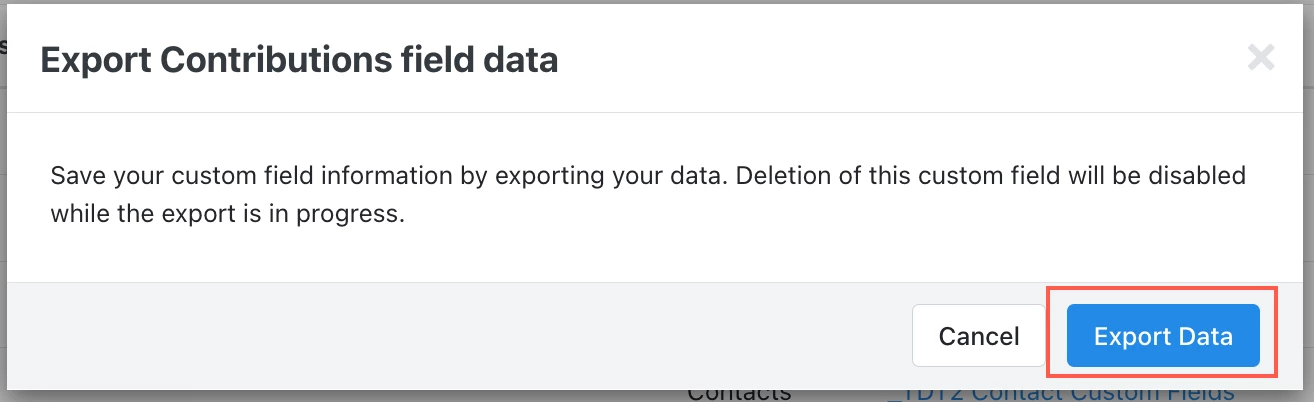
If you want to continue, select Export Data.
You’ll see a notice at the top of the page directing you to the export file location.

You can also export custom field data from the Edit Custom Field page.
From the Custom Fields page, select the name of your desired custom field from the list.
At the bottom right of the page, under the Additional Details section, you’ll see the options to Cancel, Export Data, Delete, and Save.

Selecting Export Data will prompt the same informational message and confirmation message described above.
Deleting Custom Fields
Users with the ability to create custom fields can also delete custom fields.
To delete a custom field, first navigate to the Custom Fields page. Select the 3 dots on the far right of the row of your desired custom field to open a dropdown window with the options to Edit, Export data, or Delete.
Selecting Delete will open a pop-up window with a warning message and an option to export your data first.
Exporting allows you to review custom field data before deleting it, to ensure that you’re only deleting data that you no longer need. By exporting before deleting, you’re also creating a backup of your custom field data that can be re-uploaded (using Bulk Upload Wizard) if you need it in the future.
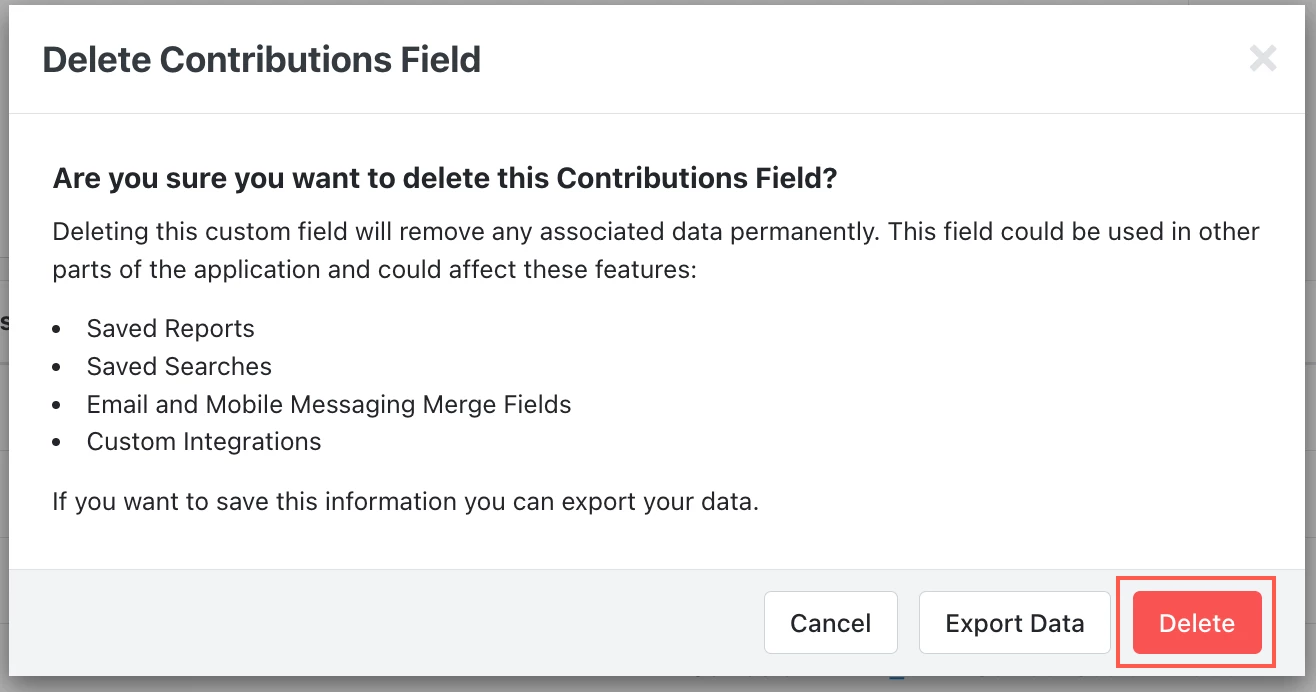
If you want to continue with deleting, select Delete.
You’ll see a notice at the top of the page confirming the deletion.

You can also delete custom fields from the Edit Custom Field page.
From the Custom Fields page, select the name of your desired custom field from the list.
At the bottom right of the page, under the Additional Details section, you’ll see the options to Cancel, Export Data, Delete, and Save.

Selecting Delete will prompt the same warning message and confirmation message described above.
Viewing Custom Field delete activity
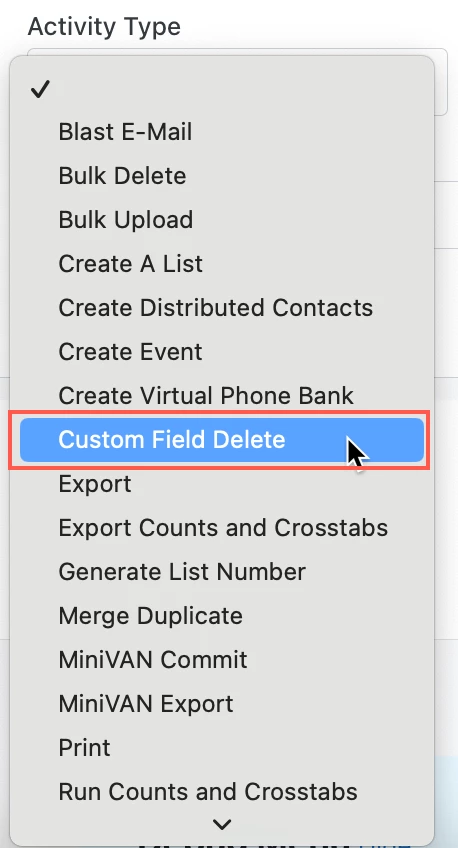
If you want to see custom field delete activity in your committee, you can use the User Activity Report.
Under the Activity Type dropdown, select Custom Field Delete and then Refresh Results to see custom field delete activity.