

(4 min read)
Templates are pre-formatted email designs for creating Targeted Emails with consistent styling and branding across your organization. Using the Drag & Drop editor, set rows or content blocks to prevent alterations or omissions of important sections, like headers and footers. If you are in a multi-committee setup, you can share templates between committees, so that your affiliates also meet your style guidelines and best practices.
Read more about creating Targeted Email with the Drag & Drop editor
If you are using the Classic Editor, create pre-formatted messages with Themes and Reusables.
Watch this video about themes and reusables
Using templates to create an email
When you first open the Drag & Drop editor from the Compose Messages step in Targeted Email, you are asked if you want to use a template. Recently updated templates appear at the top.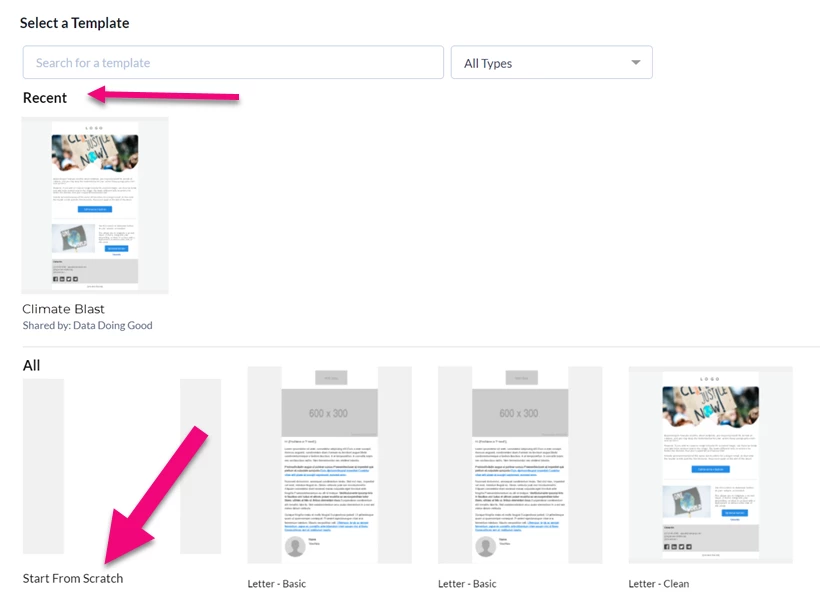
Preview the template by clicking the thumbnail image. Select Use this template when you find the one you want. Select Start from Scratch if you prefer to create a free-form email without a template.
Read more about creating mobile-ready messages with Drag & Drop
The template you select may have certain rows or elements that are locked, not editable. A warning message appears if you try to edit these elements. To change locked elements, you need to edit the template.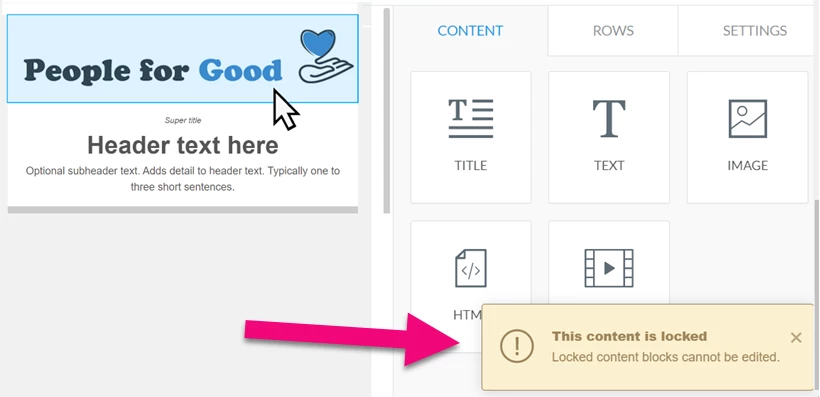
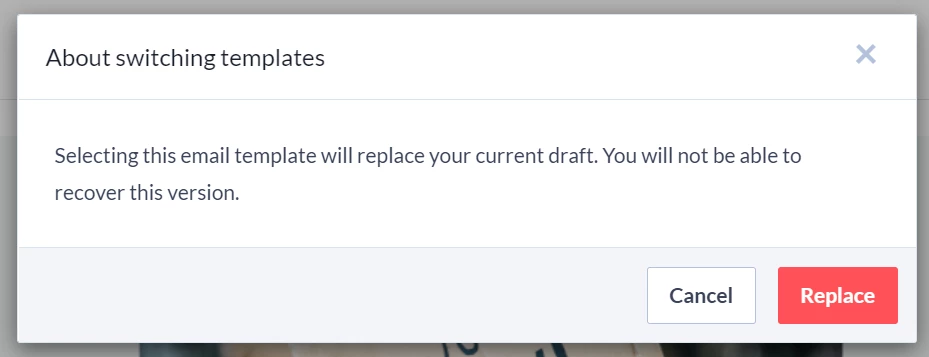
Switching templates as you compose
You can switch templates at any time as you create your Drag & Drop email, but you will lose the progress you make in the initial design. To select a new template, follow the link at the top left corner of your screen. Confirm the action by selecting Replace.
Using the Content Library
All of your templates are listed in the Content Library. When you first open the list, you may see several default templates already loaded in. Open the Templates section to view a complete list of available templates.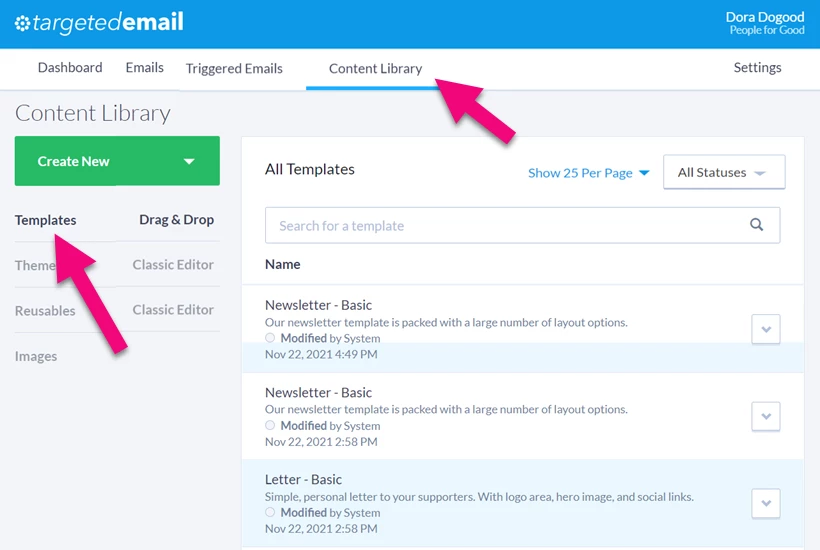
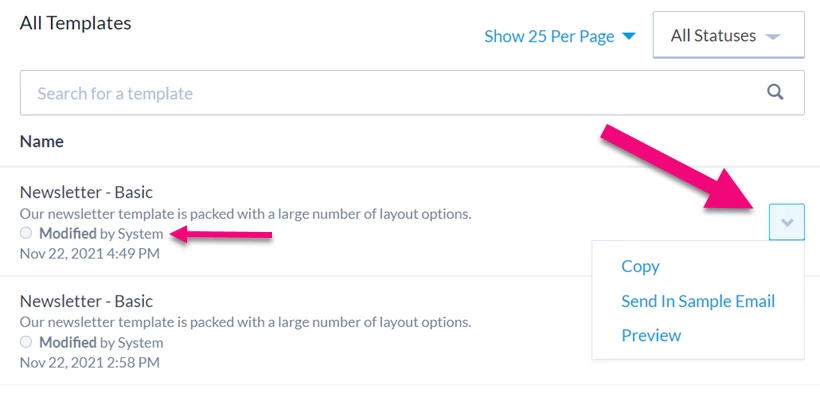
Default templates in your library will always appear as Modified by System. While you cannot edit default templates, you are able to copy them and make adjustments in your own version.
Copy, Send a Sample Email of, or Preview any of your templates using the dropdown menu.
Creating your own templates
To begin creating a new template select Create New, then Template from the Content Library tab in Targeted Email.
You can also begin by copying another template.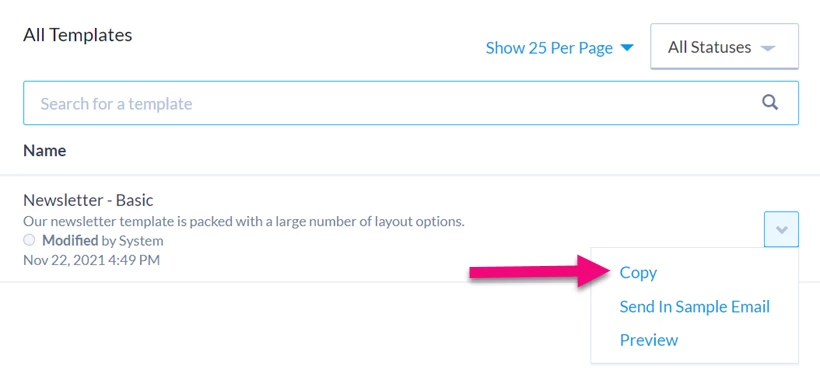
After you name your template and provide a description, select Design Template to design it in the Drag & Drop editor.
Read more about designing with Drag & Drop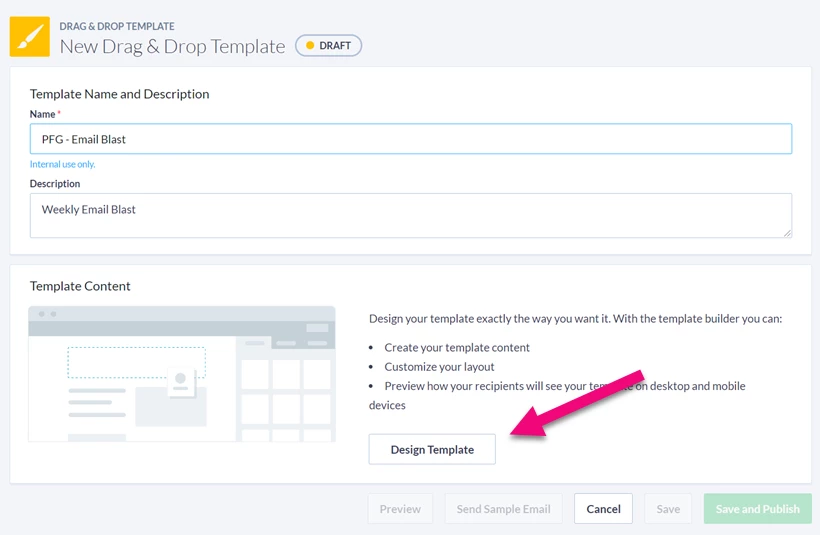
If you want to base your template on a pre-existing design, you can select one of the templates in the list. Or Start from Scratch.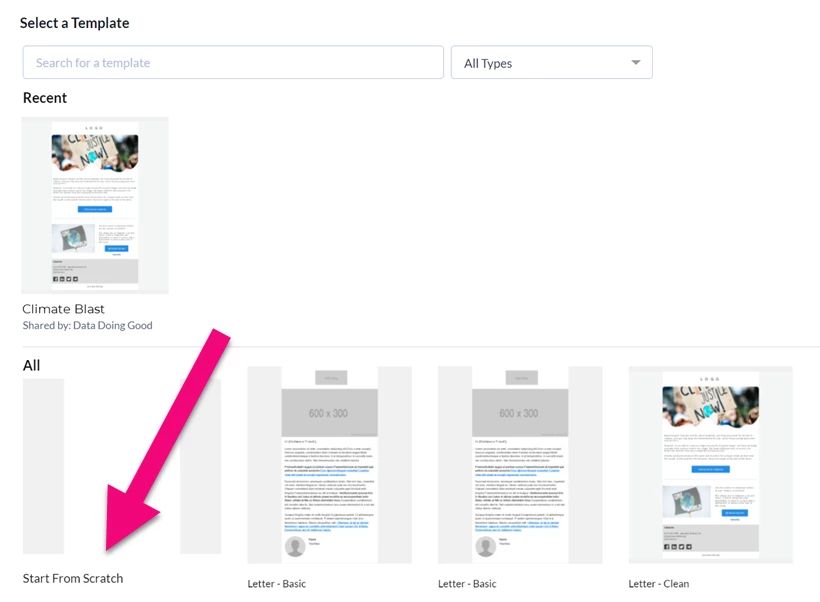
Proceed setting the rows and content blocks you want in your template.
At the top of the Properties section for each row or content block, you will see a toggle for locking or unlocking that element. Locked elements will not be editable by anyone using your template. Use them for evergreen elements in your design, like logos, buttons, and links.

Additional design tips for designing templates:
-
Add explanatory text to ensure anyone using your template understands its purpose and what elements they can edit
-
Double-check that your design is mobile-friendly
-
Preview your design and Send a Sample to yourself or others so you can view it on different email platforms before you publish your template
Assigning access to your template
Your template is automatically visible to anyone else in your committee. If you are in a multi-committee setup, choose which committees can use your template and whether or not they can edit it from the template details page. Leaving the edit box unchecked prevents your affiliates from unlocking the rows or content blocks in your templates.
Editing or deactivating your template
Published templates that you have editing permissions for are accessible using the link on the list of templates in the Content Library.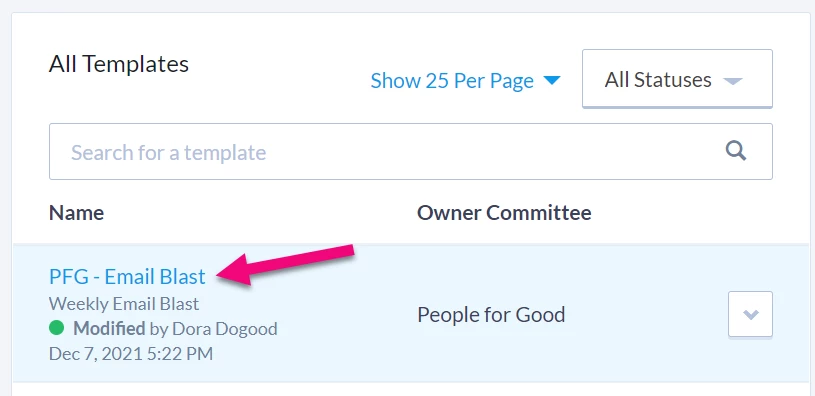
From the template details page, you can then
-
Edit the name and description
-
Edit the design
-
Assign committee access
-
Preview and send a sample
-
Deactivate the template for everyone going forward (any existing emails will not be affected)
-
Save and Publish