

(2 min read)
When a contact indicates that they wish to Unsubscribe from your emails, you need to make sure that you honor their request. Sending email to contacts that do not want to hear from you and who report your email as SPAM can impact the deliverability of your messages to other supporters.
For this reason, you cannot change an Email Status value from Unsubscribed to Subscribed from within your records.
If a supporter Unsubscribed at some point but later contacts you to ask why they’re no longer receiving your messages, you can change their status by asking Support to manually resubscribe them or you can set up another method that allows them to resubscribe on their own.
Read more on managing email subscriptions
Resubscribing Manually
If a contact unsubscribes by mistake and you want them to be resubscribed manually, you will need to submit a Support request.
To request that an email address be resubscribed:
- Ask your contact to send you an email asking to be resubscribed
- Forward that message to our Support team via email and we will change their status
Resubscribing using a Self-Service page
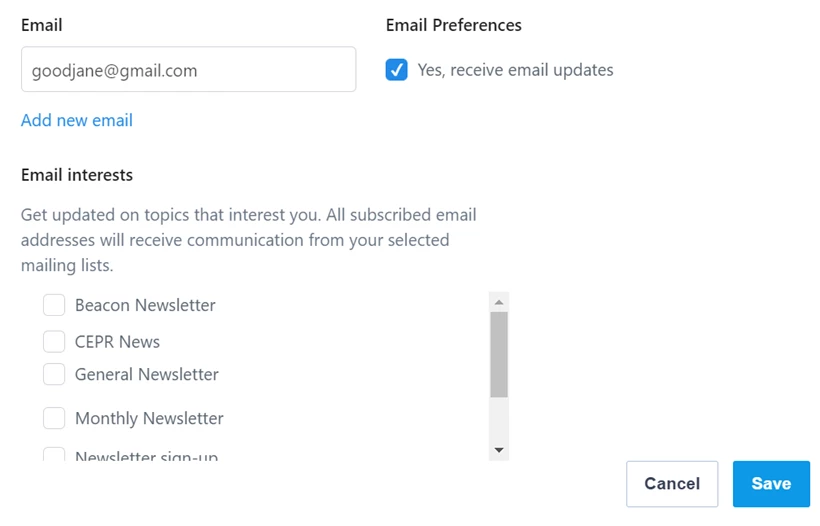
You can create and use self-service pages to allow contacts to update their subscription preferences themselves.
Read more about creating Self-Service pages
Resubscribing with Confirmed Opt-In
Supporters can be resubscribed using Confirmed Opt-In by submitting one of your forms.
We cannot resubscribe addresses that have not yet confirmed their subscription, even if the Email Signup checkbox was checked on the form they submitted. Supporters must respond to the link in the Subscription Confirmation email in order to change their status to Subscribed.
To allow contacts to resubscribe when they respond to one of your Online Actions forms, you will first need to open Online Actions > Settings > Subscription.
Select Double opt-in with a Subscription Confirmation email. This will ensure that contacts using an Unsubscribed email address submitted through your forms are sent the Subscription Confirmation email and given the chance to resubscribe to your email list themselves.
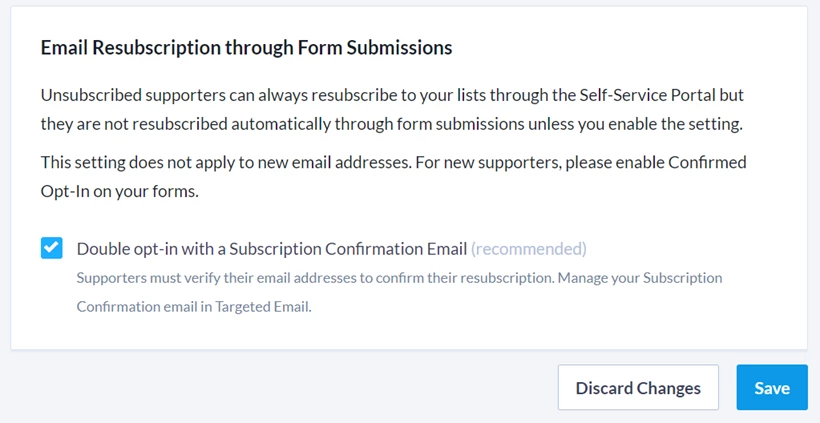
If you haven’t set up a Subscription Confirmation Email in Targeted Email, the option to enable Double opt-in will be greyed out. Once you set up the email, you’ll be able to select the option.
Once your contact responds to the Subscription Confirmation request, their status will be updated to show them as Subscribed and Confirmed.
This option is specific to email addresses that are currently Unsubscribed and is independent of the Confirmed Opt-In setting you can enable on specific forms for email addresses new to your organization.
Creating a Resubscription Form
After enabling Double opt-in, it's recommended that you create your own resubscription form with a sharable link to make it easier for contacts to resubscribe to your messages.
Begin by creating a Signup form (or any other form type). Turn on the Email Signup option and use the message area to explain that your supporter will need to respond to the Subscription Confirmation email to complete the resubscription process.
You will then have a form you can share with any supporters who wish to be resubscribed to your communications.
Welcoming back supporters
Welcoming back supporters makes it more likely they'll stay engaged and not unsubscribe again.
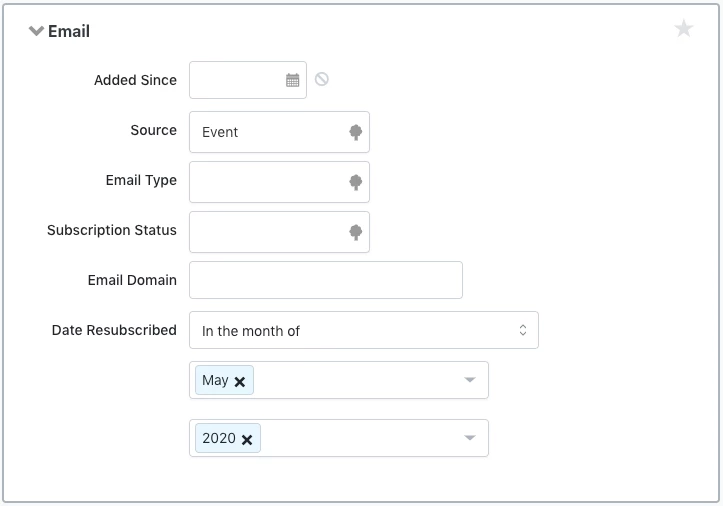
You can create a "Welcome back!" series in Automation using the Date Resubscribed field to identify recently resubscribed contacts.
Date Resubscribed is the date a supporter's status changed from Unsubscribed to Subscribed after responding to one of your forms and confirming their status using the Confirm link in the Subscription Confirmation email. If a supporter resubscribes more than once, Date Resubscribed will be the most recent date on which they confirmed their opt-in.
Date Resubscribed can be found in the Email section of Create a List.
Tracking engagement
After welcoming your supporters back, you can continue to monitor and evaluate their overall engagement over time.
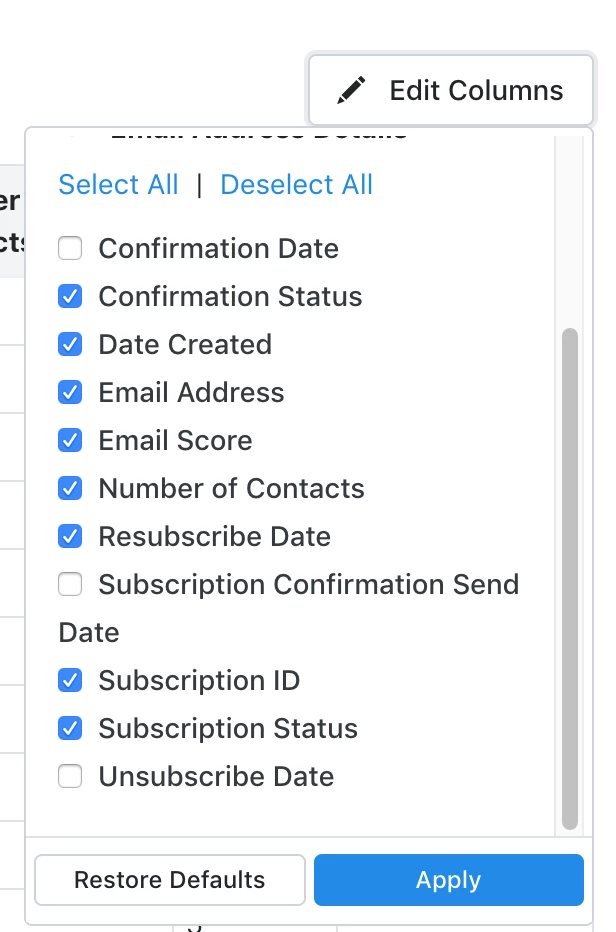
You can add the Resubscribe Date to your Email Status Report to help you identify your resubscribed supporters and monitor their Email Score and subscription status to see if they unsubscribe again, have lower scores, or engage at lower rates than new or continuing supporters.
Alternate search terms: confirmed opt in, opt in, COI, confirm opt-in, confirm opt in, double opt-in, double opt-in, resubscription, confirmed opt in, confirmed opt-in