

Zapier helps you automate your day-to-day tasks by building workflows between apps without needing any additional coding. You can use these automations to help you add or update your contact records in EveryAction and NGP VAN. After setting up the initial link in Zapier, you’ll be able to add and customize “Zaps” that reduce data entry and ensure external data changes sync with your database.
- Read an overview of how Zapier works with these tools
- See a list of templates you can use to create your Zaps in EveryAction
- See a list of templates you can use to create your Zaps in NGP VAN
- Read more from Zapier
Getting started
Request an API key to use for your Zapier connection. Search the Sidebar for the API Integrations page.
Read more about requesting and approving API Keys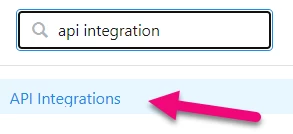
If this option does not appear for you, your profile may not have permission to request API keys. Speak to your organization’s administrator about your request.
Once you’ve successfully opened the API Integrations page, you can Request an API Key from your organization’s administrator.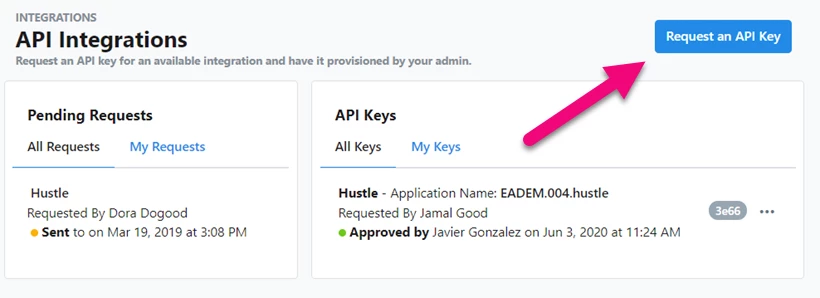
Select Zapier from the Integration dropdown menu.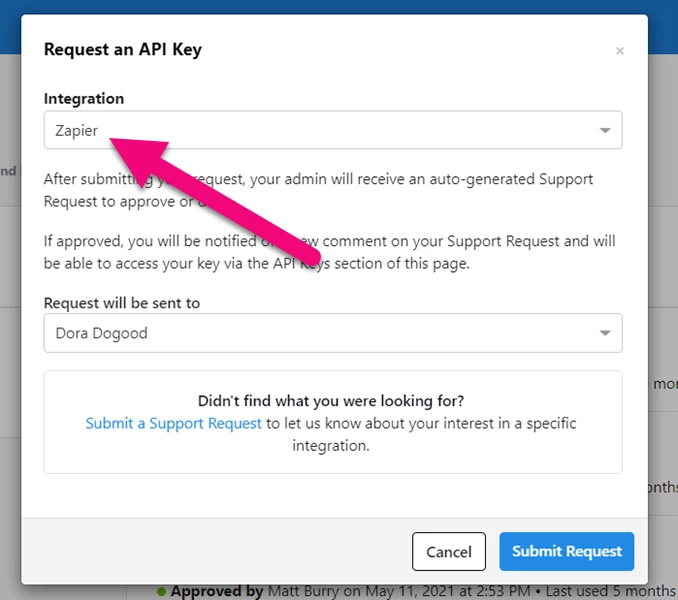
When your organization's administrator approves your key request, return to the API Integrations page to generate the key for your Zapier integration. You will only see the Key when you generate it. Record it securely. Also make note of the App Name, which appears next to your key listing.
|
Security Tip: |
|---|
|
API Keys give apps direct access to your database. It’s important that you remember to protect them the same way you would protect your password. Never share them with unauthorized users or email/text them via plain text to anyone. |
Creating actions in Zapier
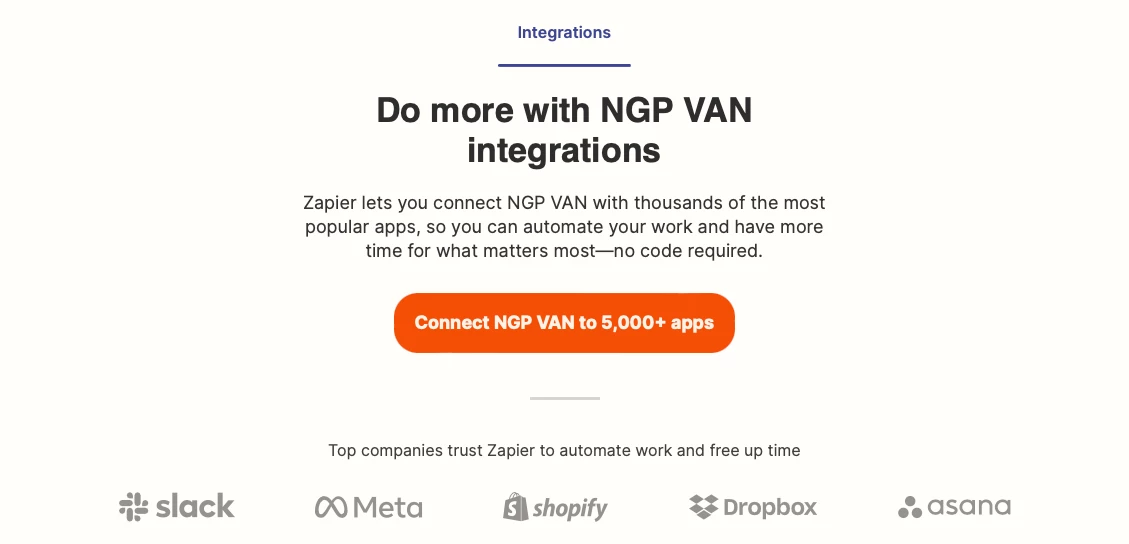
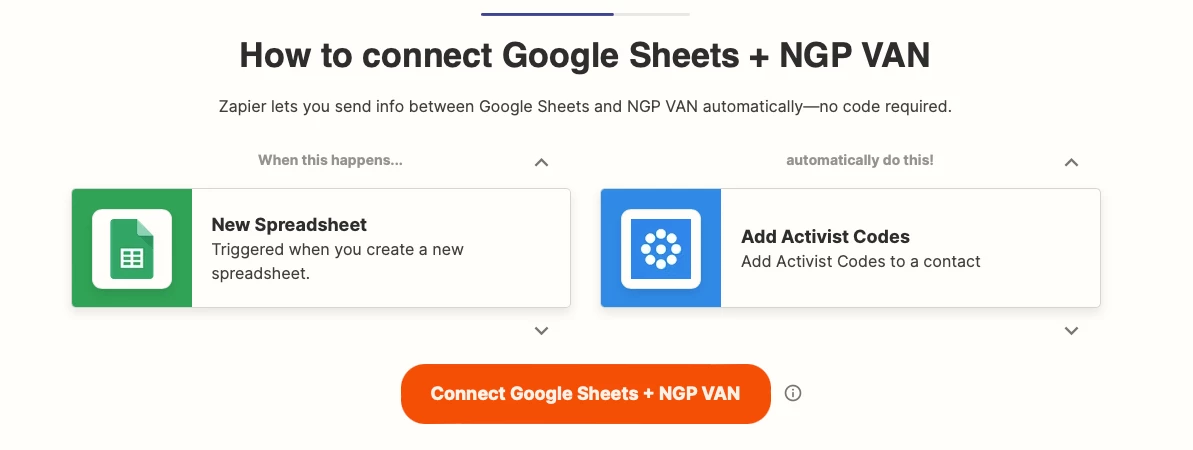
When you have generated and saved your key, visit the EveryAction or NGP VAN page on Zapier to set up your first action. The Zapier workflow for both toolsets is the same.
- Use a pre-designed zap to creating your automation right now
- Visit the EveryAction Zapier page
- Visit the NGP VAN Zapier page
You will need to use another app as a trigger in the first step of your Zap before you can send data to EveryAction or NGP VAN using Zapier’s automated actions.
From your page, select or search for the app you’d like to pair with your database. Google Sheets is a good app to start with if you don’t have another one in mind.
Begin building your basic workflow by selecting a trigger event. For example, if you are using Google Spreadsheets, you can use the Add New Spreadsheet Row as a trigger. Then select the action step you want to use with your database.
Read more about the actions you can take with Zapier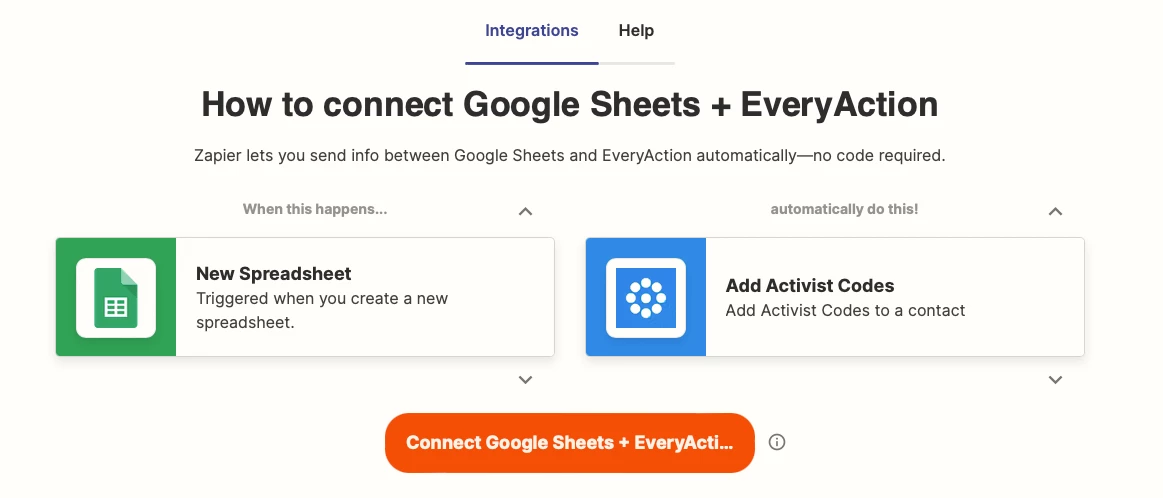
After clicking Connect, the workflow builder will open and you will see your steps listed. (You may be asked to sign in or register for a new (free) Zapier account at this point.)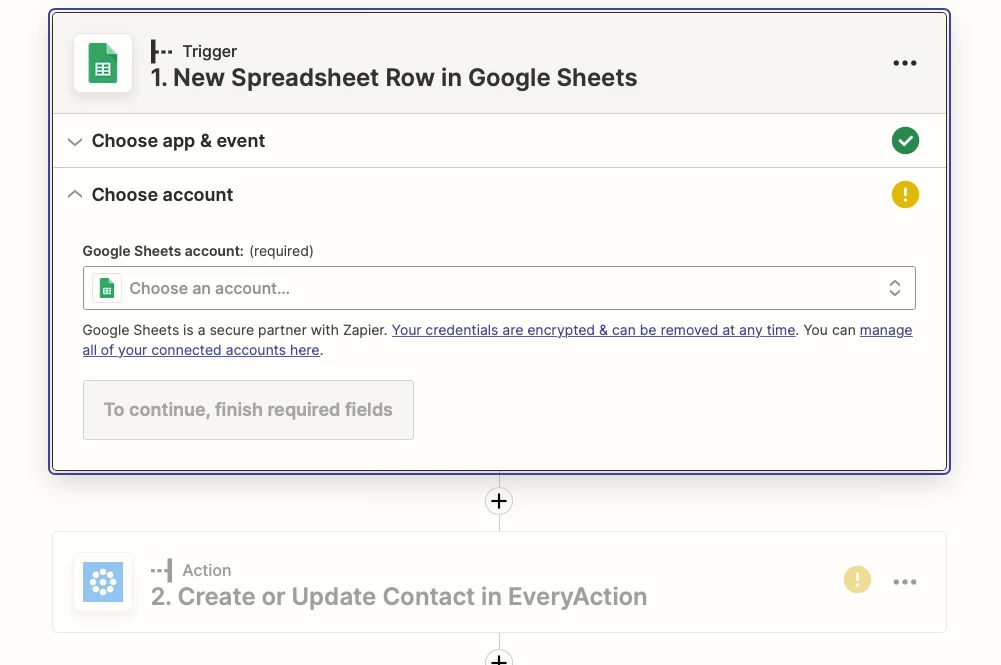
To complete your Zap setup, Choose account and authenticate to each app in your workflow and select the additional details for each step (file names, worksheet names, columns or field names, triggers or actions, and so on).
When you authenticate your EveryAction or NGP VAN action the first time, you will be asked to allow Zapier to access your EveryAction or NGP VAN account.
The form, in either case, requires your API Key, an app name, and confirm the Database Mode. In the future, you can select the existing connection.

While you can enter anything you want in the App Name field, we recommend that you use the Application Name generated when you create your API Key. This helps you track which integrations are associated with each key. You can find the name next to the key listing on the API Integrations page.
After authenticating your connection, map the fields that you want included in the action you selected.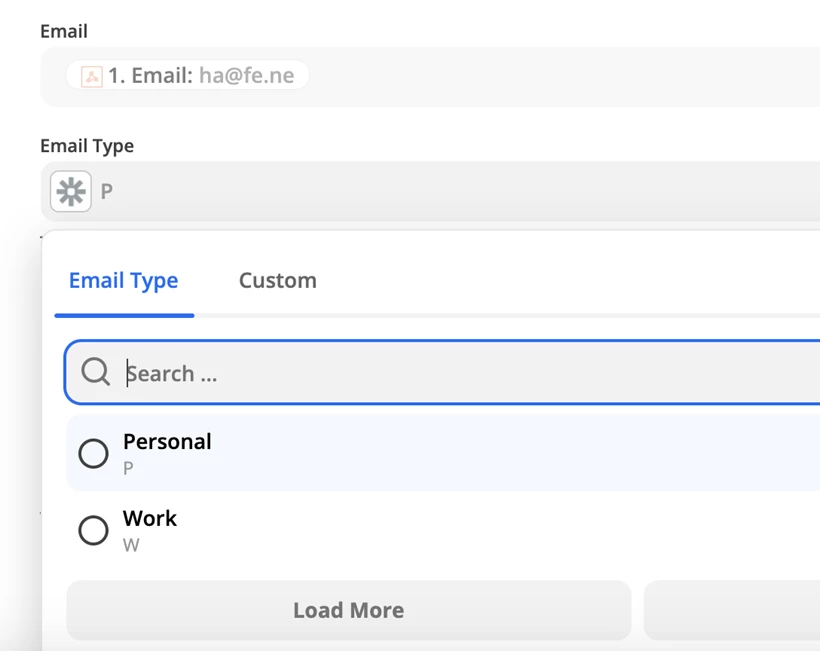
Once you are ready, turn on your Zap using the switch at the top or bottom of the workspace page.