

(5 min read)
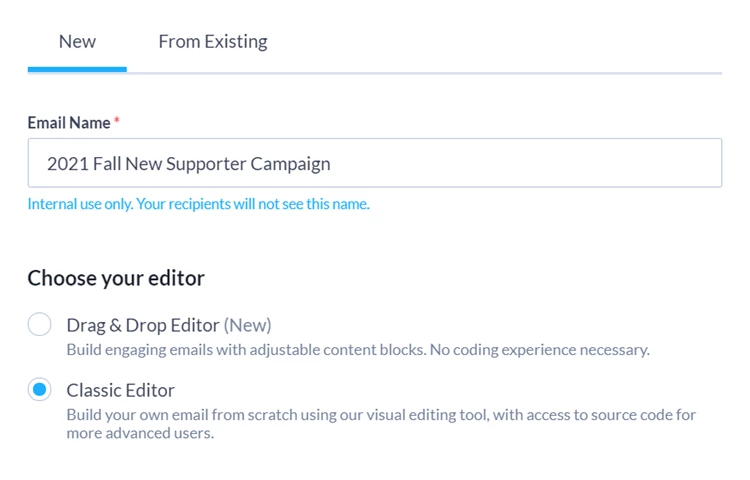
You can choose which email editor you want to use whenever you create a new email message in Targeted Email. Once you’ve made your selection you will not be able to switch the interface for that email message, so it can be helpful to become familiar with each editor and pick the one that fits your needs. This will only affect your editing experience in the Compose Message step. All other parts of creating and sending the email will remain the same no matter which editing experience you choose.
Read more about creating and sending Targeted Email
If you’re just getting started with Targeted Email - or you don’t want to spend extra time working with code - we recommend that you try creating your message with the Drag & Drop editor which makes it easy to create mobile-friendly layouts and drop in complex elements like embedded videos. You’ll also be able to use merge fields, Smart Links, and create your own design templates (which take the place of Themes and Reusables).
Read more about composing with the Drag & Drop Editor
The Classic editor is a good choice if you have complex formatting needs and you are comfortable working directly with HTML and CSS code. With this editor, you will be able to:
-
Apply pre-designed Themes
-
Edit HTML code directly
-
Add merge fields, Smart Links, and conditional content
-
Create and employ Reusables
Using the Classic editor
If you’ve chosen to use the Classic editor, you will see the interface on the Compose Message step.
After adding your header information such as the sending address and subject line, you’ll be asked if you want to add one of your pre-designed themes. Themes help you keep the look of your emails consistent by letting you apply the same headers and footers to multiple emails.
You can then begin creating your message using the WYSIWYG editor. This editor is very similar to a standard word processing editor. You will be able to create and format your text as well as add images using the editing ribbon at the top. While you have an email open for editing, we will autosave changes every 15 seconds.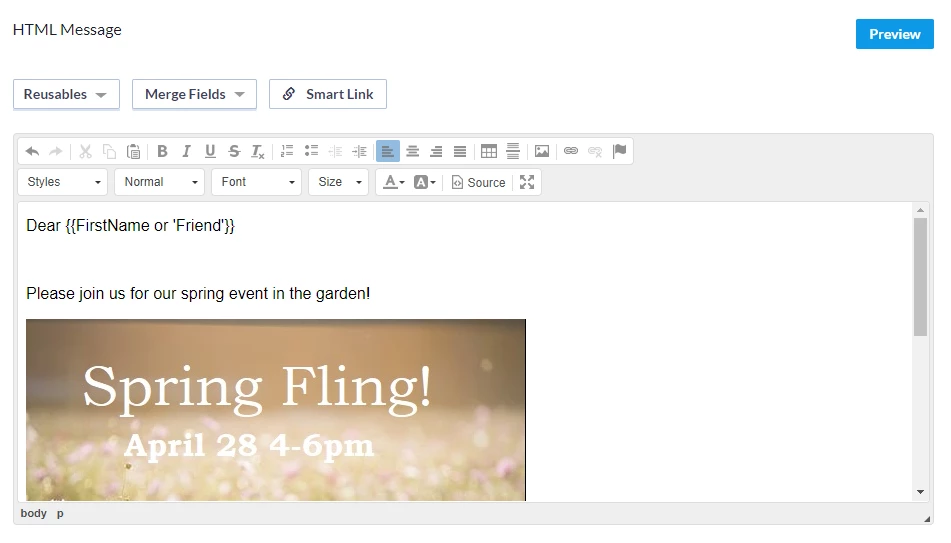
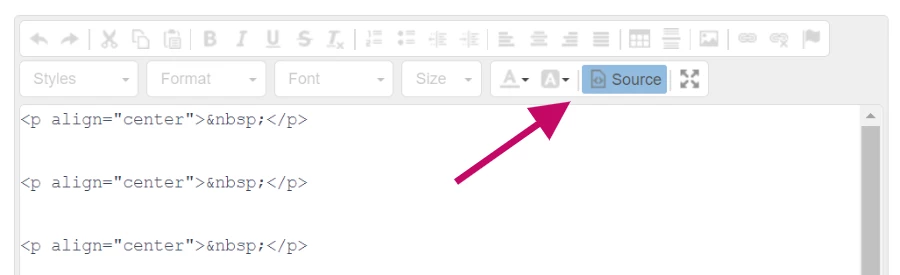
If you want more control over the layout of the page, you can open the Source editor.
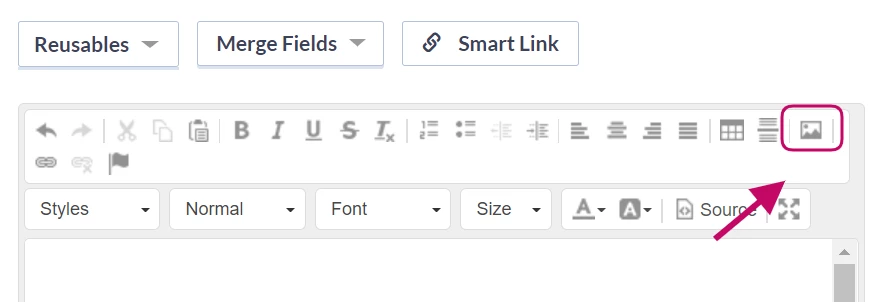
Inserting images
To insert an image, select the picture icon from the editing ribbon and then select Browse Files to search for an image in your library or upload one from your desktop.
Search for the file in your library using the Filter or select Upload to add a new image.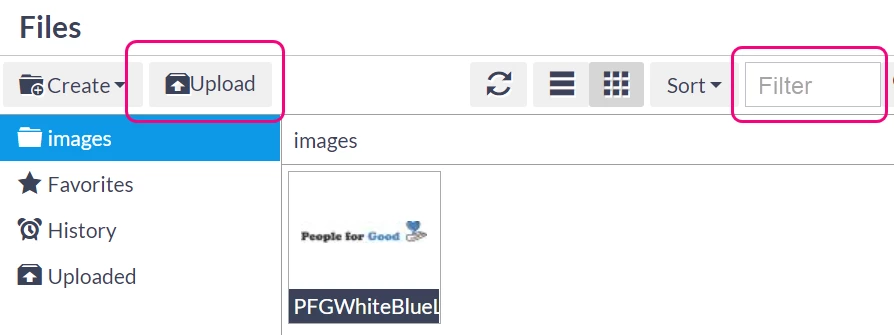
You cannot delete images you’ve added. This ensures that future emails sent using this layout or any online forms that use the image will never appear with broken image links.
If you need to update a file, you can upload a file with the same name to overwrite the existing image. For example, if you have a new logo, just upload your new image using the same name as your old image such as logo.png.
Once you’ve selected the image, you can then add the image properties.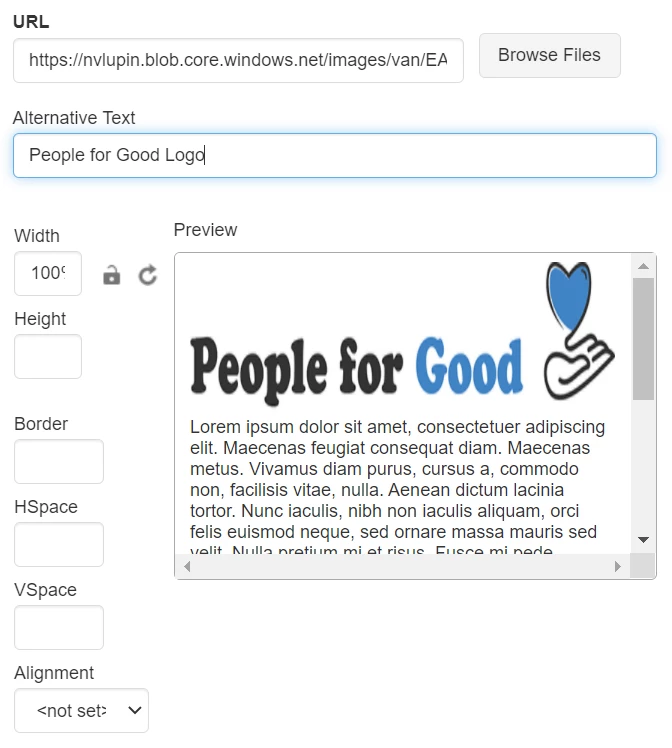
You can choose some alignment parameters for your image to control how the text will flow around the image. And, while you can set the width and height here, not all email clients will respect these parameters. It's best to crop or shrink your image before uploading it. You can then just set the width to 100% and remove the height.
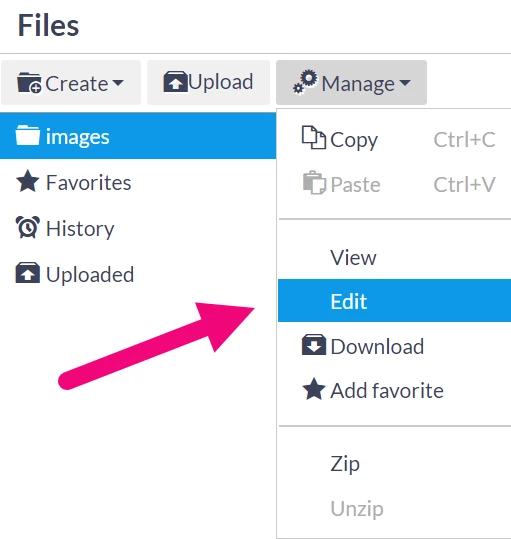
If you need to edit your image before inserting it, you can return to Browse Files and select Manage > Edit where you’ll have some basic image editing tools you can use to resize or adjust your image.
Once you’ve finished adding your image settings and returned to the WYSIWYG editor, you will be able to left- or right-justify your image using the icons in the text formatting ribbon. However, you will need to edit your HTML source code with a <p align="center"> tag if you want to center your image.
Regardless of how you choose to format your images, remember to send sample emails to yourself and view them from a variety of browsers, devices, and email clients.
Using custom web fonts
Web fonts are a great way to customize the look and feel of your emails to match the branding your organization uses elsewhere. There is nothing in Targeted Email that prevents their use, but it is important to understand where web fonts will work in your supporter's inboxes, and where they will not.
Litmus has written a handy guide that covers both of these topics:
 Ultimate Guide to Web Fonts
Using emojis
If you plan to use Emojis in your email, make sure you understand how they might display on different devices and operating systems. If the emoji is not supported on the device your recipient is using, they will see a blank box.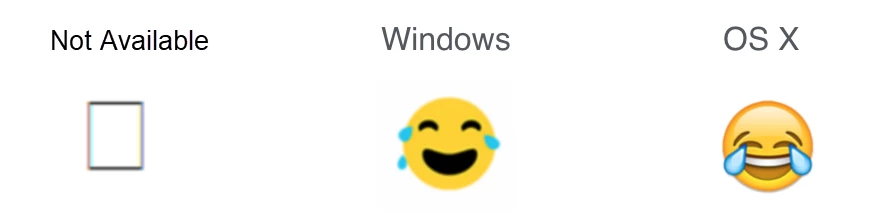
If you decide that you want to use emojis, you can add them using keyboard shortcuts:
-
on Windows use Windows key+ Colon key
-
on MacOS use Control+Command+Space
You can also select images from an emoji site to include:


Copy the emoji you want to use and paste it into the subject line field or the body content for use. Be sure you send yourself sample emails to a few different devices/email applications to see how it appears for you.
Using Reusables to speed up email composition
Creating new graphic styling and conditional content can be time-consuming, so, to help you construct your messages more quickly, you can build a Reusable which can then be dropped in to any of your messages. Once you’ve created your Reusable, it will be available from the Reusable dropdown, along with several Default Reusables which we’ve already provided to give you some help with building more complex layouts and conditional content.
Looking for training?
Explore this feature at your own pace - join a live training session or watch a recorded webinar by clicking the link below.