

Looking to report on your organization's form data? Check out this video that walks you through how to create a new report with Apricot's Native Reporting tool.
Follow the steps listed below to learn how to create and run a basic report with Apricot's Native Reporting tool.
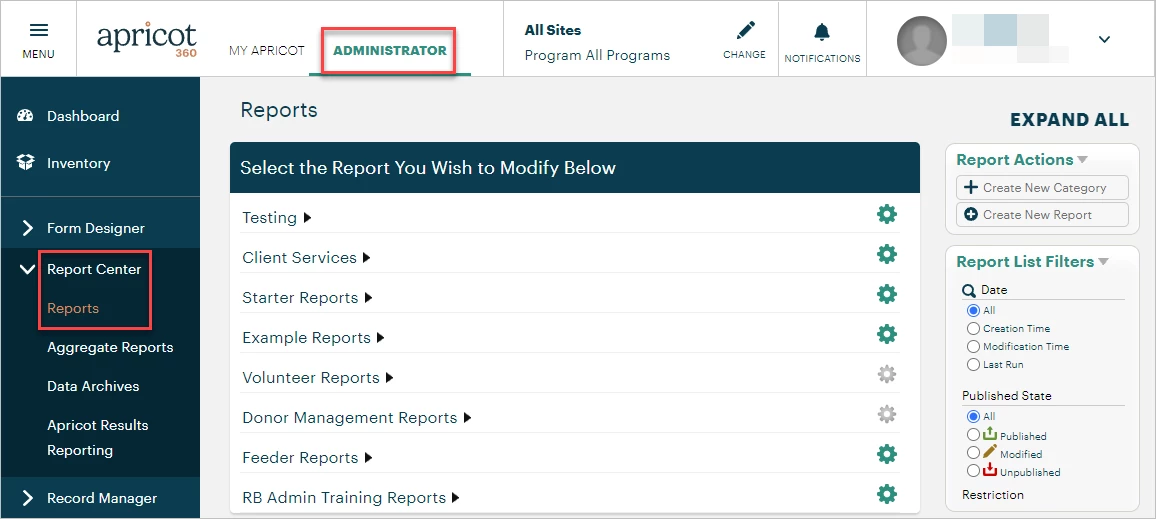
Step 1: Navigate to reports
In the Administrator view, expand the Report Center category of the navigation bar and select 'Reports'.
A list of report categories will display; pre-made, standard reports can be found here as well as any previously-created custom reports and categories.
Step 2: Start a new report
Select '+ Create New Report' in the Report Actions palette to open a pop-up window.

Choose which category the report should be saved under in the dropdown field, then enter a unique name for the report in the text box. The report's name should allow users to easily distinguish what kind of data can be found in the report.
Then, click the '+ Create' button to generate a blank report in the Report Builder.

Click the top-most gear icon to open the report properties, then add an optional description in the text box. Click 'Apply' to save your changes.

This description will be available to users on the Reports page when expanding report categories and viewing report details.

Step 3: Build a report section
Click the green gear icon to the right of the 'New Section' header to open the section properties.

Name your report section in the Section Name field, then select Apply. The name should identify what data will be displayed here and distinguish it from other sections that may be added to the report.

The Field Choices palette on the right-hand side will display all the forms in your database. Click the arrow next to your desired form to view its sections, then expand a section to view the available fields.

Important: The first field you pull into your report section should come from a Tier 1 form in order to establish a proper "Root Form". Any Tier 2 form fields you want in the report should be added after the Tier 1 form field. To learn more about root forms, click here.
Drag and drop your desired fields into the report section.

Notes:
-
The far-left column is considered "dominant data," as the order in which data is listed in any following columns is determined by the first column.
-
When creating or editing a report, the Report Builder only shows the first ten rows of data for the columns selected (or the first group of data if grouping is enabled). All report data will display when after publishing and running the report.
-
Any forms with fields included in the report section will be listed under the report section name. To see which form a certain field came from, click the column's gear icon to view its properties and expand the Form Info. This will also highlight the form and section in the Field Choices palette for easier visibility.

Step 4: Publish the report
Once you're finished modifying your report, or if you'd like to see what the report looks like with all data, you can publish it. The Requirements box on the right-hand side of the Report Builder will confirm whether all necessary criteria has been met for publishing.

A pop-up will appear to confirm this action; select Publish then run your report.


The 'Run' version of your report will open in a separate tab from the Report Builder and display all data in your selected columns.

Not what you're looking for? Navigate to overview
Looking for training?
Explore this feature at your own pace - join a live training session or watch a recorded webinar by clicking the link below.
Not quite what you were searching for?
- Navigate back to the Build Your First Workflow Automation Resource Index.
How do I build a new native report in Apricot? | Where do I start creating a native report in Apricot? | Why can’t I see my fields when building a report? | How do I add and remove fields in a native report? | How do I save and run my native report in Apricot? | How do I group or sort data in a native report? | What permissions do I need to build native reports in Apricot?
How do I use the welcome series workflow automation template? | How does use the welcome series workflow automation template work in EveryAction? | Why can't I use the welcome series workflow automation template? | Where do I use the welcome series workflow automation template in EveryAction? | What is use the welcome series workflow automation template in EveryAction? | How to use the welcome series workflow automation template? | Can I use the welcome series workflow automation template in EveryAction?