



If your file was uploaded successfully, you will be taken to the Mapping Template. Please review the mappings carefully to ensure accuracy.
Step 1: Map Your Fields
In this step, you will run down your uploaded columns and match your file columns to database fields (e.g., First Name, Email).
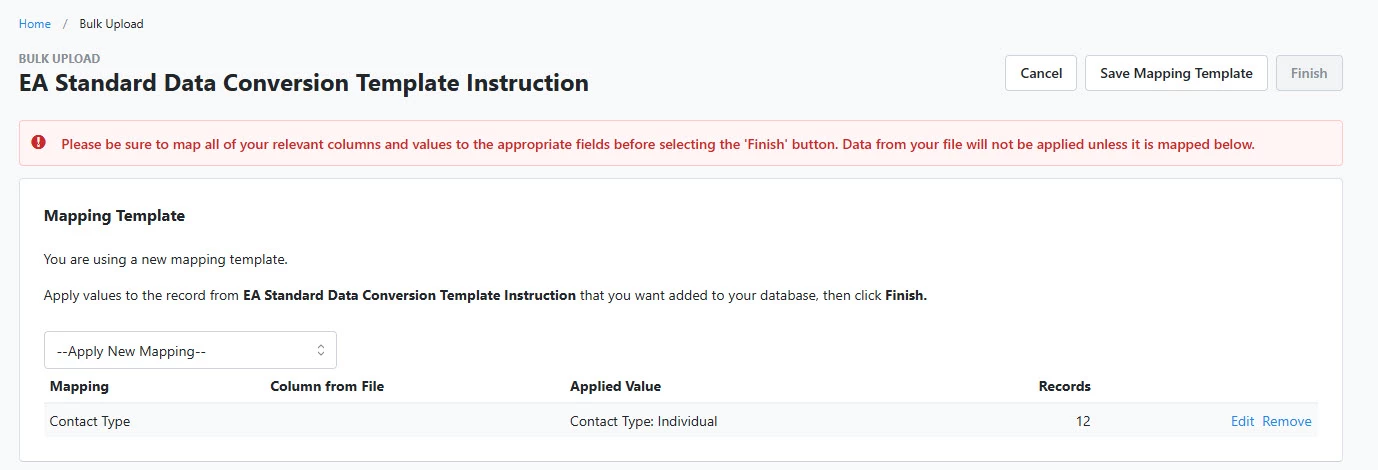
- Select Edit , then match your fields
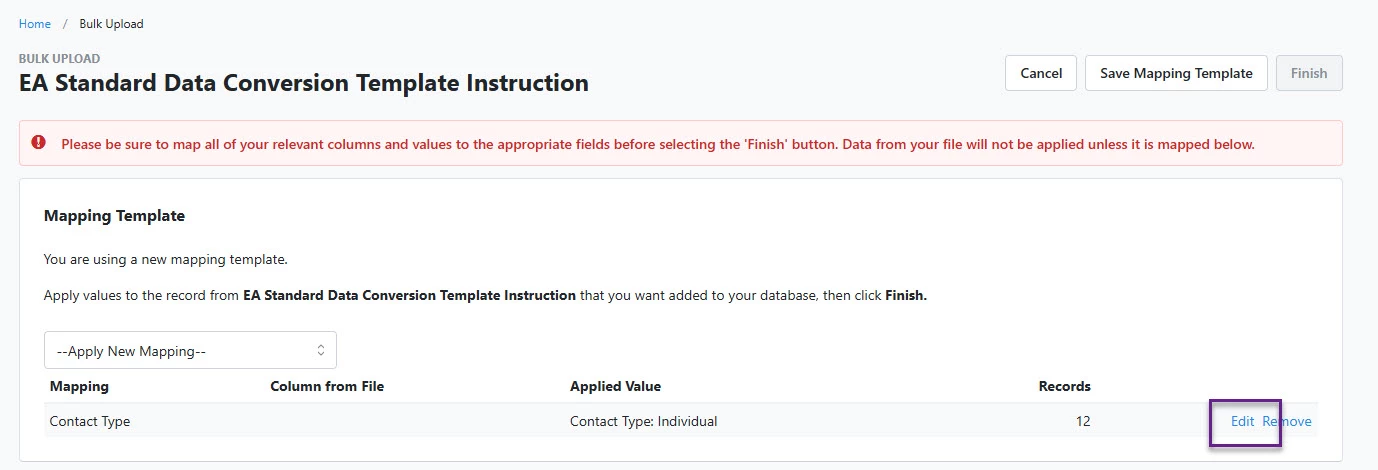
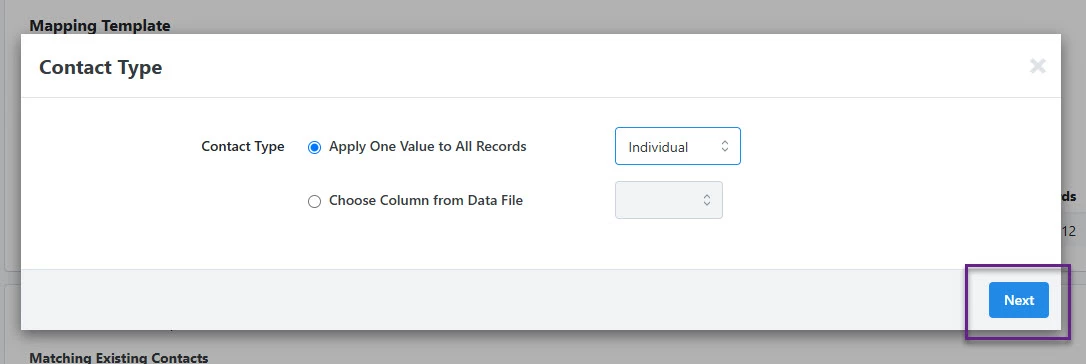
- Select Next to work with the next mapping field
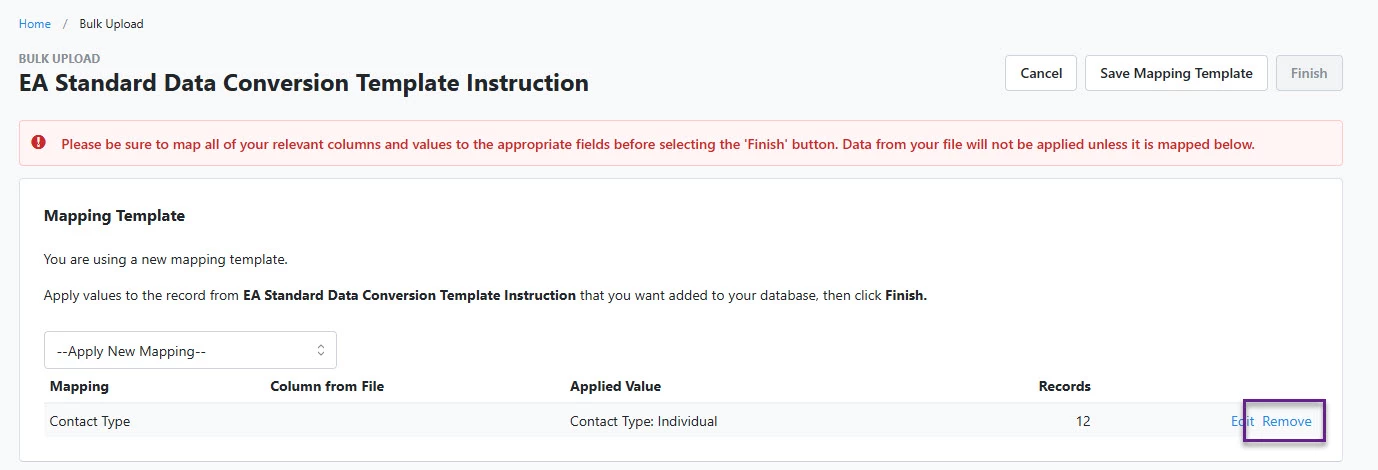
- You can also remove the field completely by selecting to remove the field.
Step 2: Apply Advanced Upload Preferences
You are given the option to pply Advanced Upload Preferences such as: disabling the option for the system to match existing contacts.
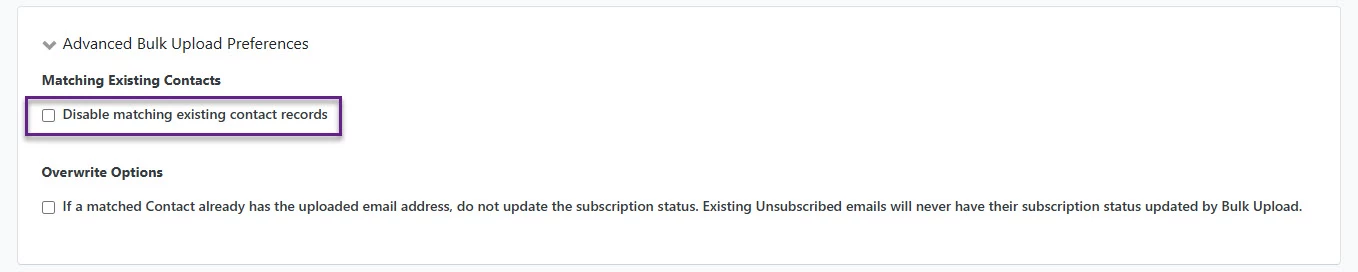
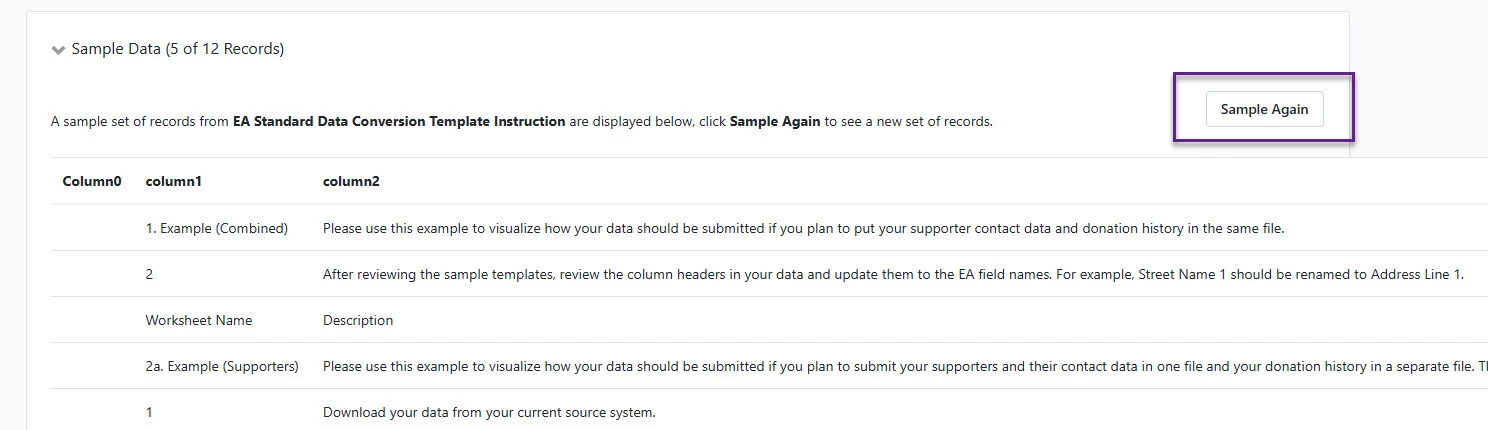
Step 3: Sample Your Data
Sample your data by selecting to "Sample Again" to view the data that will be uploaded.
Not quite what you were searching for?
- Navigate back to the Bulk Upload and Edit Resource Index.
How do I map my data in the bulk upload template? | How does map my data in the bulk upload template work in EveryAction? | Why can't I map my data in the bulk upload template? | Where do I map my data in the bulk upload template in EveryAction? | What is map my data in the bulk upload template in EveryAction? | How to map my data in the bulk upload template? | Can I map my data in the bulk upload template in EveryAction?