

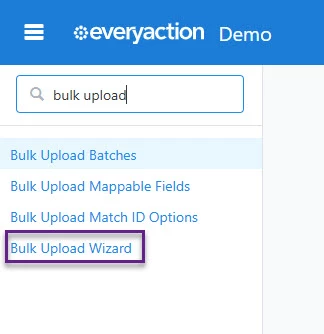
Step One: Access the Bulk Upload Tool
Navigate to the sidebar and search for "Bulk Upload Wizard," or find it under Load Data in the main menu, then click Upload a New File.
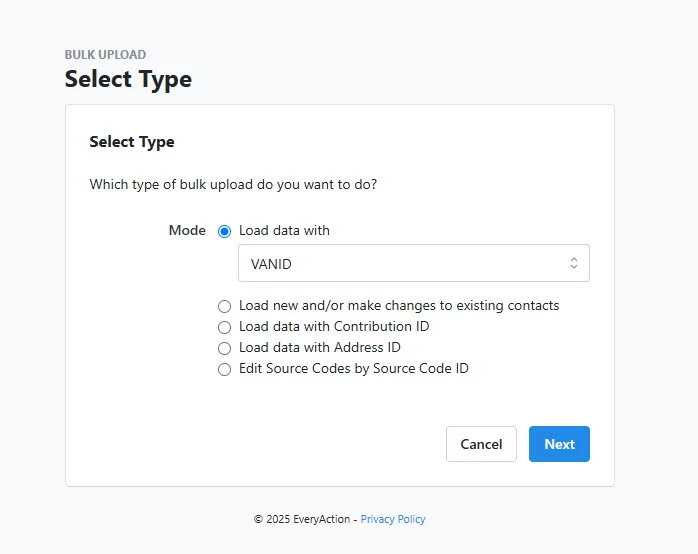
Step Two: Choose the Upload Type
You will be taken to a screen where next, you will choose your upload type. You can select:
-
Load data with VAN ID if you want to update records with unique IDs
-
Load new and/or update existing records for adding new contacts or updating existing ones
-
Load data with Contribution ID for uploading contribution-specific data
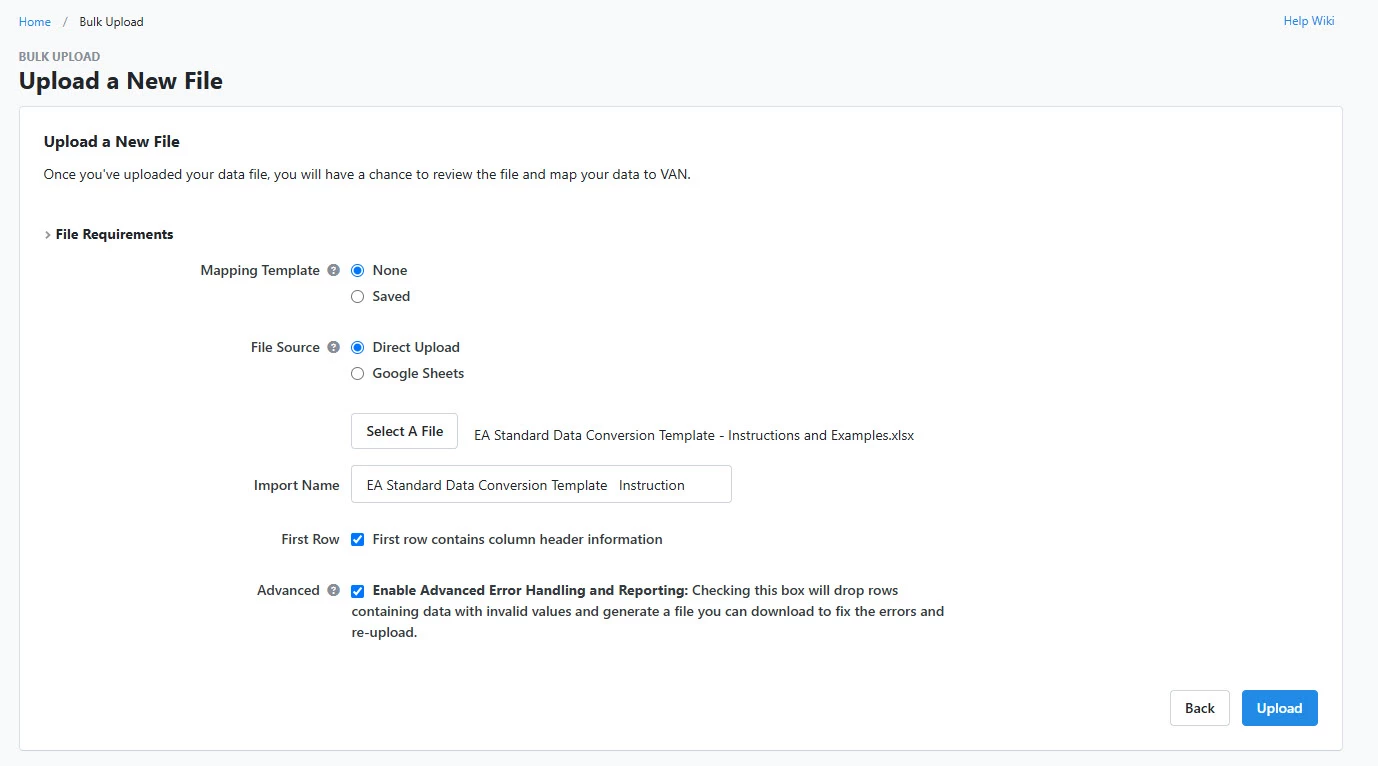
Step Three: Upload Your File
Once you make your selection:
-
Upload Your File by selecting your file source (direct upload or Google Sheet)
-
Provide a descriptive file name
-
Confirm whether the first row contains headers
-
Enable Advanced Error Handling to identify invalid rows and prevent upload errors
-
Select Upload to complete this step in the process.
What else do you need help with?
How do I determine what information to include in a bulk upload?
How do I prepare my file for Bulk Upload in EveryAction?
How do I map my data in the Bulk Upload Template?
How do I save the Mapping Template for Bulk Uploads?
How do I apply Source Codes to records during a Bulk Upload?