

(6 min read)
Before you create a new email message, choose the email editor you want to use. In Targeted Email, you are unable to switch the interface for an email after you have selected it. Familiarize yourself with each editor first, then pick the one that suits your needs. All other steps in creating and sending your email are the same, regardless which editor you choose.
Read more about creating and sending Targeted Email
The Classic editor supports complex formatting needs. Use this one if you are comfortable working directly with HTML and CSS code.
Read more about composing with the Classic Editor
The Drag and Drop editor, which allows you to easily create mobile-friendly layouts by dragging and dropping the content elements you need, suits those just getting started with Targeted Email or who don’t have the time or expertise to work with code.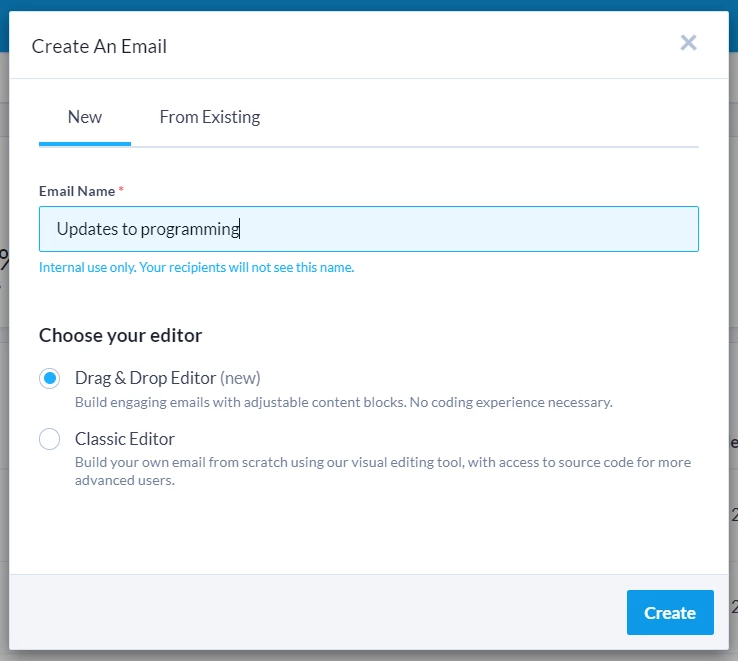
| Important Tip If you have any extensions enabled on your browser, they may interfere with aspects of the Drag & Drop editor, such as the autosave function and other editing features. If you experience any issues, try turning off your browser extensions to see if they have resolved. |
Selecting a template
Begin creating your email by designing a layout for the content you want to include. The Drag & Drop editor allows you to add elements to your email that you then add text or image to.
Several templates for common email types are already loaded in Targeted Email for you to use, including:
-
Invite
-
Announcement
-
Newsletter
-
Basic Letter
-
Contribution One-Column
-
Take Action One-Column
-
Take Action Two-Column
-
Blank
-
Start from scratch
View your templates and their description under the Content Library tab in Targeted Email.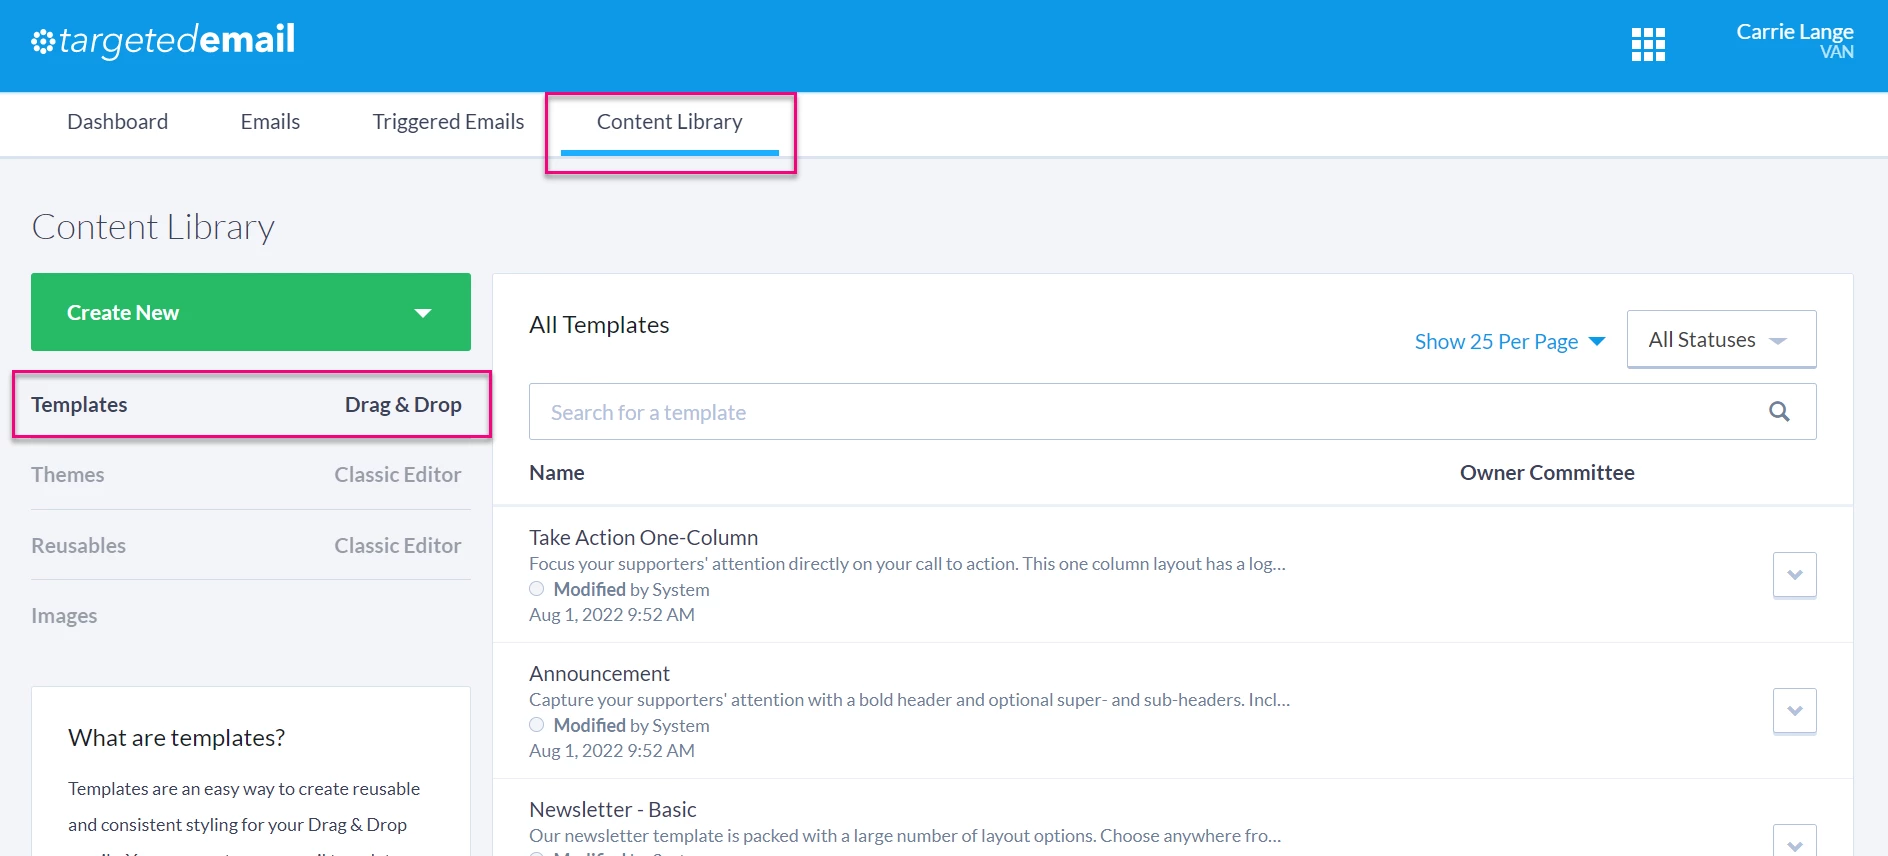
If you develop an email format you intend to use frequently, you can create your own custom templates. Select Template from the Create New drop down menu.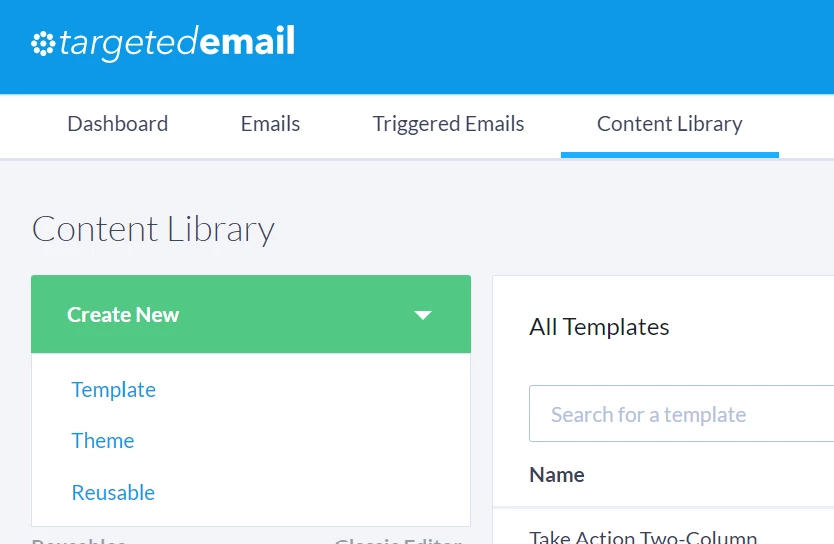
Watch this video about creating Drag & Drop templates
Read more about creating your own templates with Drag & Drop
Customizing your layout
The right-hand navigation of your drag and drop editor is organized into three tabs.
-
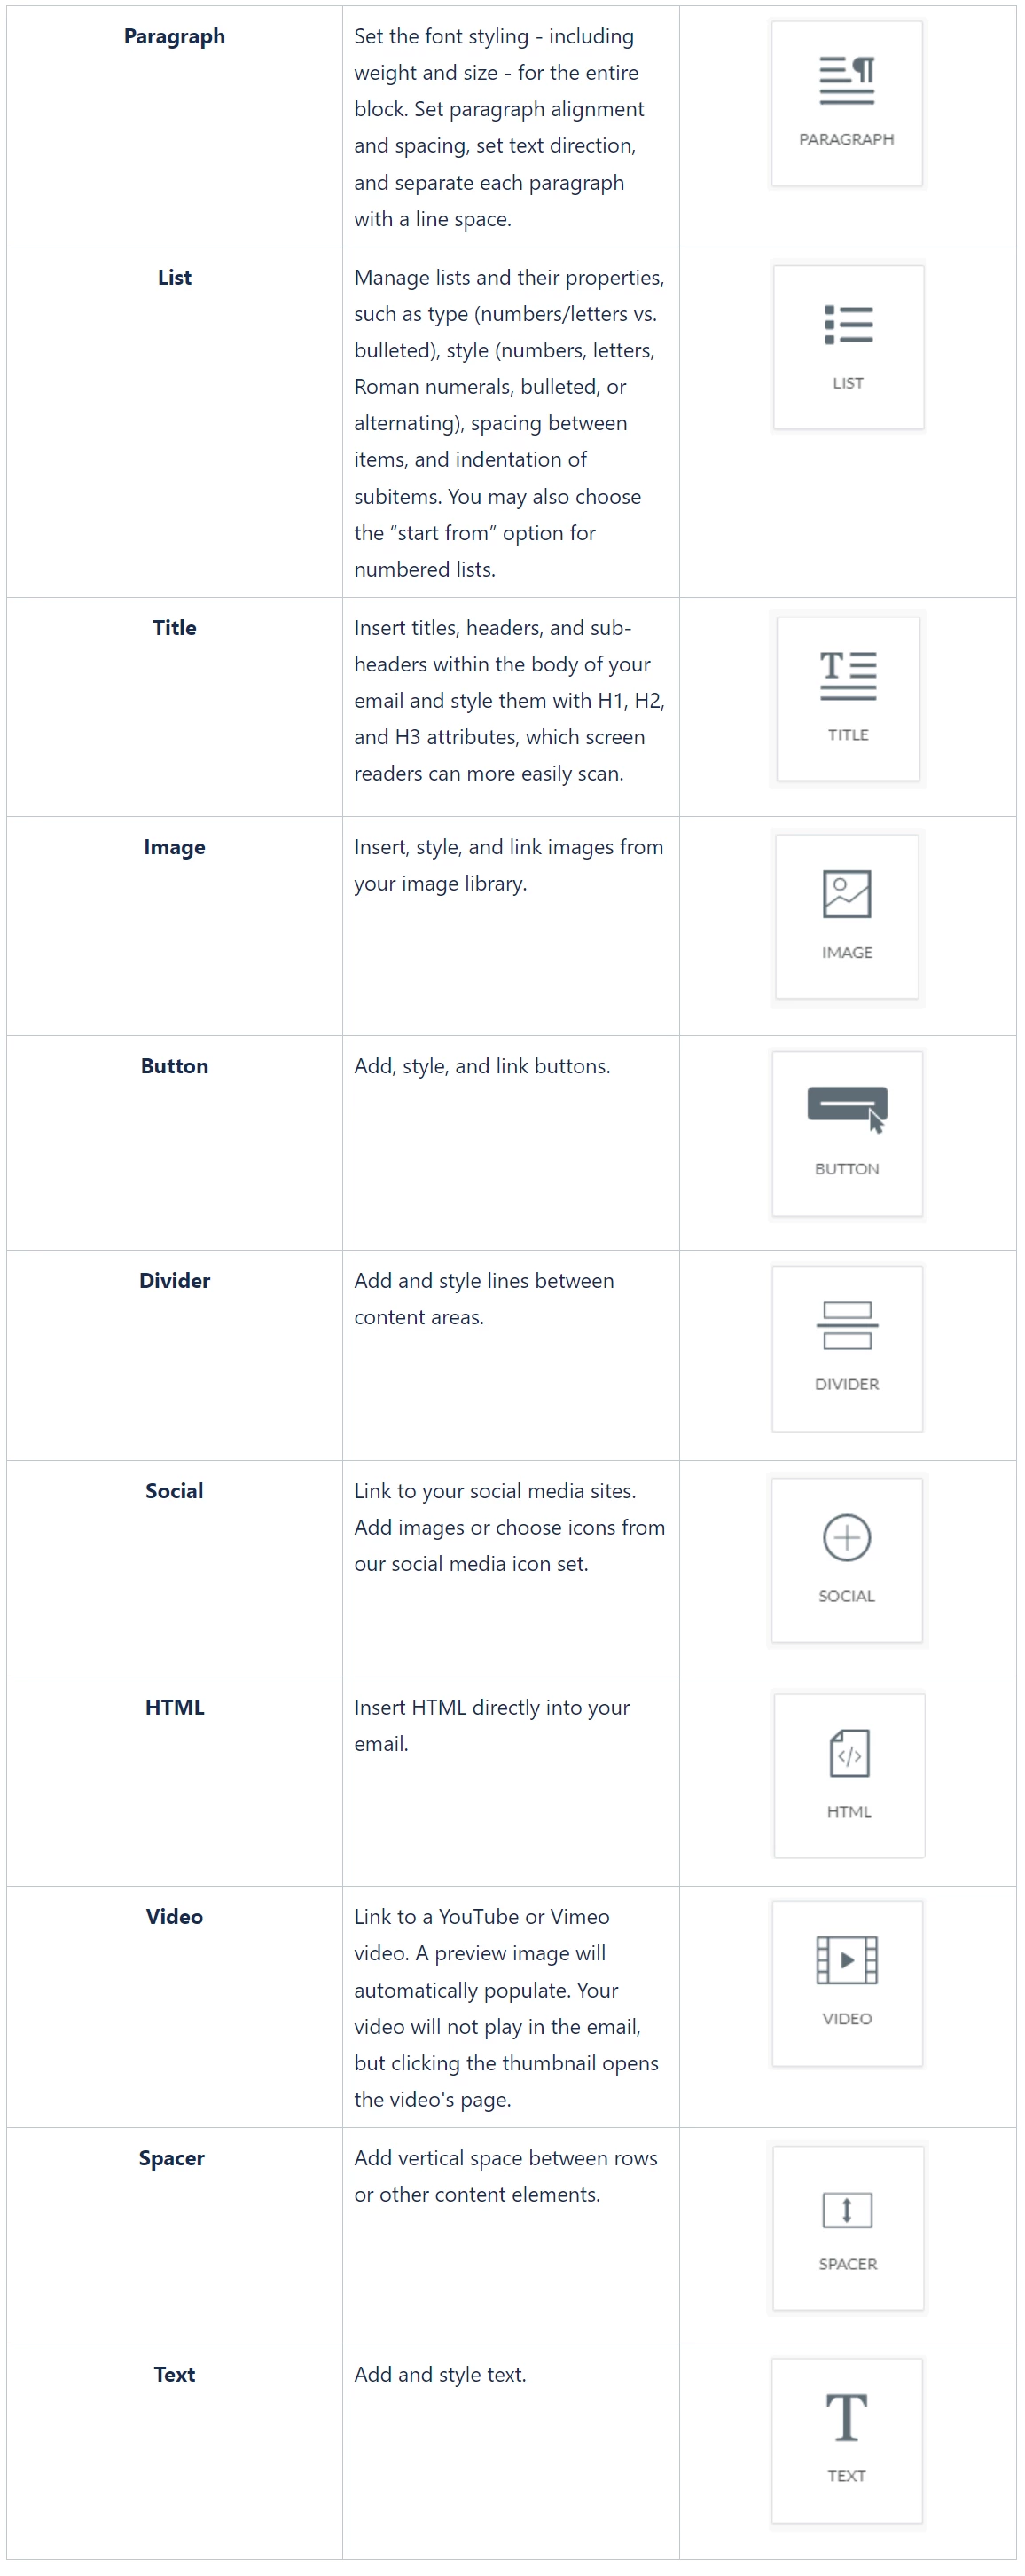
Content includes all the content blocks available to you. Drag and drop these elements in the body of your email on the left-hand side of the editor. When you click on a content element arranged in your email, information in your content tab switches to a Content Properties view that lets your set characteristics like font, text colors, sizing, and spacing.
- Rows help you structure content blocks. Choose a row with a single column, or up to as many as six columns. When you click on a row element arranged in your email, information in your row tab switches to a Row Properties view that lets you set characteristics like font, text colors, sizing, and spacing. The Row Properties will give you more control over exactly how each row appears for both desktop and mobile users.
- Settings allows you to set the global formatting for your entire email, including characteristics like width, alignment, background color, default font, and link colors.
Settings for your blocks are accessible on the right hand navigation.
Build your email by adding rows or content blocks to your layout. To add a new row, select the Rows tab on the right and drag the element with the number of columns and desired column spacing to the workspace on the left.
To add a new content block, select the Content tab on the right and drag the element you need to the workspace on the left.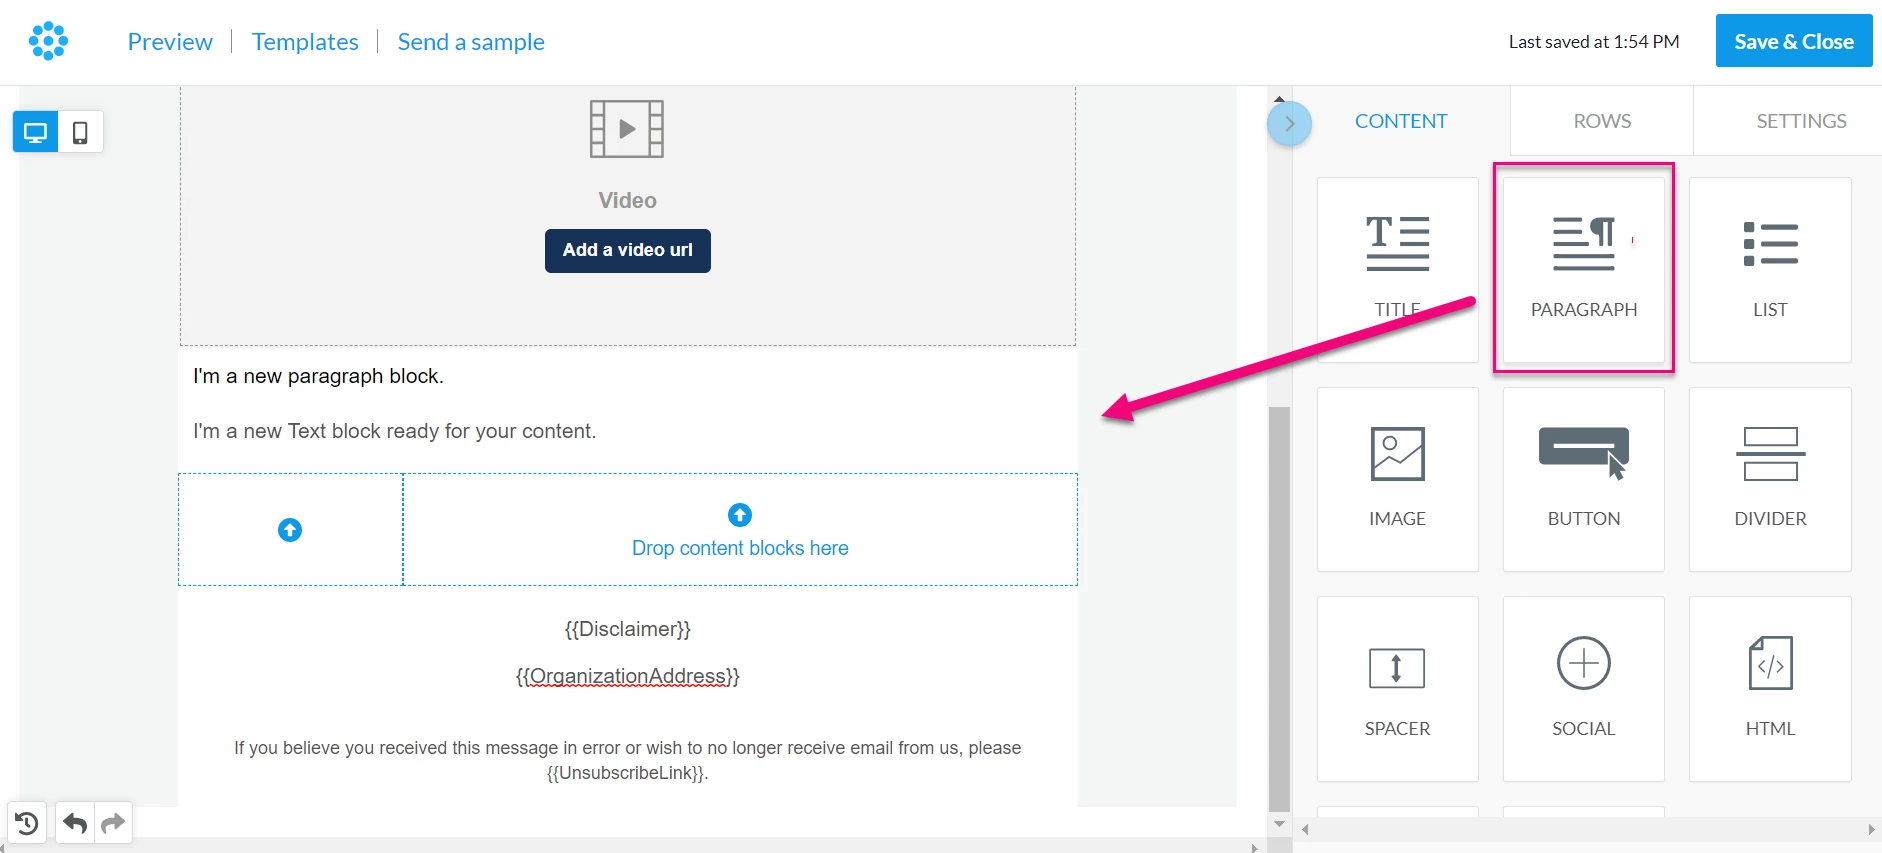
Clicking on an element - either a row or content block - opens its Properties on the right-hand panel of your screen.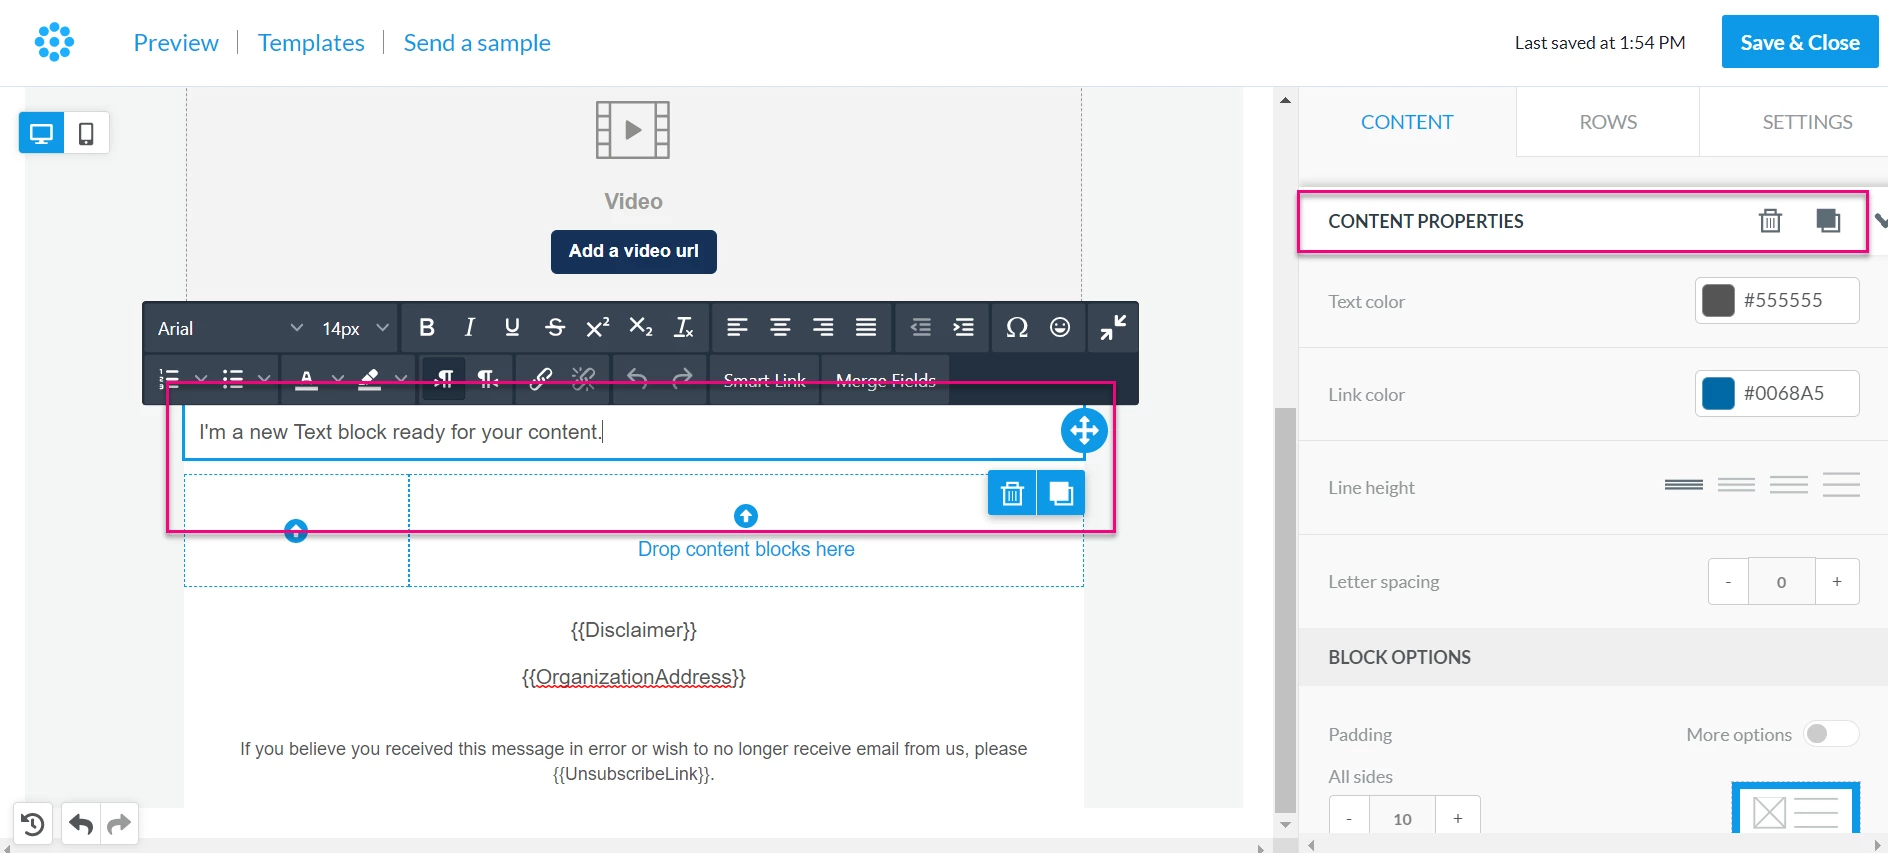
If at any point you need to move, delete, or duplicate an element, simply click on the element.
-
Move - Use the blue arrow handles to drag an element into a new position
-
Delete - Use the trashcan icon to delete an element
-
Duplicate - Use the paper icon to reproduce an element.
To make email creation even easier and faster, you can duplicate entire rows once you’ve added your content (for example, a picture, a button, and a text block) with all of the settings and content elements. This allows you to create a module and then replicate it as many times as you need in the same message.
Read more about content editing
Using the Image File Manager
After you drop an image block into your email, you’ll be able to add an image using Browse.
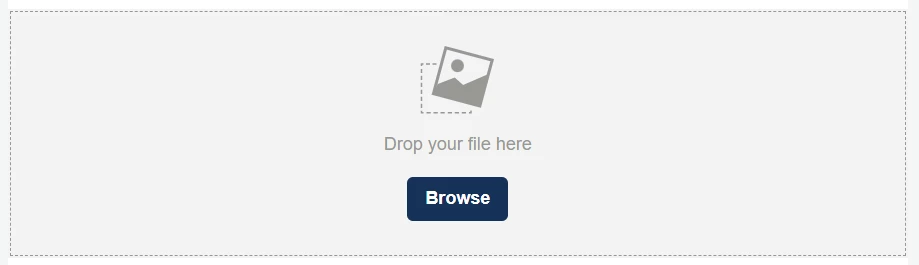
Selecting Browse opens the Image File Manager, which is where all of your images will be stored. Select Upload to add a new image, or search for images in your library using the Filter.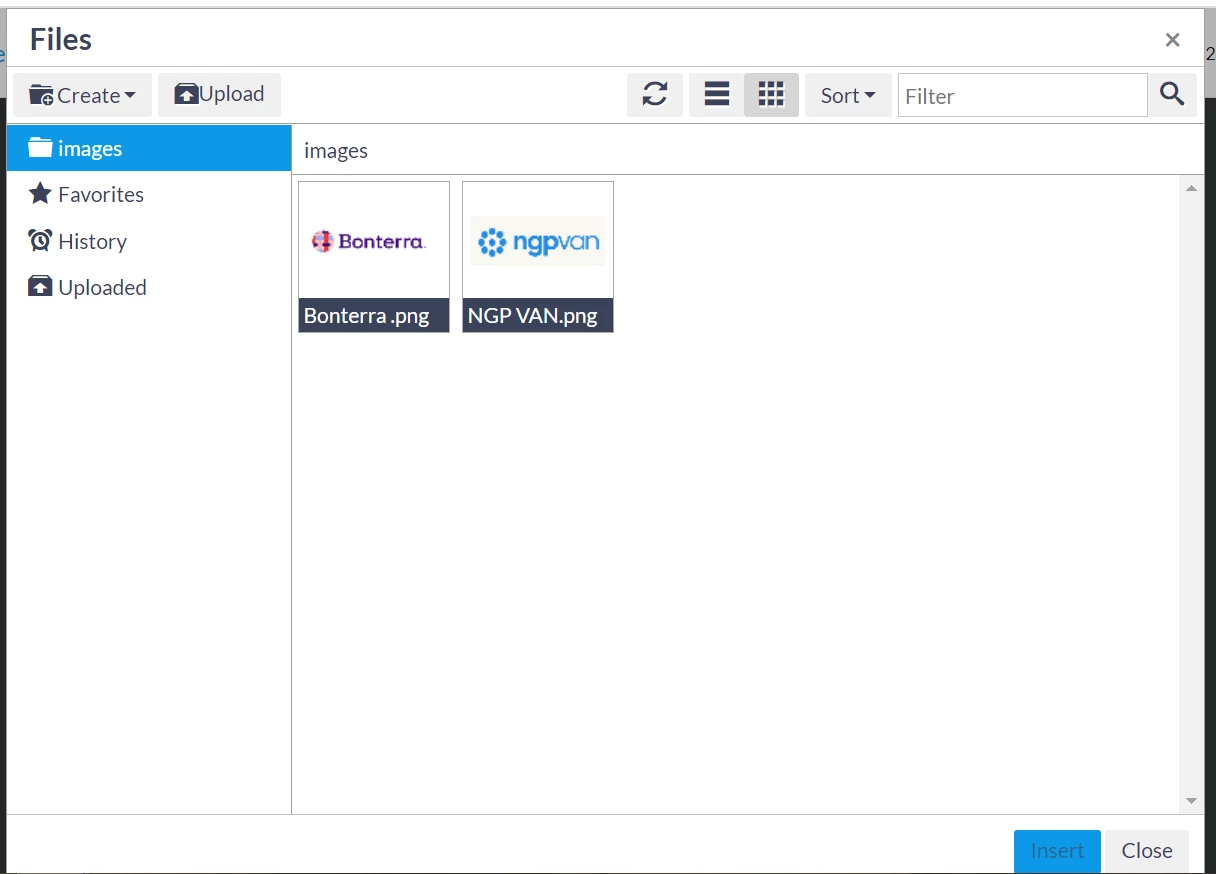
The File Manager does not allow you to delete files. This ensures that emails sent using a particular layout or any online forms that use an image never appear with broken image links.
If you need to update an image file, upload a file with the same name to overwrite the existing image. For example, if you have a new logo, just upload your new image using the same name as your old image such as logo.png.
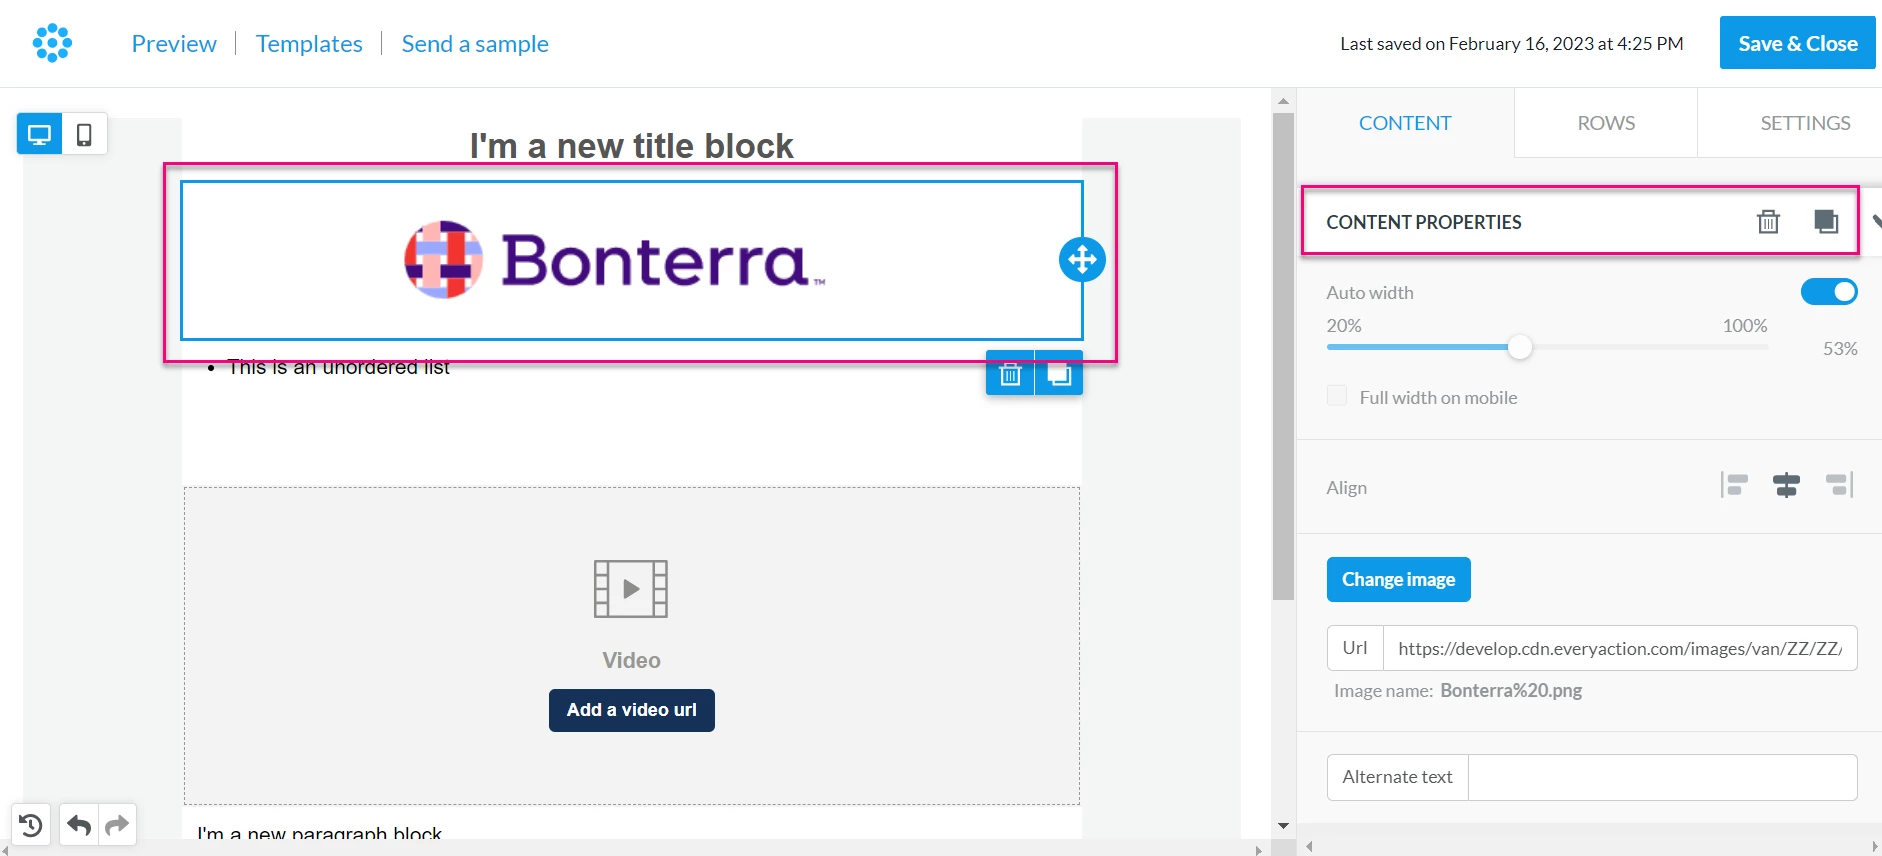
Adjust your image properties by clicking on it in the editor to open its Content Properties.
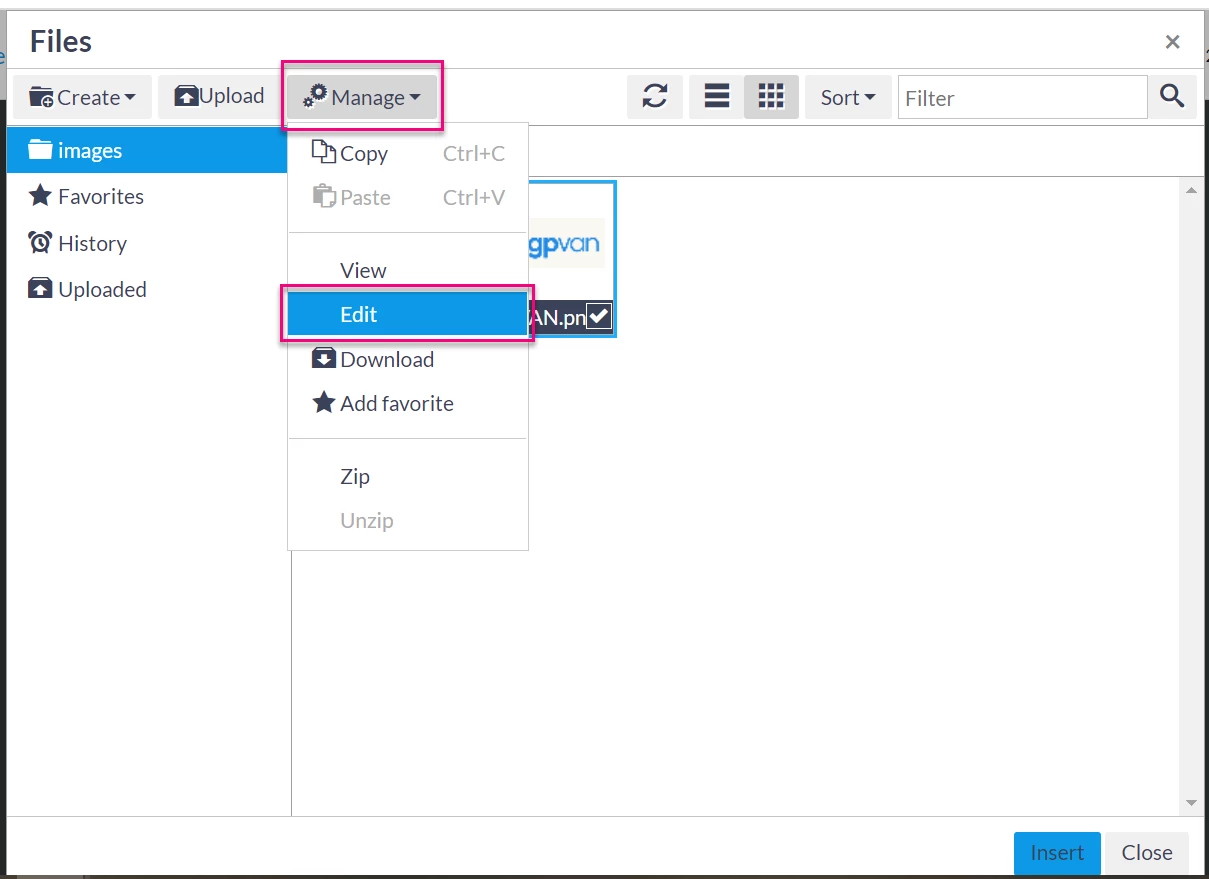
The File Manager also gives you the option of editing an image before inserting it. From your Images folder, click the box in the bottom right corner of the image file. A Manage drawer will appear beside the option to Upload. Tab down and select Edit.
Your page will reload with several basic image editing tools available on a sidebar.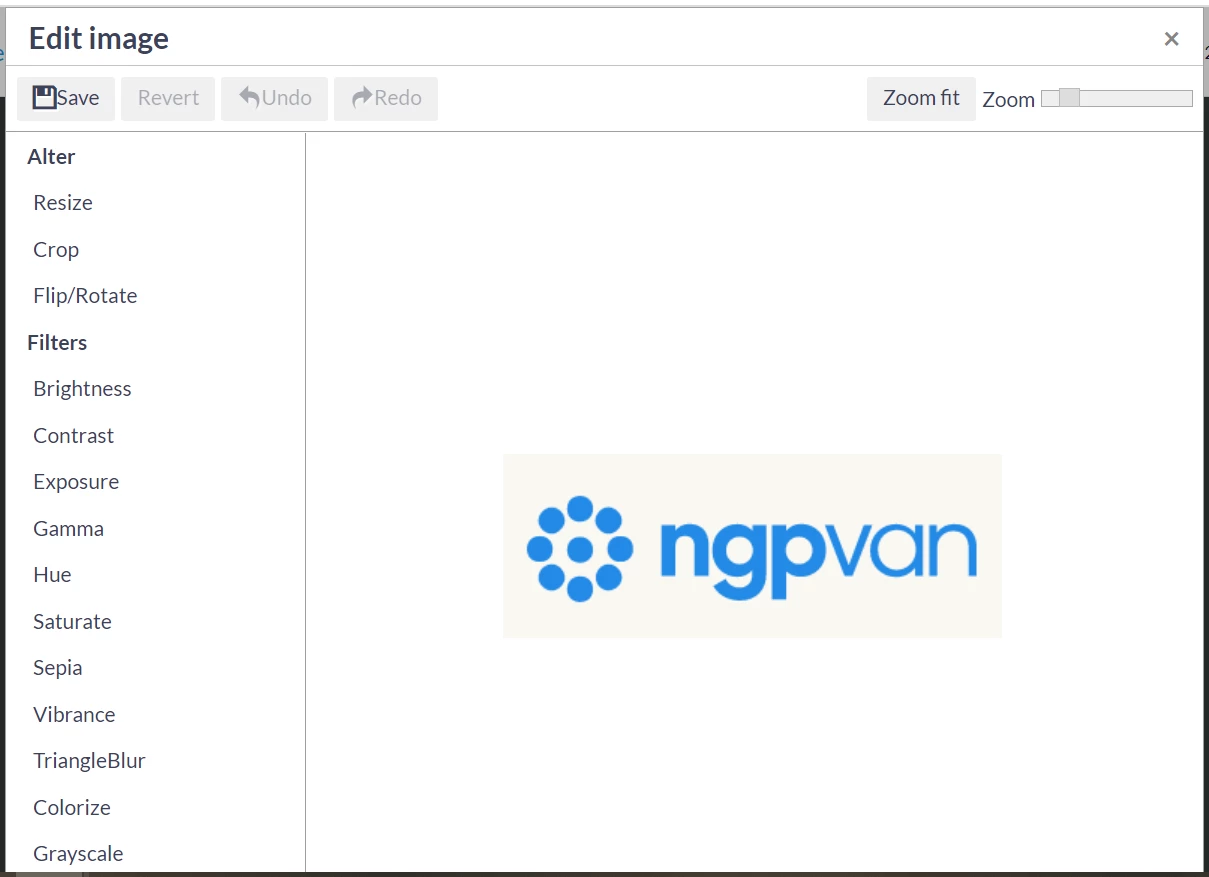
Adding merge fields and conditional content
Add merge fields to your text to personalize your message.
Read more about using merge fields
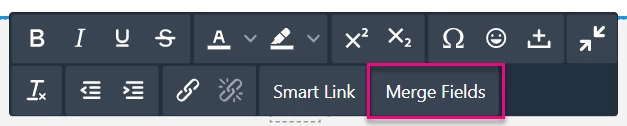
To insert a merge field, select Merge Fields from the formatting ribbon in any text content block.
Search for the desired Merge Field in the widow that opens.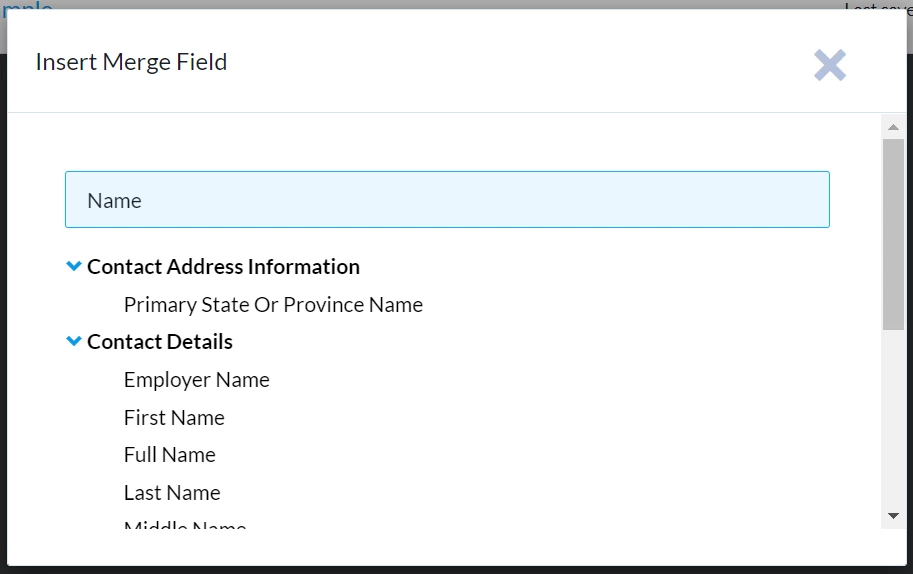
You can also create conditional statements in the text area that display different text for each recipient based on what you already know about them.
Read more about personalizing emails with conditional content
To make an entire row conditional, adjust the the settings for that row. For example, if you have a disclaimer that is specific to only recipients in one state, you can create a conditional statement that will allow you to display the row containing that text only to those contacts.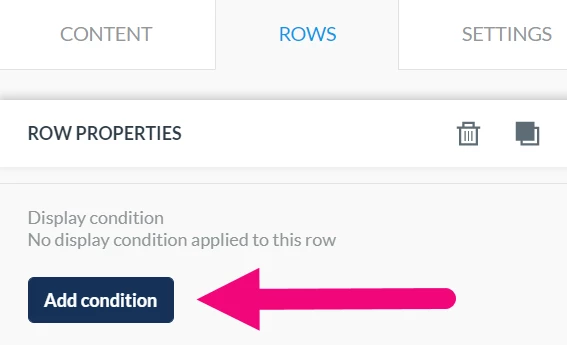
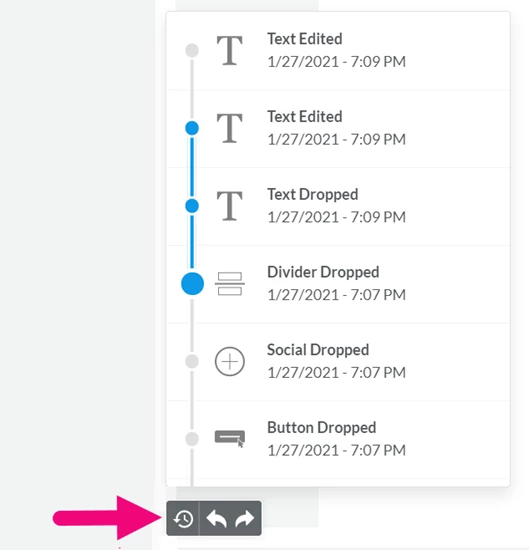
Using the Timeline and Undo/Re-do
Make changes quickly by using the undo or re-do arrows at the bottom of your workspace to undo the latest edit or re-apply it.
Selecting the Timeline allows you to browse through the most recent changes. For each recent change, you will see:
-
An icon to identify the content element type (an image, text, etc.)
-
A description of what changed, giving the new property value (if any)
-
The exact time it happened
Scroll back through the last 15 edits in the timeline or rewind to Message Opened to undo all changes from the time you began building your message.
Previewing and saving your work
See how your work will appear to your audience using Preview. You can also select the Send Sample Email button at the bottom of the Compose Message page and choose a one or several addresses to send a sample email to.

Our system autosaves your email every 15 seconds. View the time and date of the last save at the top of your screen.
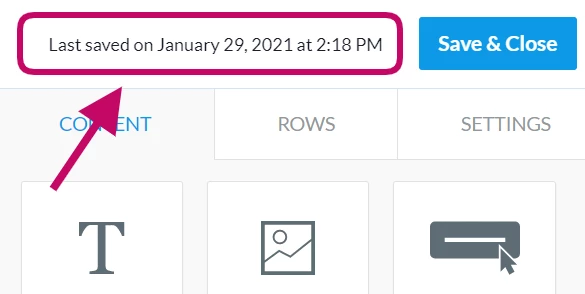
When you are happy with your email, Save & Close. Return at any time to edit your email before it is sent.
Looking for training?
Explore this feature at your own pace - join a live training session or watch a recorded webinar by clicking the link below.