

How do I set up admin accounts in Fundraising Pages?
If you need to grant administrative access to other folks on your team, you can set up an admin account for them. The steps below will guide you through this process and help you set up each team member with the level of access they need while working on your organization's Fundraising Pages.
Step 1: Navigate to your Fundraising Pages
From your Network for Good account, navigate to Fundraising Pages. You can find the link in the left navigation menu. You can also access Fundraising Pages from the top navigation bar by clicking the waffle icon and selecting Fundraising Pages from the dropdown menu.
Step 2: Add your admin
Once you are on the 'My Campaigns' page, click on the 'People' tab and select 'Admins' from the drop-down menu.
Click the blue 'Add Admin' button in the upper right corner of the 'Admins' page to set your administrator up with access.
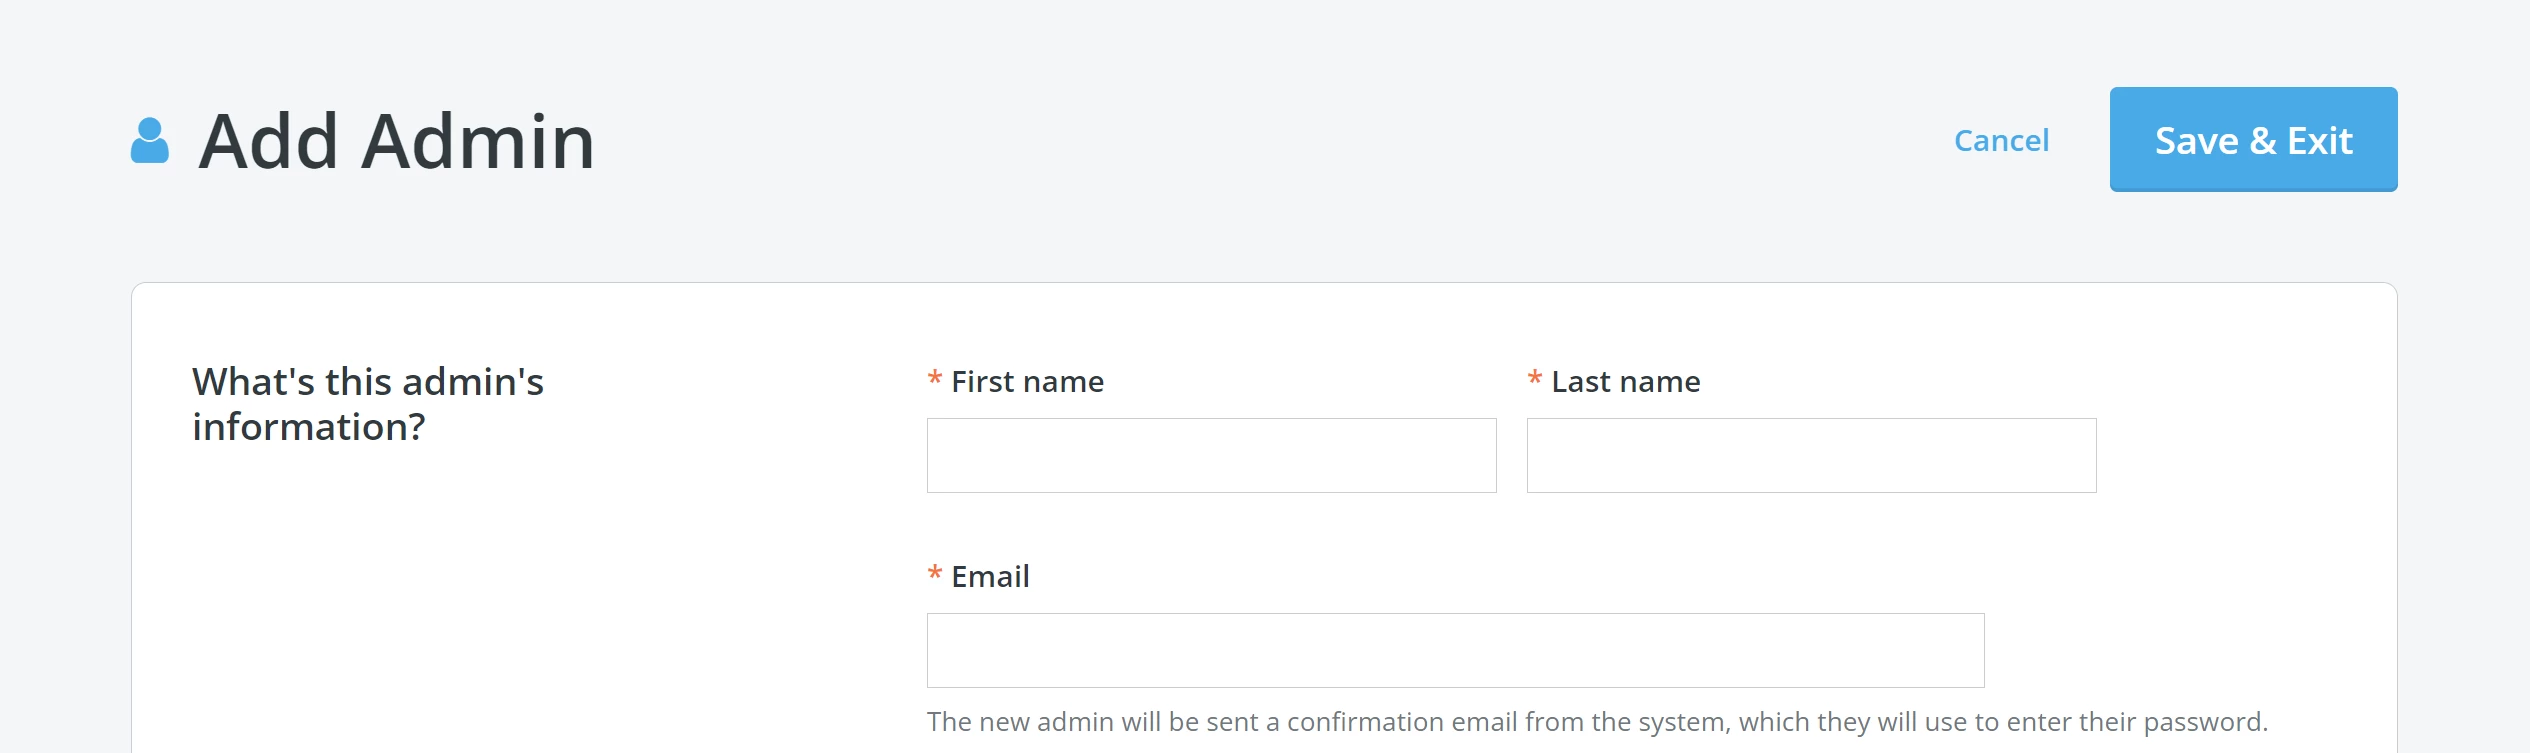
You will be taken to a page where you will enter your admin's information.
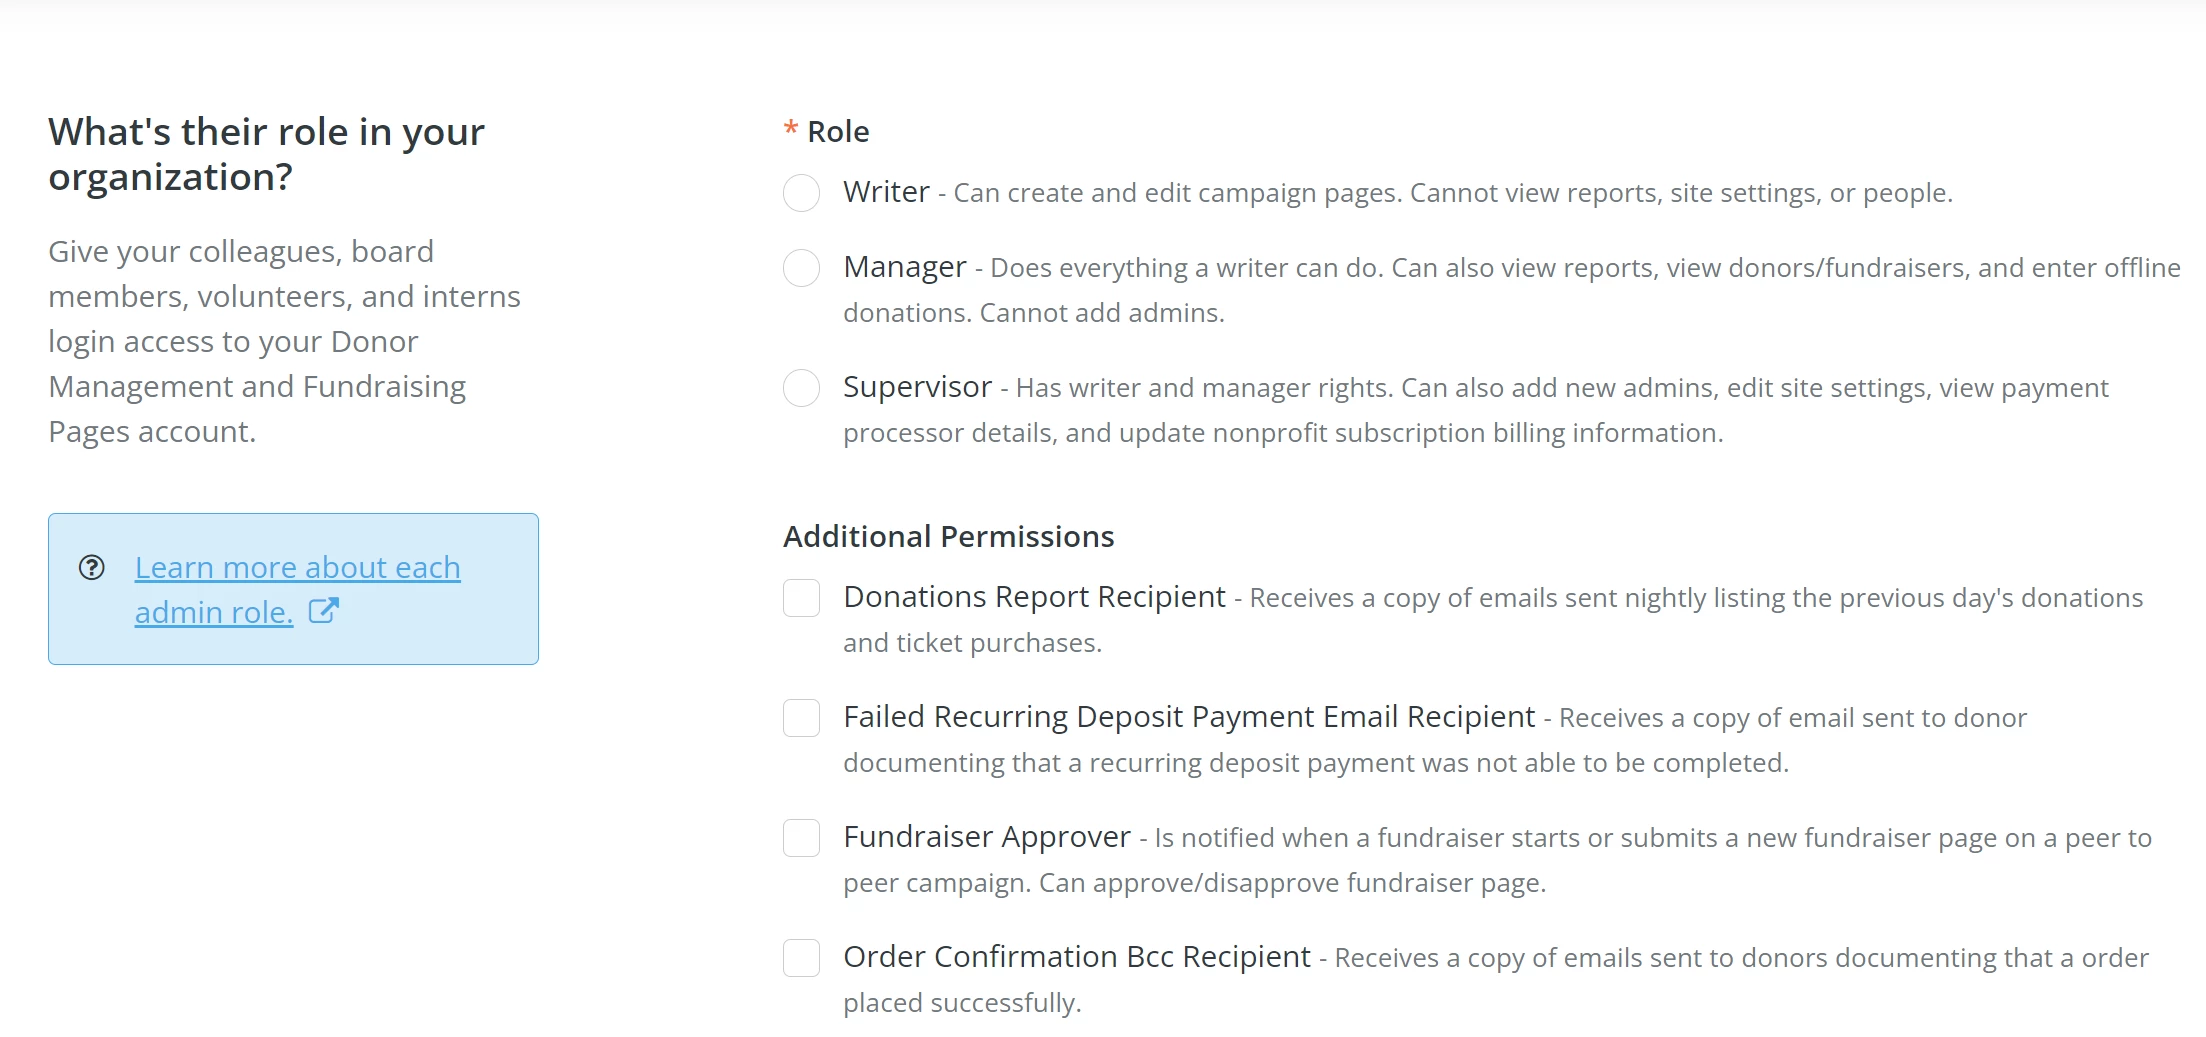
Step 3: Assign a role to your admin
You can designate a specific role for your administrator by scrolling further down the page.
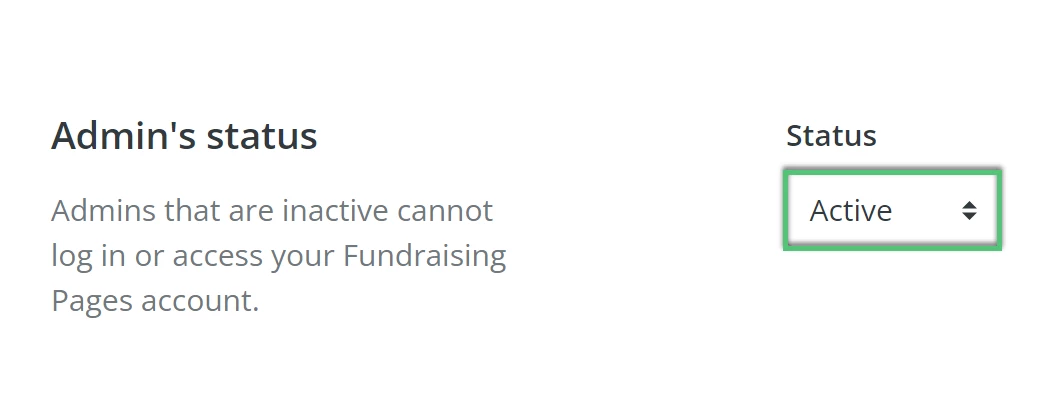
By default, the admin's status should be 'Active'.
Step 4: Confirm the admin's access
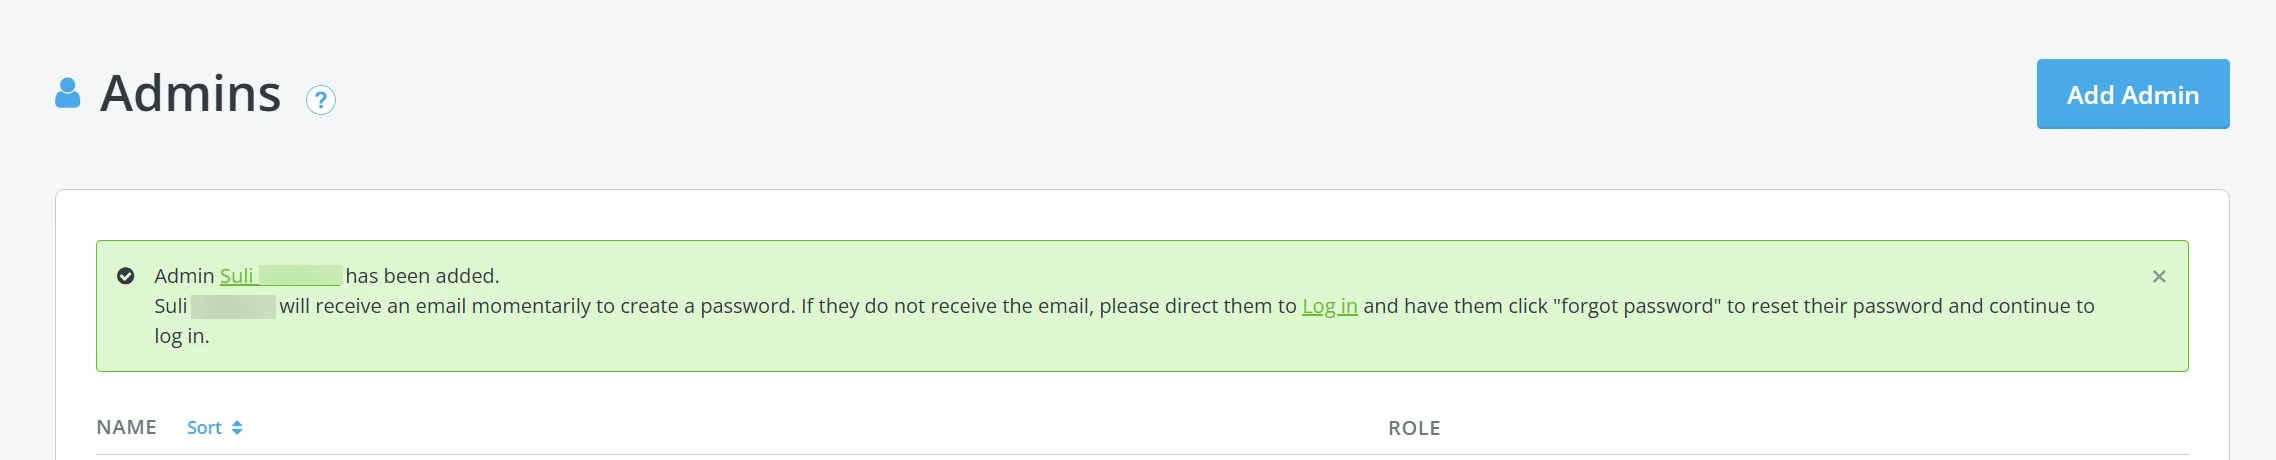
Once you click 'Save & Exit' in the upper right corner of the page, you will be directed back to the 'Admins' page, where a confirmation message with next steps will display at the top of the page.
What else do you need help with?
Not quite what you were searching for?
Navigate back to the Feature Overview.
How do I add an admin to Fundraising Pages? | How do I give someone access to my fundraising campaigns? | Where do I manage admin users in Fundraising Pages? | How do I assign roles to an admin in Network for Good? | Why can't my team member access Fundraising Pages? | How do I change an admin's status to active? | How do I grant campaign access to staff members?