

Reporting on option fields like checkboxes and multi-select fields can be tricky because the values stored in these fields are concatenated in reports, meaning users are unable to group records by individual option values or get unique counts per option value.
Follow the steps listed below to learn how to capture participants' option selections within a record and efficiently report on each option value below.
Step 1: Publish two Tier 2 forms
We suggest creating and publishing two Tier 2 forms under your Client/Participant/Individual Tier 1 form:
-
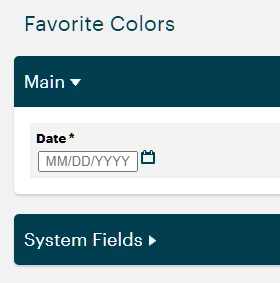
Form A: Name the form after the data you're collecting from your participants (ex. "Favorite Colors").
-
This form should only contain a Date field.
-
-
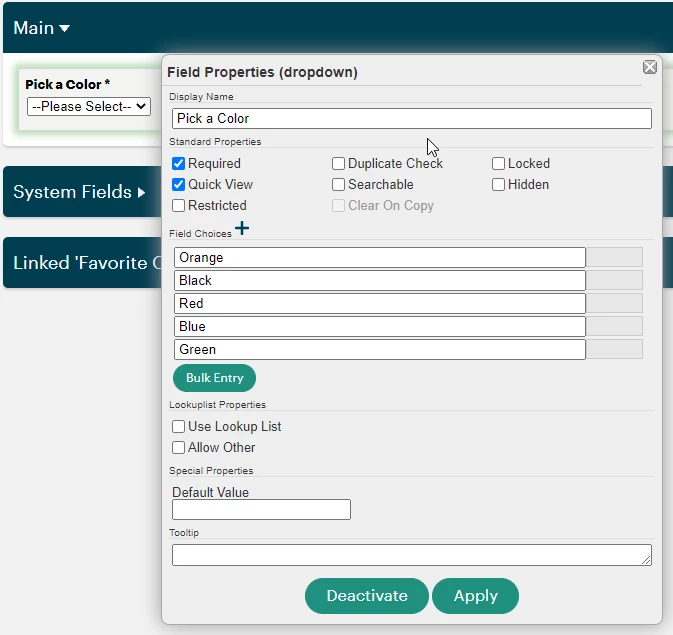
Form B: Add "Options" to the previous form name you created (ex. "Favorite Colors Options")
-
This form should only contain a Dropdown field that lists all the available option values.
-
Step 2: Link the two forms
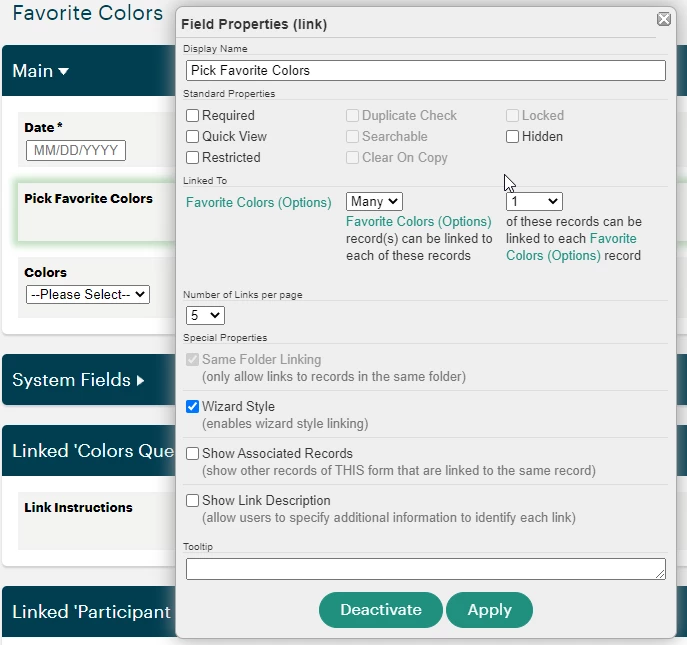
Add a linking field to Form A and configure its field properties exactly as follows:
-
Display Name: Pick [Form A Name] (ex. "Pick Favorite Colors")
-
Linked To: [Form B]
-
Link Relationship: "Many" to "1"
-
This allows users to pick multiple options from the dropdown when entering data.
-
-
Same Folder Linking: Yes
-
Wizard Style Linking: Yes
Publish Form A again to apply your changes, then navigate to Form B.
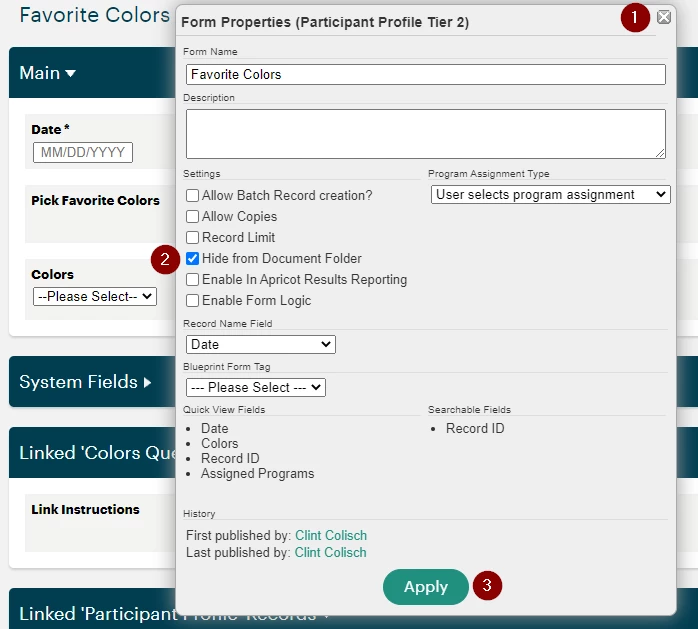
Click the top-most gear icon on the form, then enable "Hide from Document Folder". Next, click Apply to close the Form Properties window.
Open the Section Properties for "Linked '[Form A]' Records", select "Hidden" for the Default Display, then click Apply to close the Section Properties window.
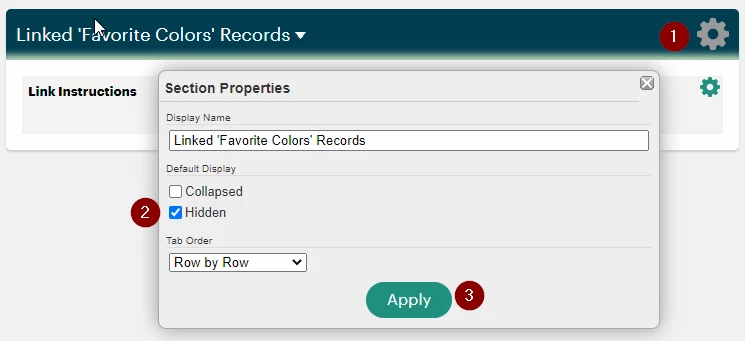
Publish Form B again to confirm our setup for the forms' linking relationship.
Step 3: Create a record
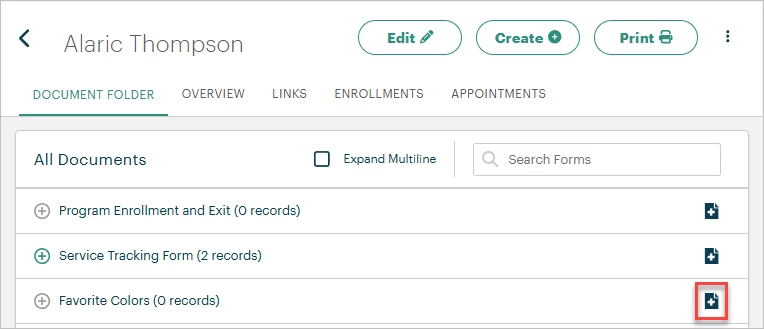
Navigate to an individual's Document Folder and click the page icon next to Form A.
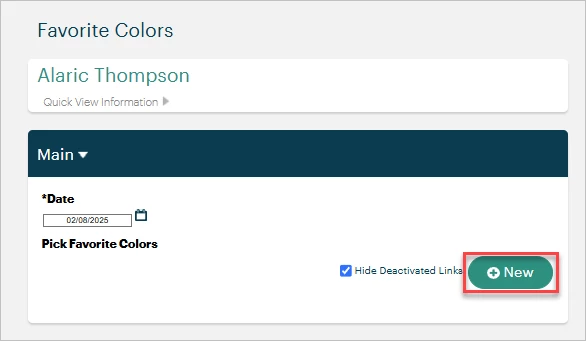
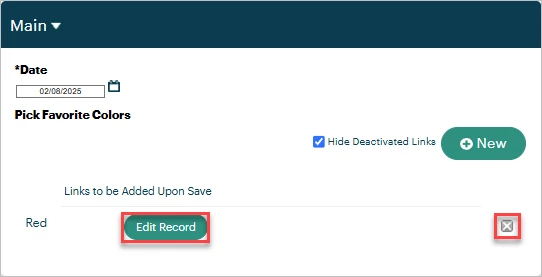
Select a date, then click "+ New" next to the linking field.
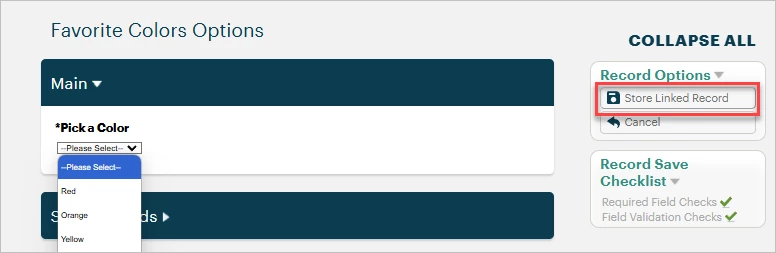
This will direct you to Form B. Select an option from the Dropdown field, then select "Store Linked Record" from the Record Options palette.
Back in Form A, you'll see the selected option under "Links to be Added Upon Save". You can click the "Edit Record" button to update your choice or click the X to the right to remove the link.
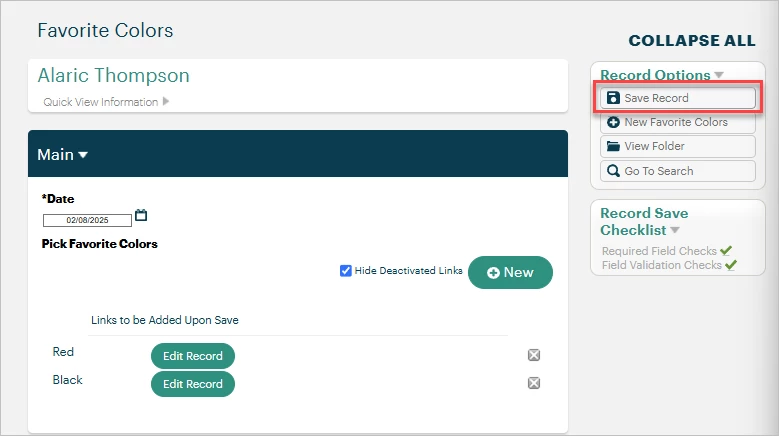
To select a second option for this individual within this record, click the "+ New" button again and repeat the same steps until you've made all your selections. Select "Save Record" from the Record Options palette once you're done.
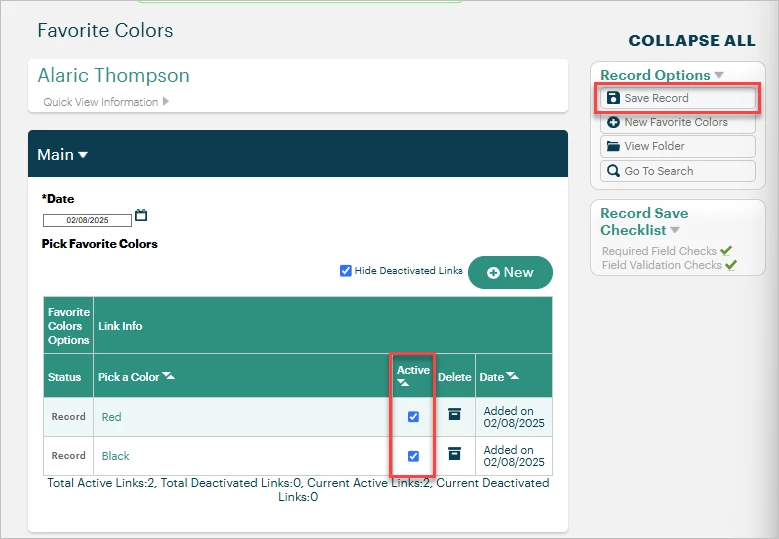
The page will refresh to display each option that was chosen as a separate record. You may still edit your selections here by unchecking the box in the "Active" column and saving the record once more.
Step 4: Build a report
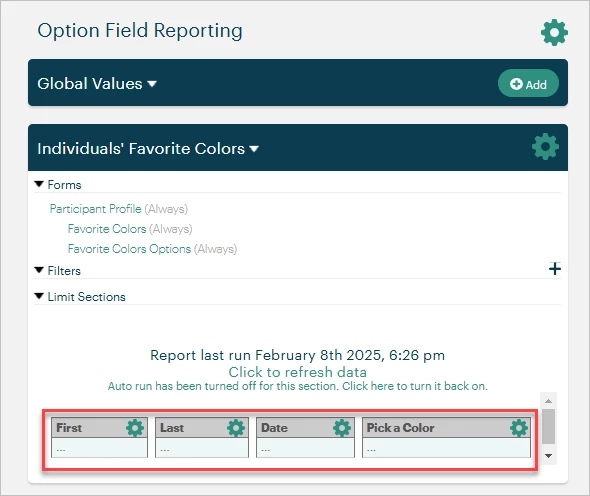
Pull the following fields from the appropriate forms into your report section:
-
Tier 1 Client/Participant/Individual form:
-
First (Participant Name)
-
Last (Participant Name)
-
-
Form A
-
Date
-
-
Form B
-
Pick [Form A Name] (ex. Pick Favorite Colors)
-
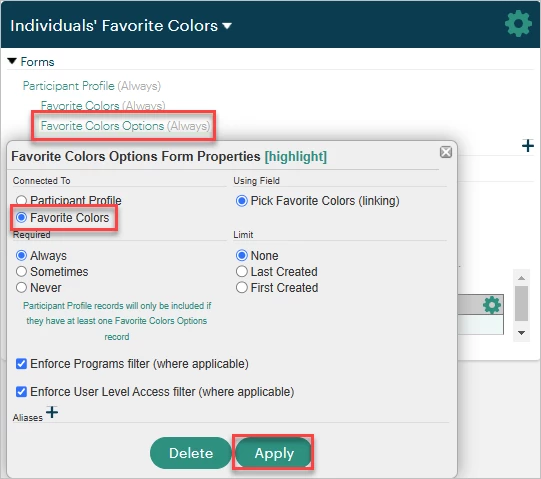
Then, click on Form B's name under "Forms". In the "Connected To" section, select Form A and click Apply to close the window.
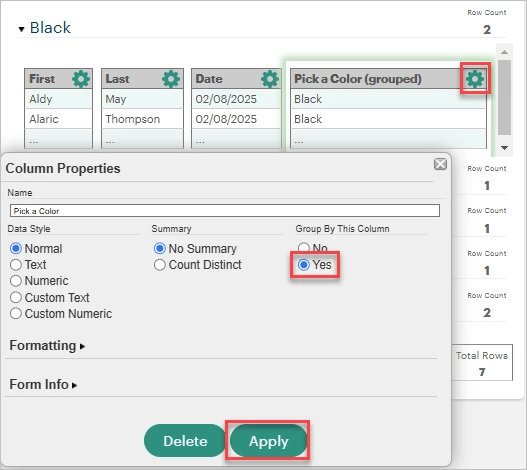
Finally, click the gear icon next to the "Pick [Form A Name]" field and select "Yes" under "Group By This Column". Click Apply to close the Column Properties.
Step 5: Publish the report
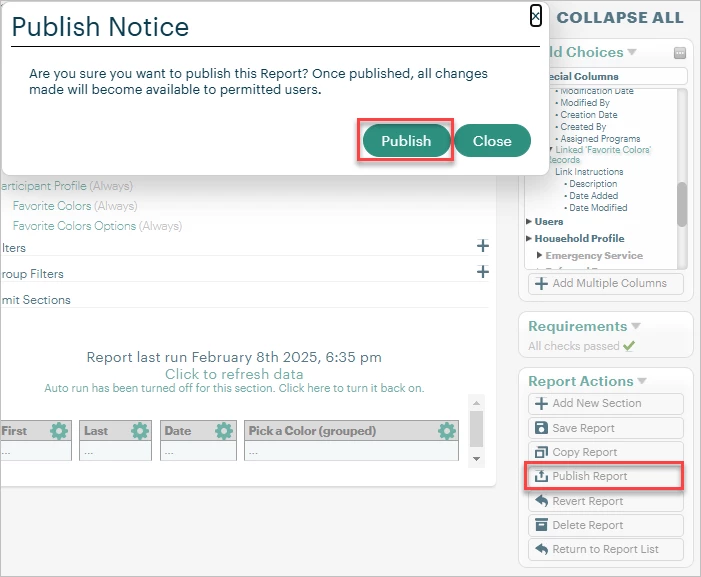
You can further modify and filter the report to meet your organization's needs, then click "Publish Report" in the Report Actions palette to run the report.
What else do you need help with?
Looking for training?
Explore this feature at your own pace - join a live training session or watch a recorded webinar by clicking the link below.