

Step 1: Map Columns to Database Fields
Choose the columns from your spreadsheet to map to the relevant fields in the database. As you proceed, each mapped column will display individually. Edit or remove columns as necessary to ensure accuracy.
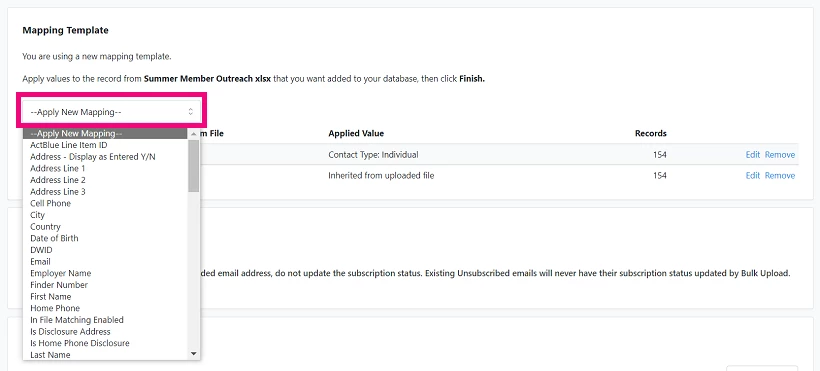

Step 2: Map Remaining Columns
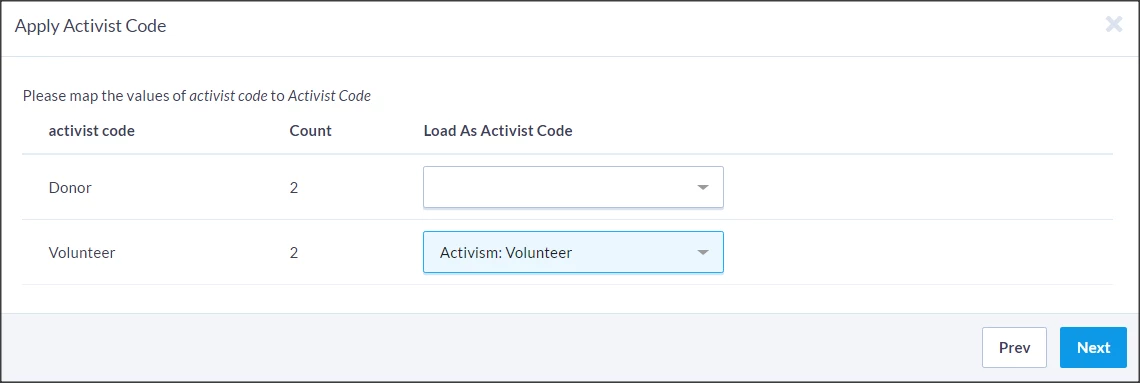
For columns not automatically mapped, open the dropdown under Upload Type and select the type of field to map.
- Apply Same Value to All: Use this if you want to assign a uniform value to all records in the column.
- Apply Unique Column Values: Use the Choose Column from Data File option to select a unique column for mapping values as they appear in the file.
Step 3: Save or Finalize Mapping
If you’re not ready to apply the data, save your work as a mapping template. If everything is ready, double-check your mappings and select Finish.

Please note: If mapping is interrupted, you can resume it by navigating to Main Menu > Load Data tile > Run Bulk Uploads and selecting Existing Files.
Not quite what you were searching for?
- Navigate back to the Bulk Upload and Edit Resource Index.
How do I map and apply data in bulk upload? | How does map and apply data in bulk upload work in EveryAction? | Why can't I map and apply data in bulk upload? | Where do I map and apply data in bulk upload in EveryAction? | What is map and apply data in bulk upload in EveryAction? | How to map and apply data in bulk upload? | Can I map and apply data in bulk upload in EveryAction?