

Step 1: Log In to EveryAction
Begin by logging into your EveryAction account using your credentials.
Step 2: Navigate to the Payment Gateways Page
- From the homepage, navigate to the left-hand menu. Click Administration > Payment Gateways.
- Or on the left sidebar, search for and select Payment Gateways. This is where you manage all aspects of your Bonterra Payments account. *Please note that access to the Payment Gateways page is limited to users with administrative access.
Step 3: Select Your Bonterra Payments Gateway
From the Payment Gateways page, find your Bonterra Payments Gateway. If you manage multiple gateways, ensure you are selecting the correct one.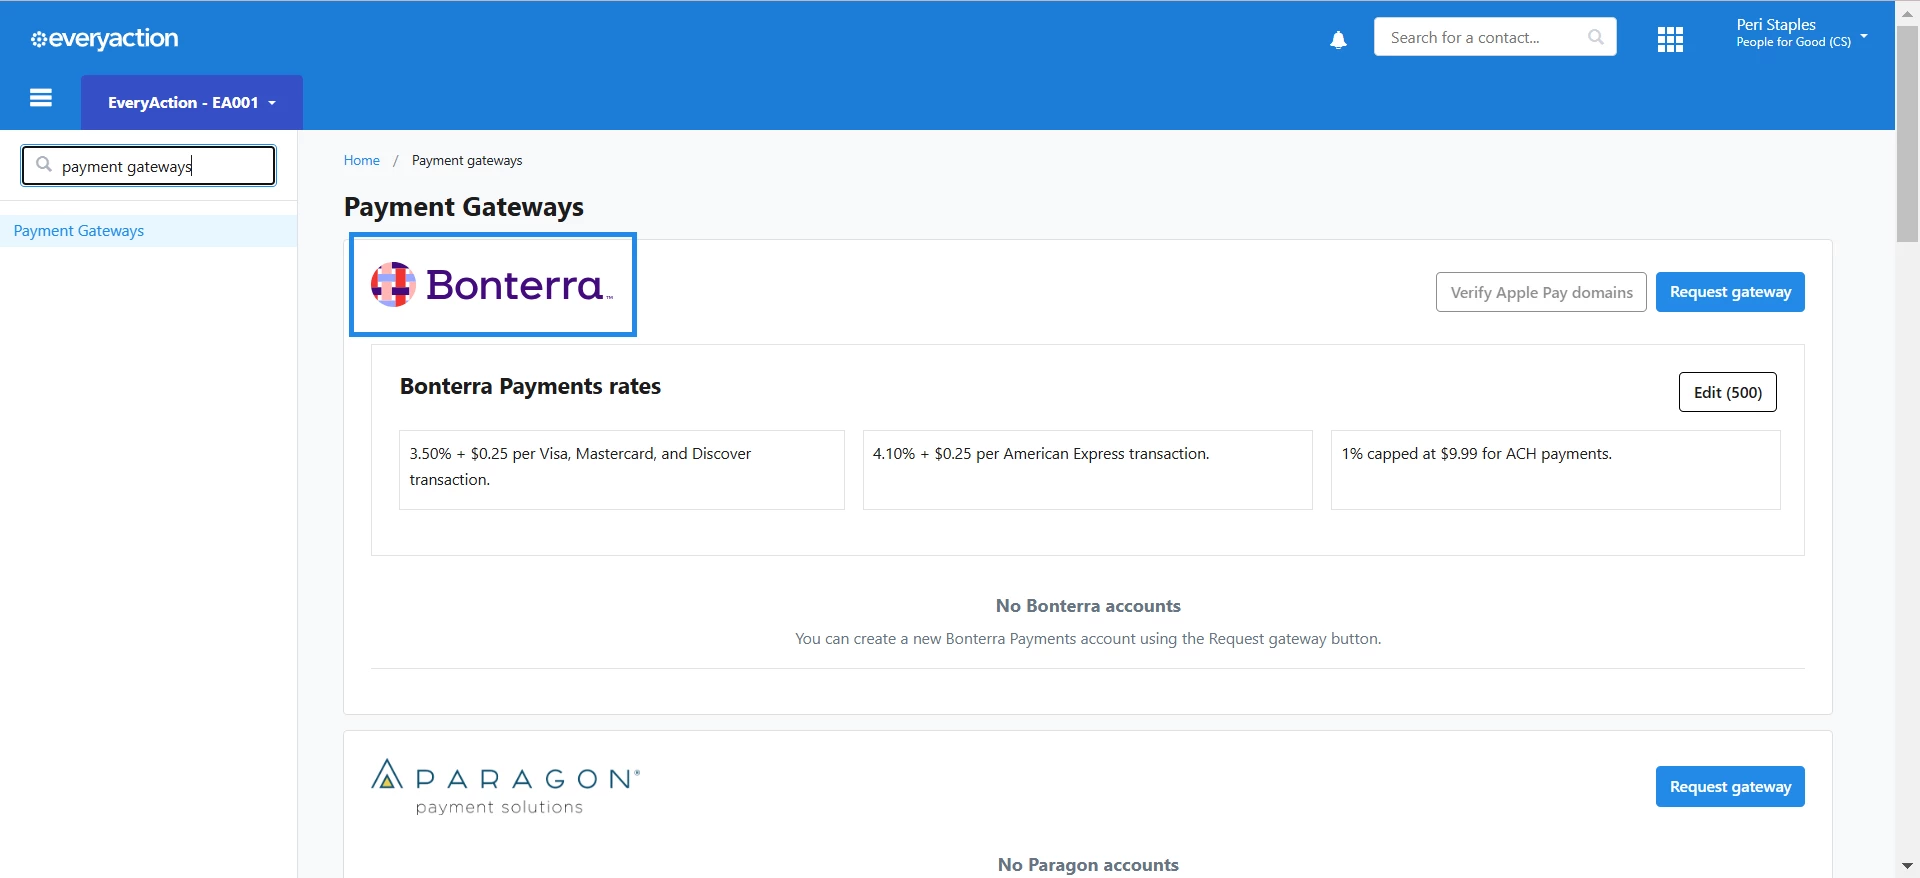
Step 4: Click the Edit Button
Once you have selected the correct gateway, look for the Edit button in the section with your gateway details. This will open the settings for your Bonterra Payments Gateway.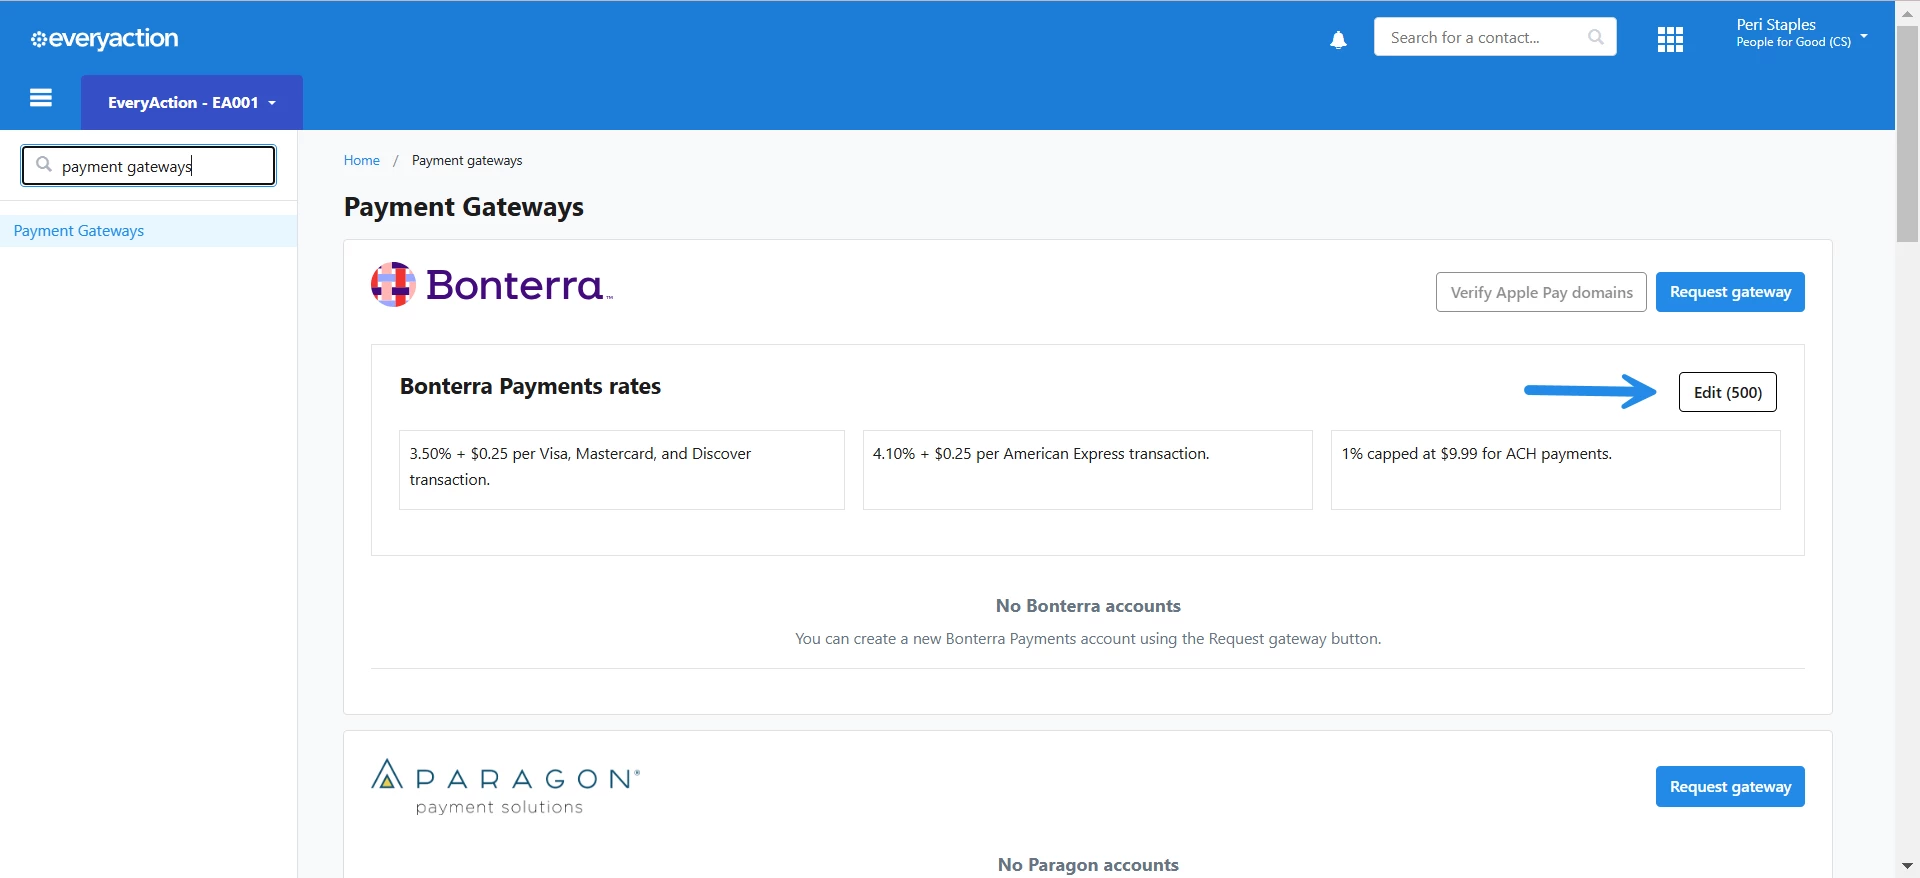
Step 5: Locate the Gateway Settings Menu
Scroll down or navigate to the Gateway Settings menu within the gateway settings. This is where you can enable or adjust additional security features for your payment gateway.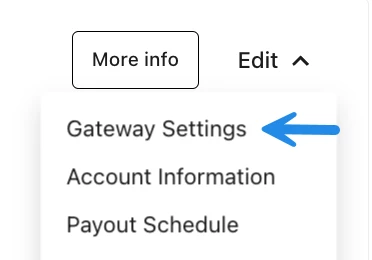
Step 6: Enable CVV
In the Gateway Settings menu, find the option to enable CVV. Toggle this setting on to require the CVV (Card Verification Value) for all payments processed through your Bonterra Payments Gateway.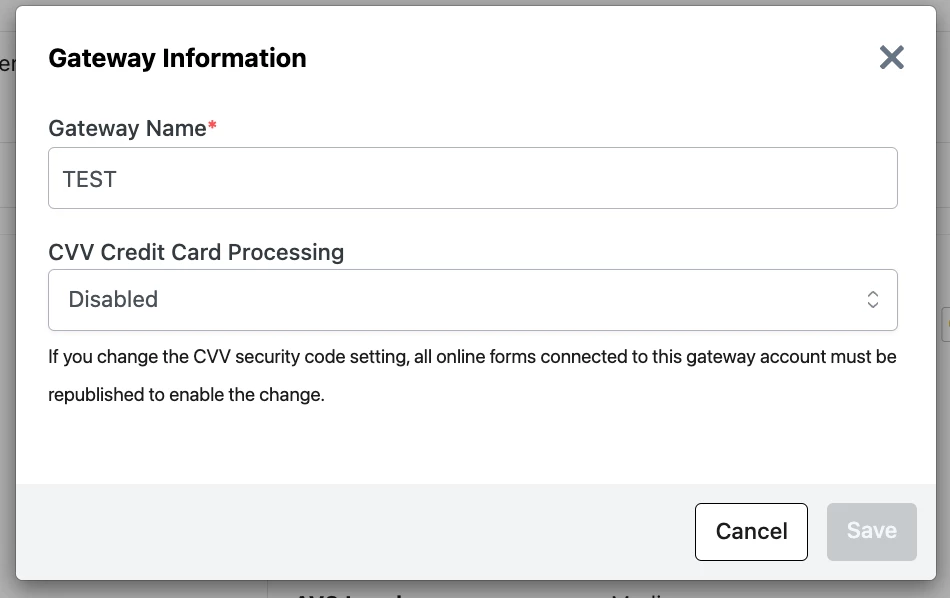
Step 7: Save Your Changes
After enabling CVV, make sure to click Save to apply the changes.
How do I enable cvv for my bonterra payments gateway? | How does enable cvv for my bonterra payments gateway work in EveryAction? | Why can't I enable cvv for my bonterra payments gateway? | Where do I enable cvv for my bonterra payments gateway in EveryAction? | What is enable cvv for my bonterra payments gateway in EveryAction? | How to enable cvv for my bonterra payments gateway? | Can I enable cvv for my bonterra payments gateway in EveryAction?