

Automation lets you create personalized interactions with your email or SMS recipients by using branching workflows to send them customized messages based on their responses. And, using Automation allows you to add more Tasks to the workflow that will help you streamline repetitive tasks, like applying Activist Codes or assigning staff for follow-ups.
With Automation you control over your audience segmentation and messaging. To help you make the transition, use the quick start guide below to get started.
Read more on automating your email series
Getting started
Previous workflow: Create new Emails Series using Targeted Email
New workflow: Use Automation to create email series
From now on, you will create your email series in Automation rather than in Targeted Email. Don’t worry! You’ll still have access to your familiar Targeted Email tool once you begin building your Automation. But you’ll first need to create the branching decision tree that will send your recipients the correct email depending on their response to the previous message.
To begin, open Automation from the Sidebar.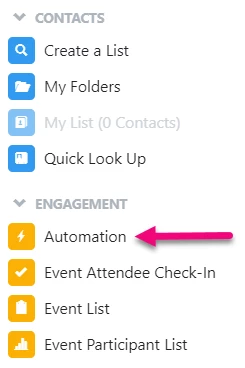
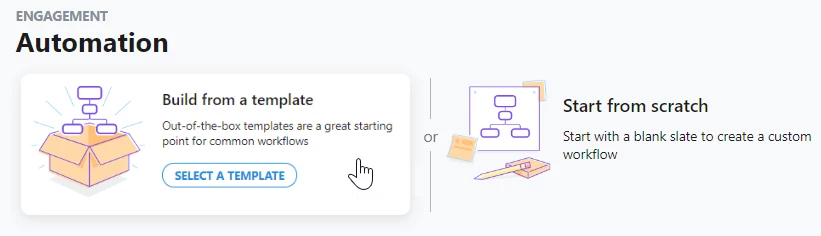
Once in Automation, you can choose to Build from a template or Start from scratch. This will open the Workflow Builder where you can customize or add steps to your series.
Adding basic details
Previous workflow: Adding the name, descriptions, time of day, and people to exclude
New workflow: Add important details to your Automation
When you used Targeted Email, you were asked to add some basic details about your Email Series. You can still add all of these details in Automation.
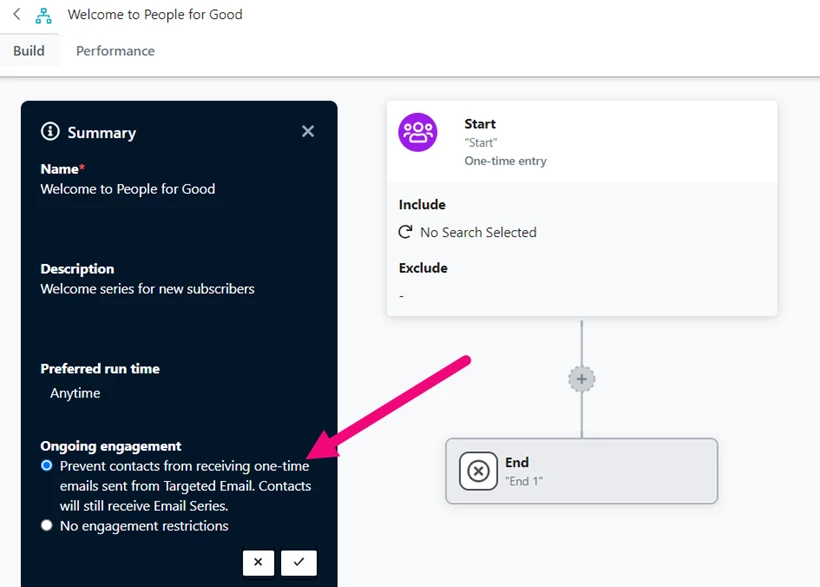
When your Automation workspace is open, look for the Summary tray on the left-hand side. You can then Edit (pencil icon) the entries, including:
-
Name and Description
-
Preferred run time
-
Ongoing engagement restrictions
Setting entrance criteria
Previous workflow: Setting the entrance criteria for your Email Series is done when you create your first email
New workflow: Create a saved search for your Start entrance criteria
Every Automation begins with a Start step. Clicking on it will allow you to add or create Saved Searches for your Inclusion and Exclusion settings.
If you are using one of our default templates to create your series, you can then select the first email step to customize the message. Selecting New or creating one From existing will open the familiar Targeted Email tool that you have used in the past.
If you are creating your series from scratch, you will first need to add a new step by clicking + then selecting Send an email from the list of available actions. You will then be able to create a New email or create From existing.
Adding more emails
Previous workflow: In an Email Series, you can add a second email and define the time to wait between the first and second email
New workflow: Add more steps to your Automation
In Automation, a standard pattern is to add a Wait, followed by a Decision, and then an email or two.
With a Wait step, you can choose between a set number of days or select a day of the week.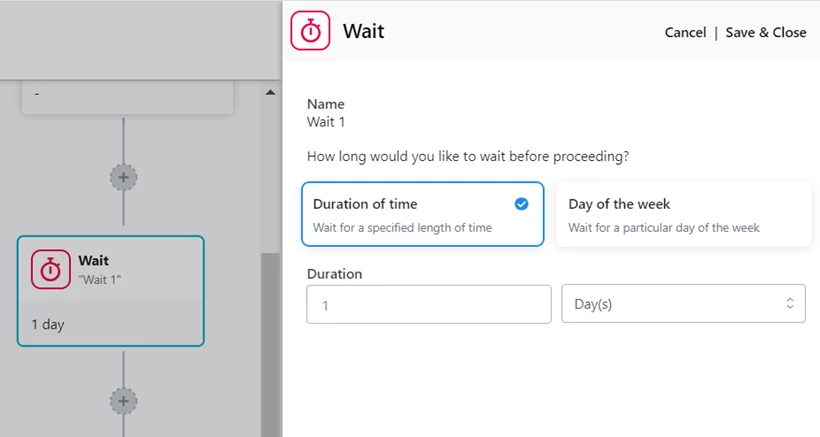
The Decision step is where Automation introduces the concept of branching. Decisions steps use saved searches or responses to previous messages to sort contacts going through your workflow and send them to the correct next step. For example, you can create a saved search that will identify anyone who donated or you can select the Result of a previous step to identify who clicked a link after receiving the previous email.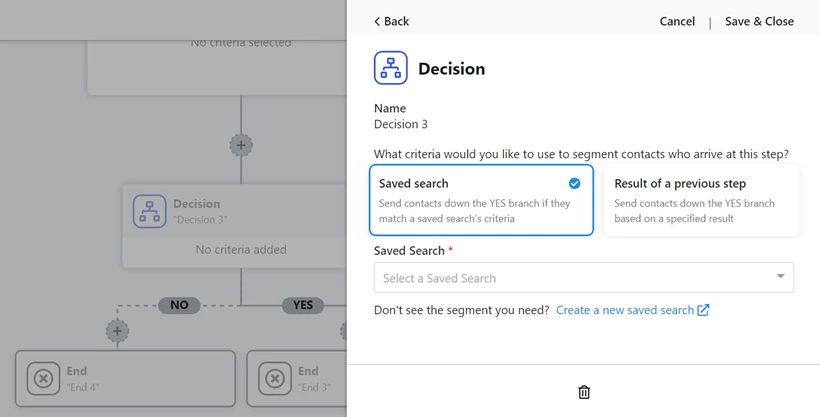
When you add a Decision step, you’ll see No and Yes branches added to your workflow. If a supporter meets the conditions from your Decision, they will go down the Yes branch. If they do not, they will go down the No branch.
The Result of previous step option will always use the email or mobile messaging step just prior to the Decision step you are using to create a branch. If you change your workflow by adding new email steps above a Result of previous step decision, you may need to update your Decision step to make sure it is referencing the intended step.
You can then continue adding more actions, waits, and decisions. Each branch will stop at an End step. When a supporter reaches an End step, they will exit the Automation.
More answers to your questions
Why don’t I have to set the “length of exclusion”?
Because Email Series was a more static tool, you had to set a length of exclusion to make sure that anyone receiving your timed email series wasn’t also getting your regular communications.
Automation is designed to be a more dynamic flow and your supporters' time in the series may vary based on their particular path through your message structure. If you selected Prevent contacts from receiving one-time emails for your series, anyone still in the series will continue to be suppressed from your regular Targeted Email until they are finished with their journey through your workflow.
What if I want to use Saved Lists?
The old Email Series was a more static, linear tool that is often run manually by outreach teams based on static lists that were created for particular campaigns.
Automation is designed to free you from manually overseeing the running of these series by using dynamic searches that will let you “set it and forget it”. Every evening, your Automation will run your entrance searches to see if there are new contacts who are ready to enter this email series.
What is branching and how does that make Automation different than series?
If you are familiar with flowcharts, you’ll have some idea of how the branching workflow works.
In a traditional Email Series, you will have a linear progression of messages that are spaced over a specific period of time.
Automation allows you to change your messaging depending on whether your supporter opened, clicked, or responded to your previous message. This allows you to create very personalized responses to your supporters depending on their actions.
For example, you may want to send a message inviting a supporter to volunteer or donate after they’ve shown interest by following a link you’ve sent them. Or, if you have some supporters ignoring your emails, you can try to increase the urgency of your subject lines to try to get them to engage with your message.
How does an Automation END?
At the end of each branch of your Automation is an End step that will mark all contact records that are finished with this particular series. You can later create lists of contacts who finished their journey through your series on a particular date. Contacts who finish your email series will also be returned to your regular Targeted Email deliveries once they have reached the End of your Automation.
How do I how to: use automation with targeted email? | How does how to: use automation with targeted email work in EveryAction? | Why can't I how to: use automation with targeted email? | Where do I how to: use automation with targeted email in EveryAction? | What is how to: use automation with targeted email in EveryAction? | How to how to: use automation with targeted email? | Can I how to: use automation with targeted email in EveryAction?