

Checking in guests and collecting information during fundraising events can be a complicated process.
With Events, you have ways to collect guest information that's designed for use on phones and tablets, and should make this process run as smoothly as possible as your event begins.
Step 1: Locate the "Open Check-In" button under the "Guests" tab
When you are ready to begin checking in your guests, you’ll want to navigate to the “Guests” tab on your event, and click on the green “Open Check-In" button towards the top right corner.

Step 2: Click "Open Check-In"
This will refresh the page and load the guest check-in page. This page will list all guests who have purchased a guest ticket for your event, as well as the name of the ticket purchaser (because sometimes they are different!).
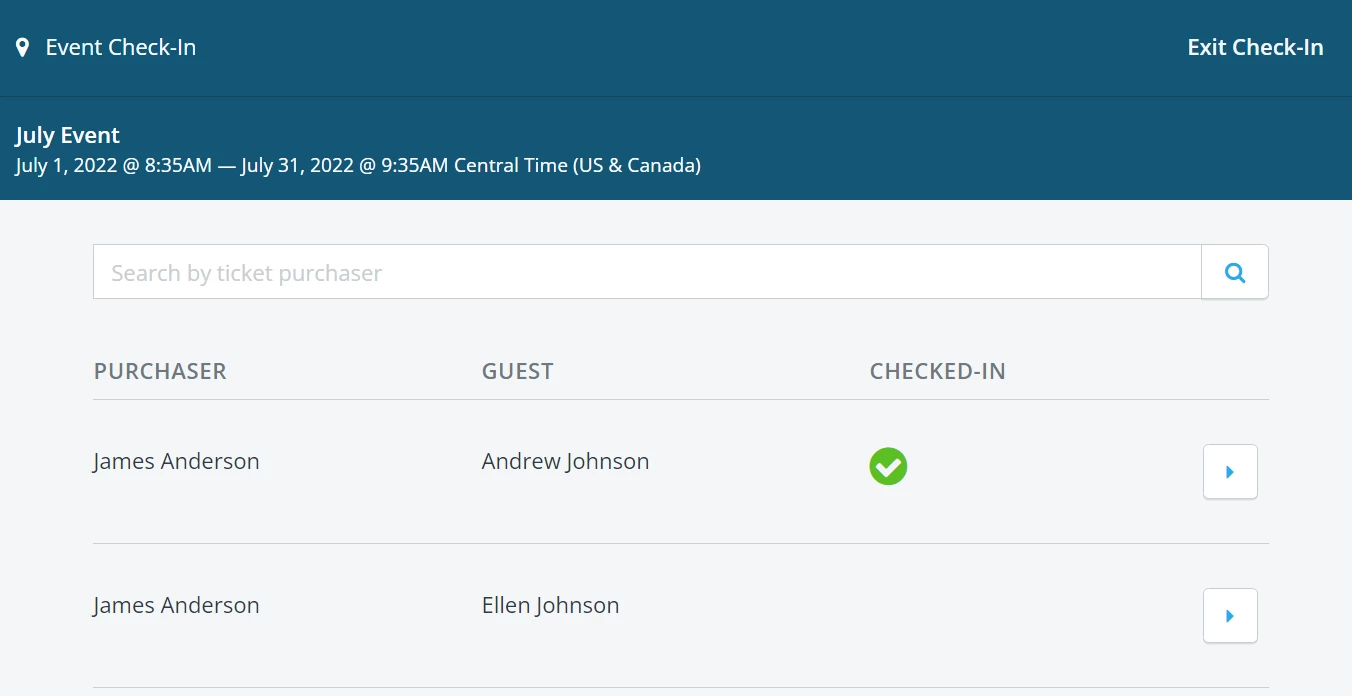
It’s also designed to work on phones and tablets, in addition to laptop and desktop computers, to make it as easy as possible for your team to check people in quickly and efficiently.
Step 3: Find the guest you're looking to check in
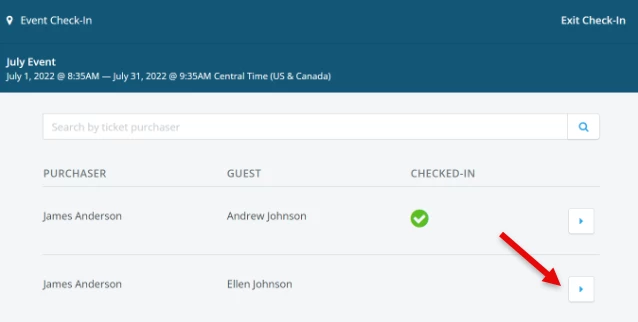
Once on the guest check-in page, you can search for the ticket purchaser’s name or email address to filter for a list of their guests. Once you’ve located the guest you’re trying to check in, click on the arrow to the right of their name.
Step 4: Review the guest's pre-filled information
You’ll then be prompted to review and confirm the guest’s information, including their name, email address, and phone number. This is a great opportunity for you to collect key information about guests that you might want during – or after – the event.
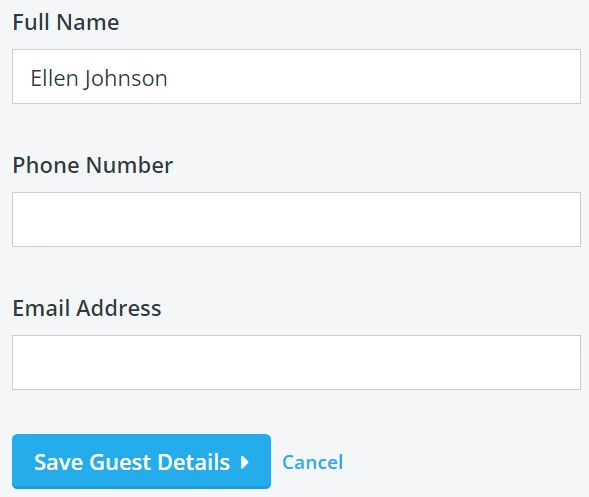
Once the information has been confirmed, click on “Save Guest Details.”
Step 5: Review and press "Check-In"
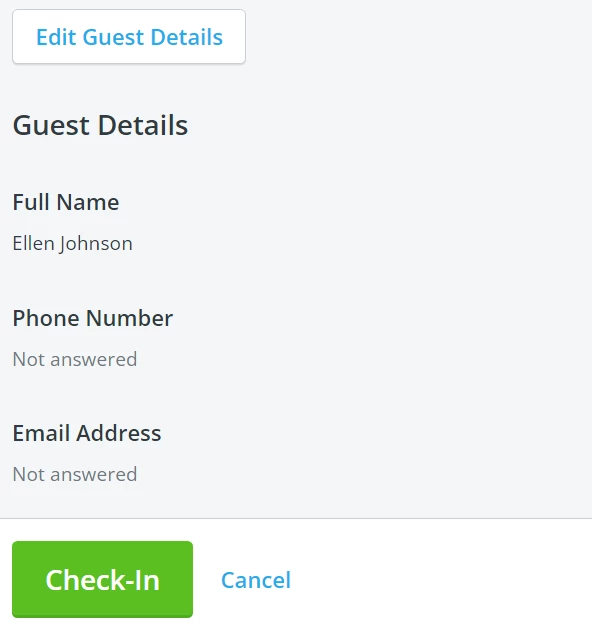
You should now see the guest details listed one more time for final review. If everything looks correct, you can click “Check-In” to finish the process.
What do you need help with?
Not what you're looking for?
Go back to the Feature Overview.
How do I check in guests at my event in Network for Good? | Where is the Open Check-In button? | How do I search for a guest during event check-in? | Can I use the check-in tool on a phone or tablet? | How do I confirm guest information at check-in? | Why can’t I find a guest on the check-in list? | How do I mark a guest as checked in?
How do I what kinds of actions can i take with zapier? | How does what kinds of actions can i take with zapier work in EveryAction? | Why can't I what kinds of actions can i take with zapier? | Where do I what kinds of actions can i take with zapier in EveryAction? | What is what kinds of actions can i take with zapier in EveryAction? | How to what kinds of actions can i take with zapier? | Can I what kinds of actions can i take with zapier in EveryAction?