

You may occasionally need to send more than one e-mail blast to the same group of donors while suppressing those who have already opened or responded to the original message. For example, you might follow up with donors during a giving event such as Giving Tuesday.
In the steps below, we will show you how to segment your recipients so you can send that follow-up e-mail to a specific audience. We have created an example scenario where we will send a follow-up e-mail to a group of donors who received an e-mail asking them to donate during Giving Tuesday and have not yet given.
Step 1: Navigate to your 'Email Blasts'
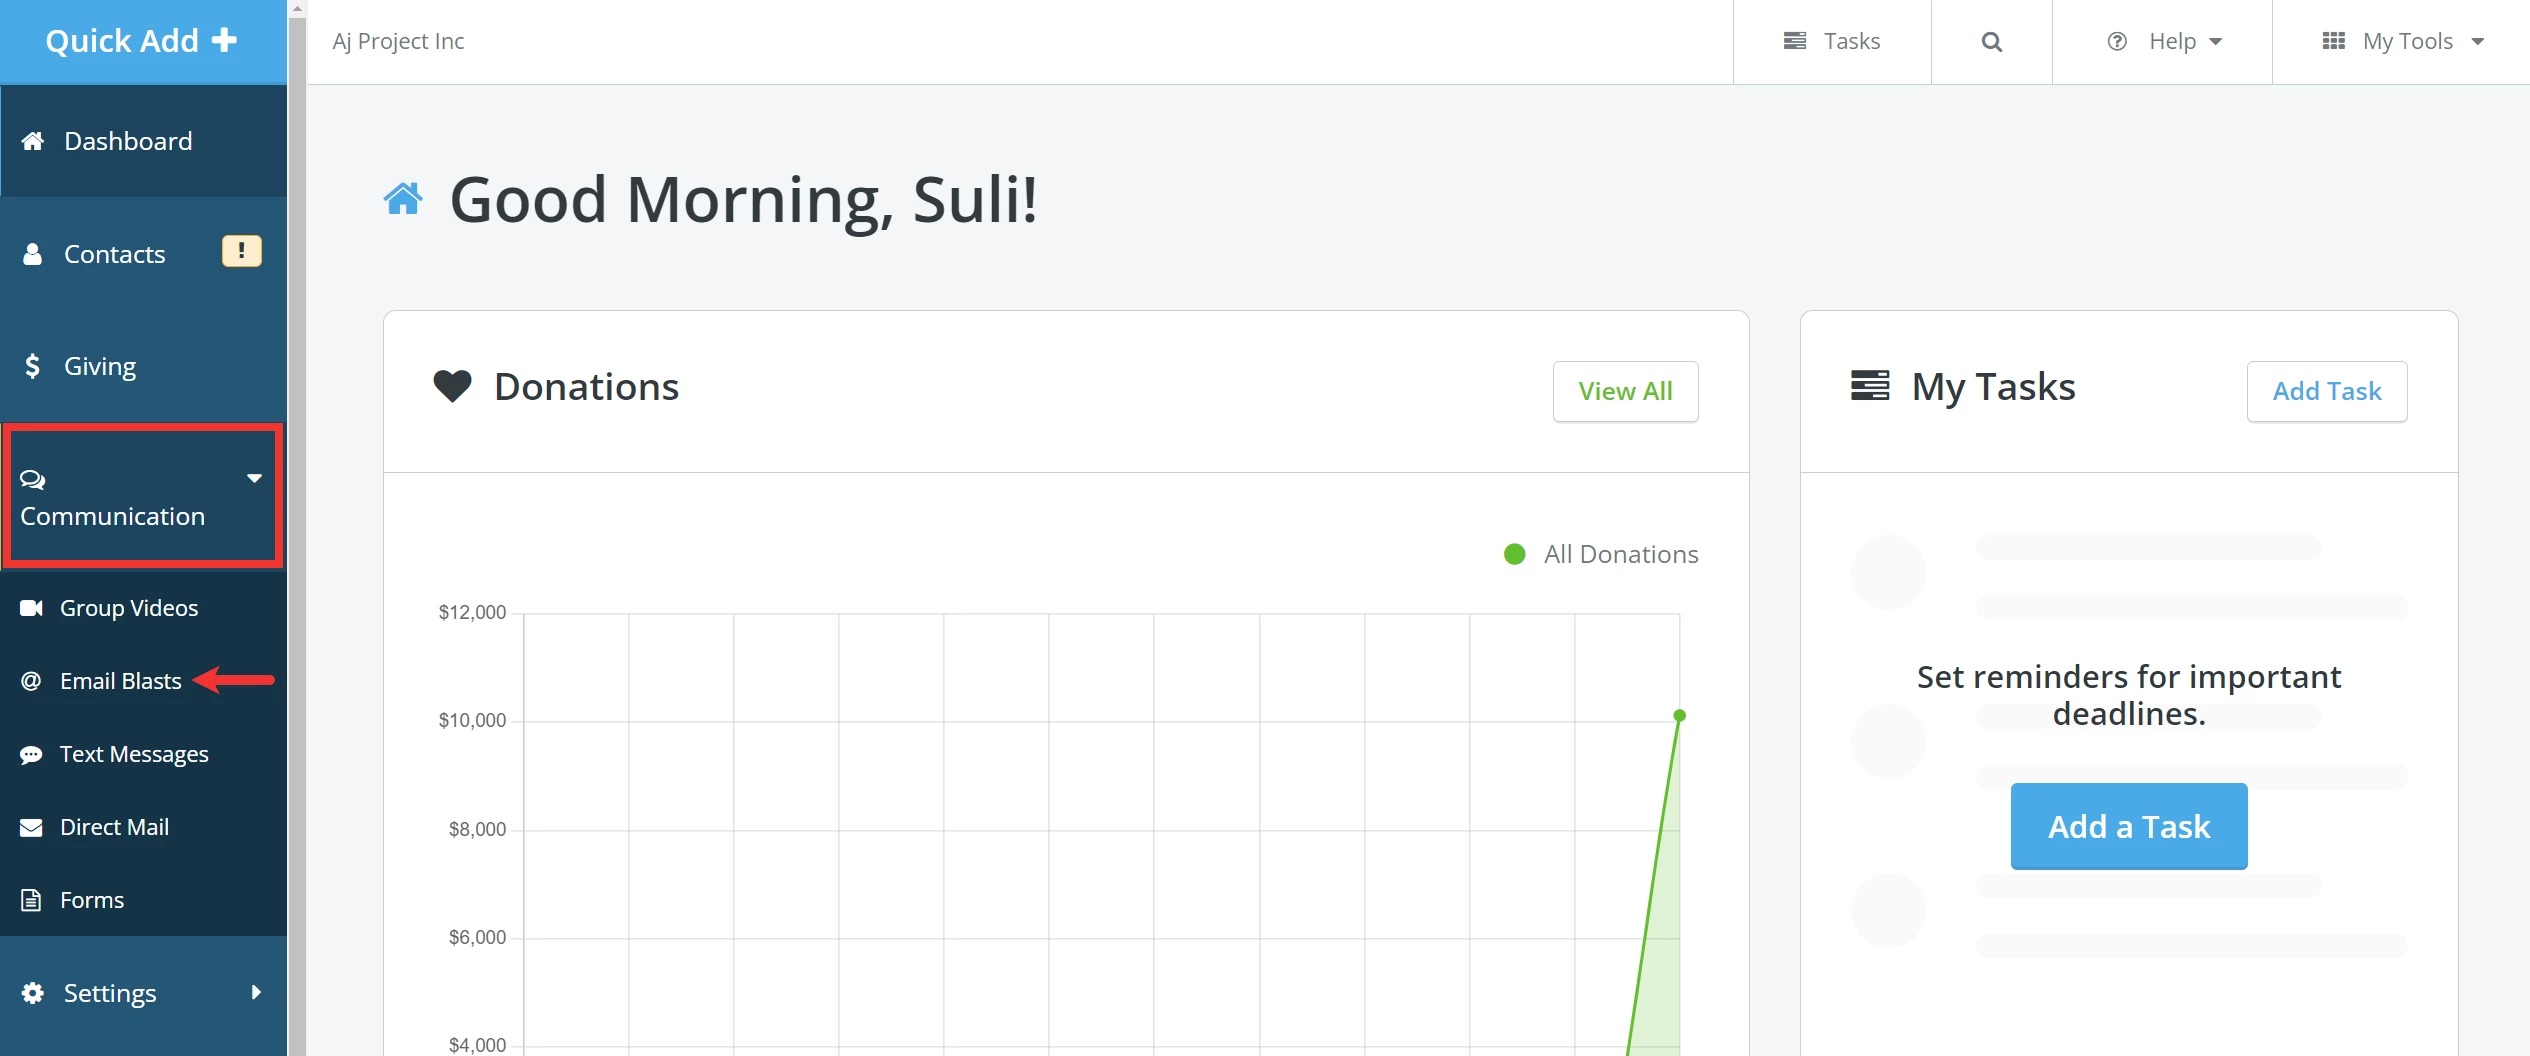
From your 'Donor Management' Dashboard, click the 'Communication' tab on the left navigation menu and select 'Email Blasts' from the newly expanded list.
Step 2: View your e-mail's metrics
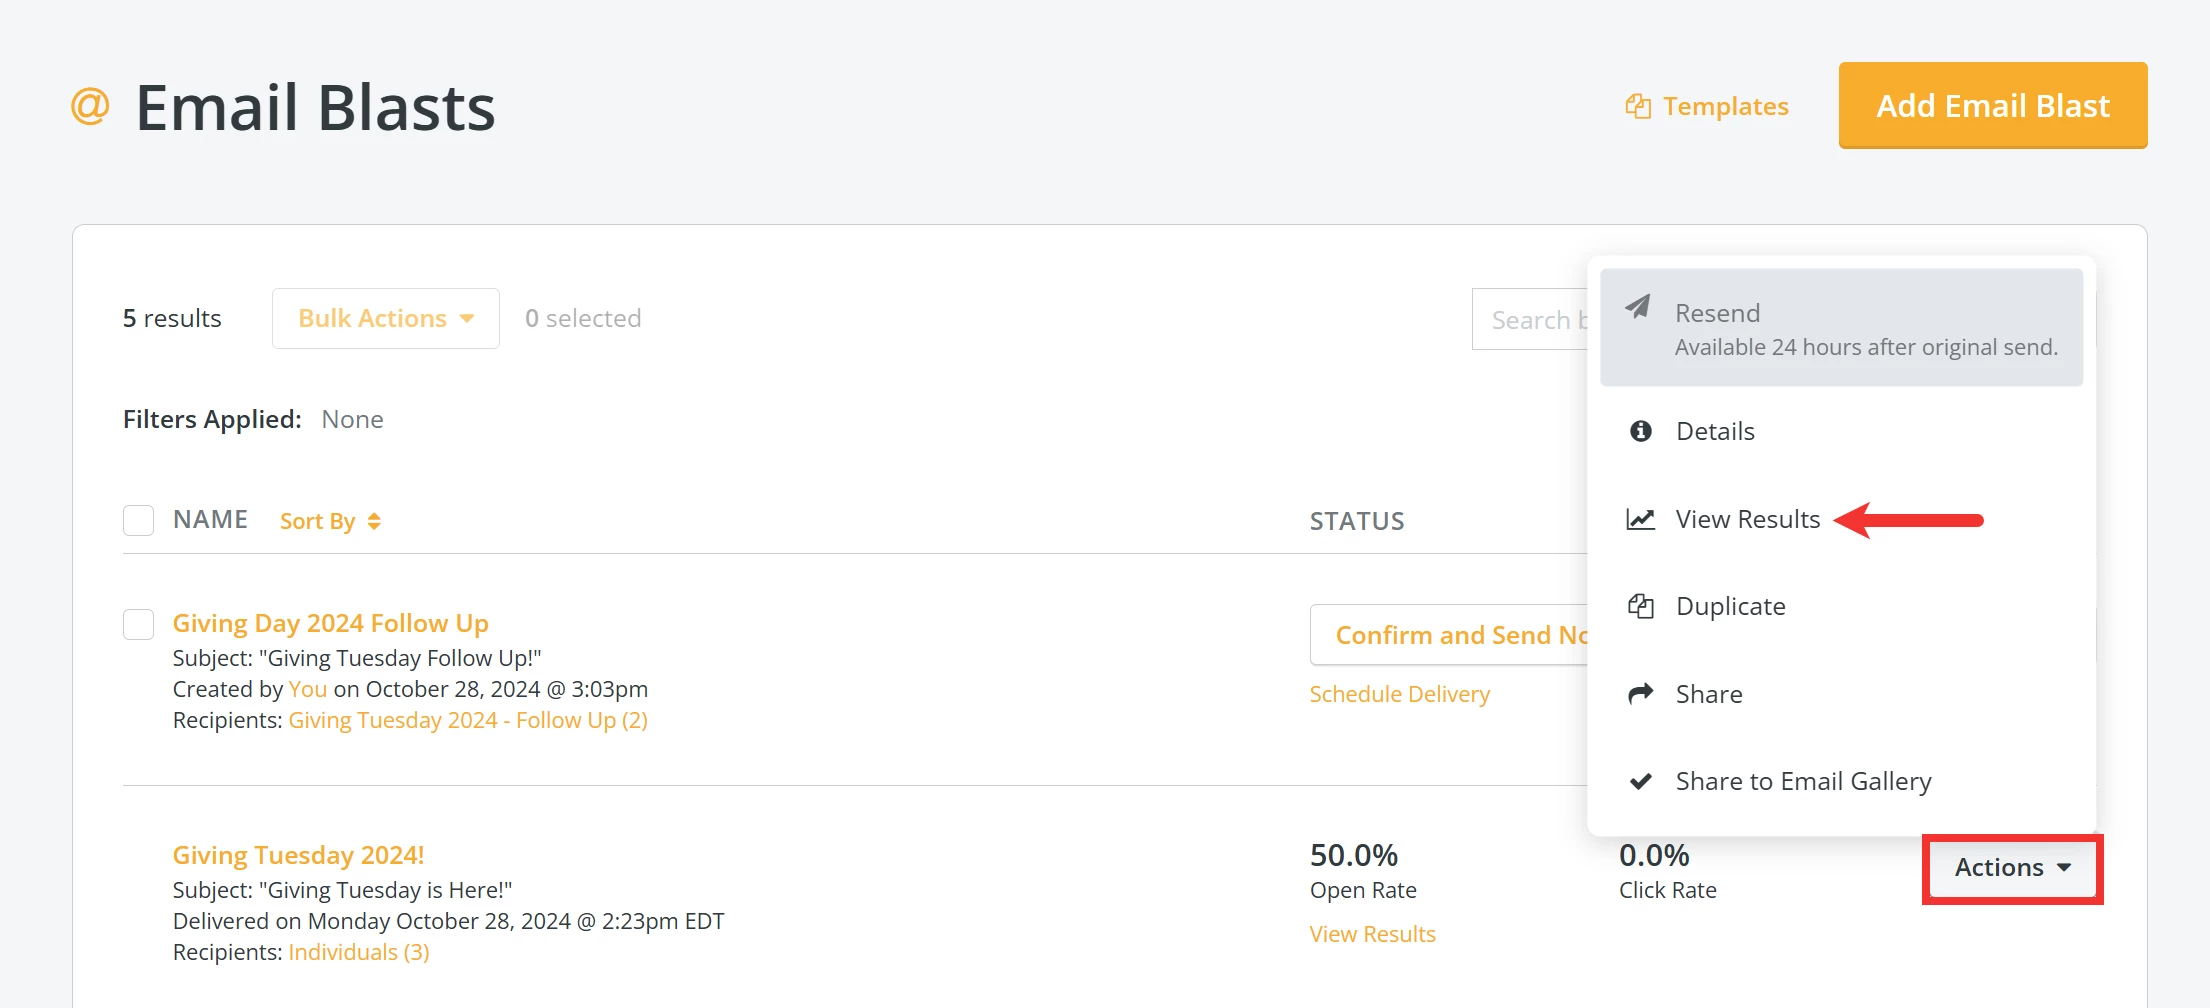
From the 'Email Blasts' main landing page, scroll to find the e-mail you wish to view metrics for, click the 'Actions' button next to it, and select 'View Results'.
Tip: You can also click the quick link 'View Results' under your e-mail's 'Open Rate'.
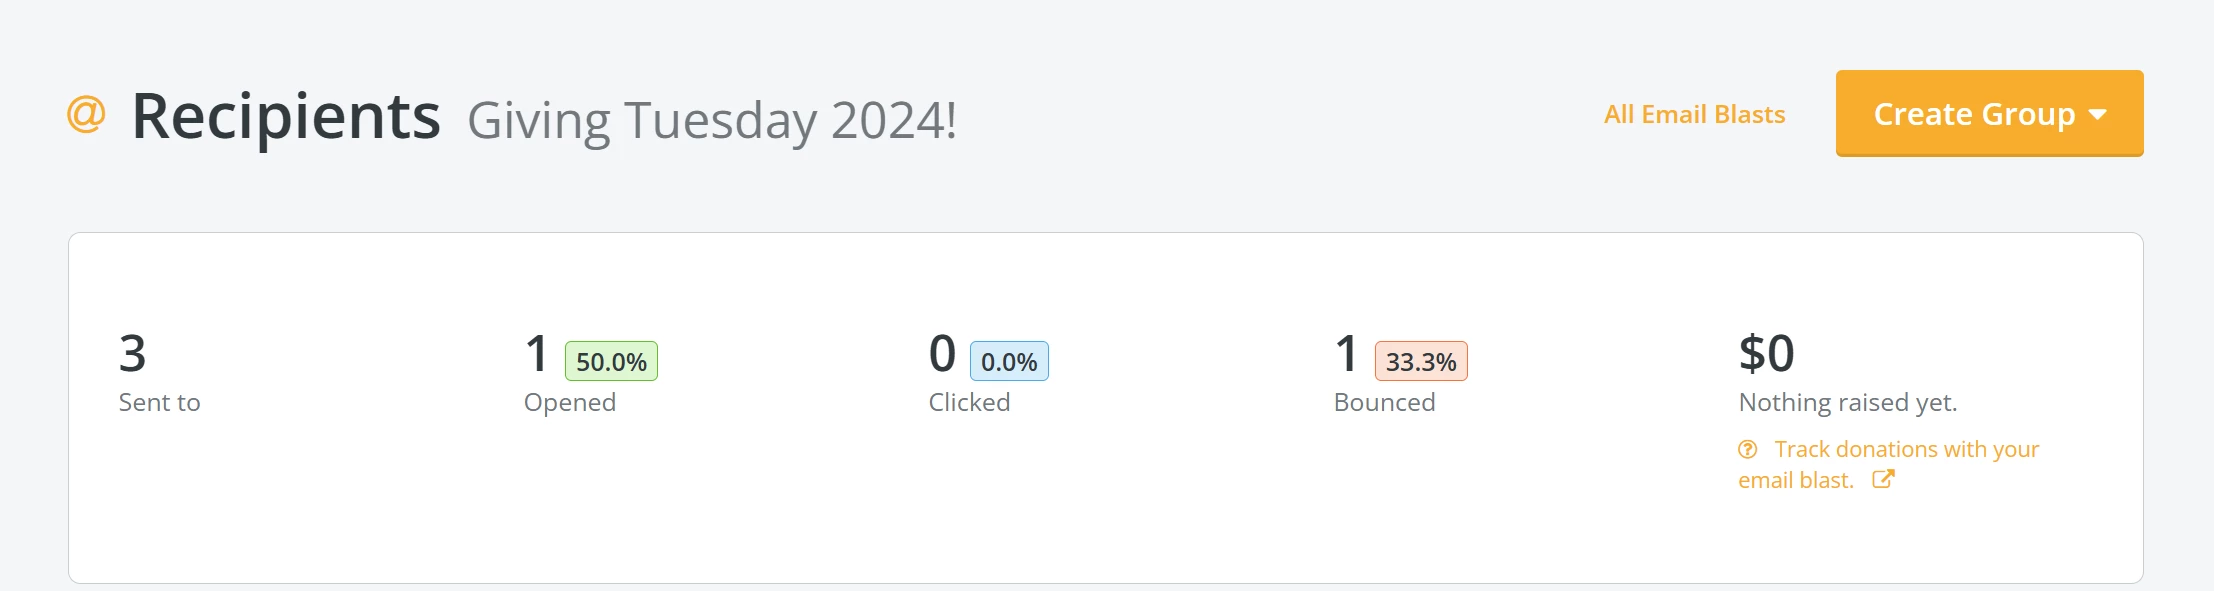
This will take you to the 'Recipients' page for that e-mail.
Step 3: Create 'Groups'
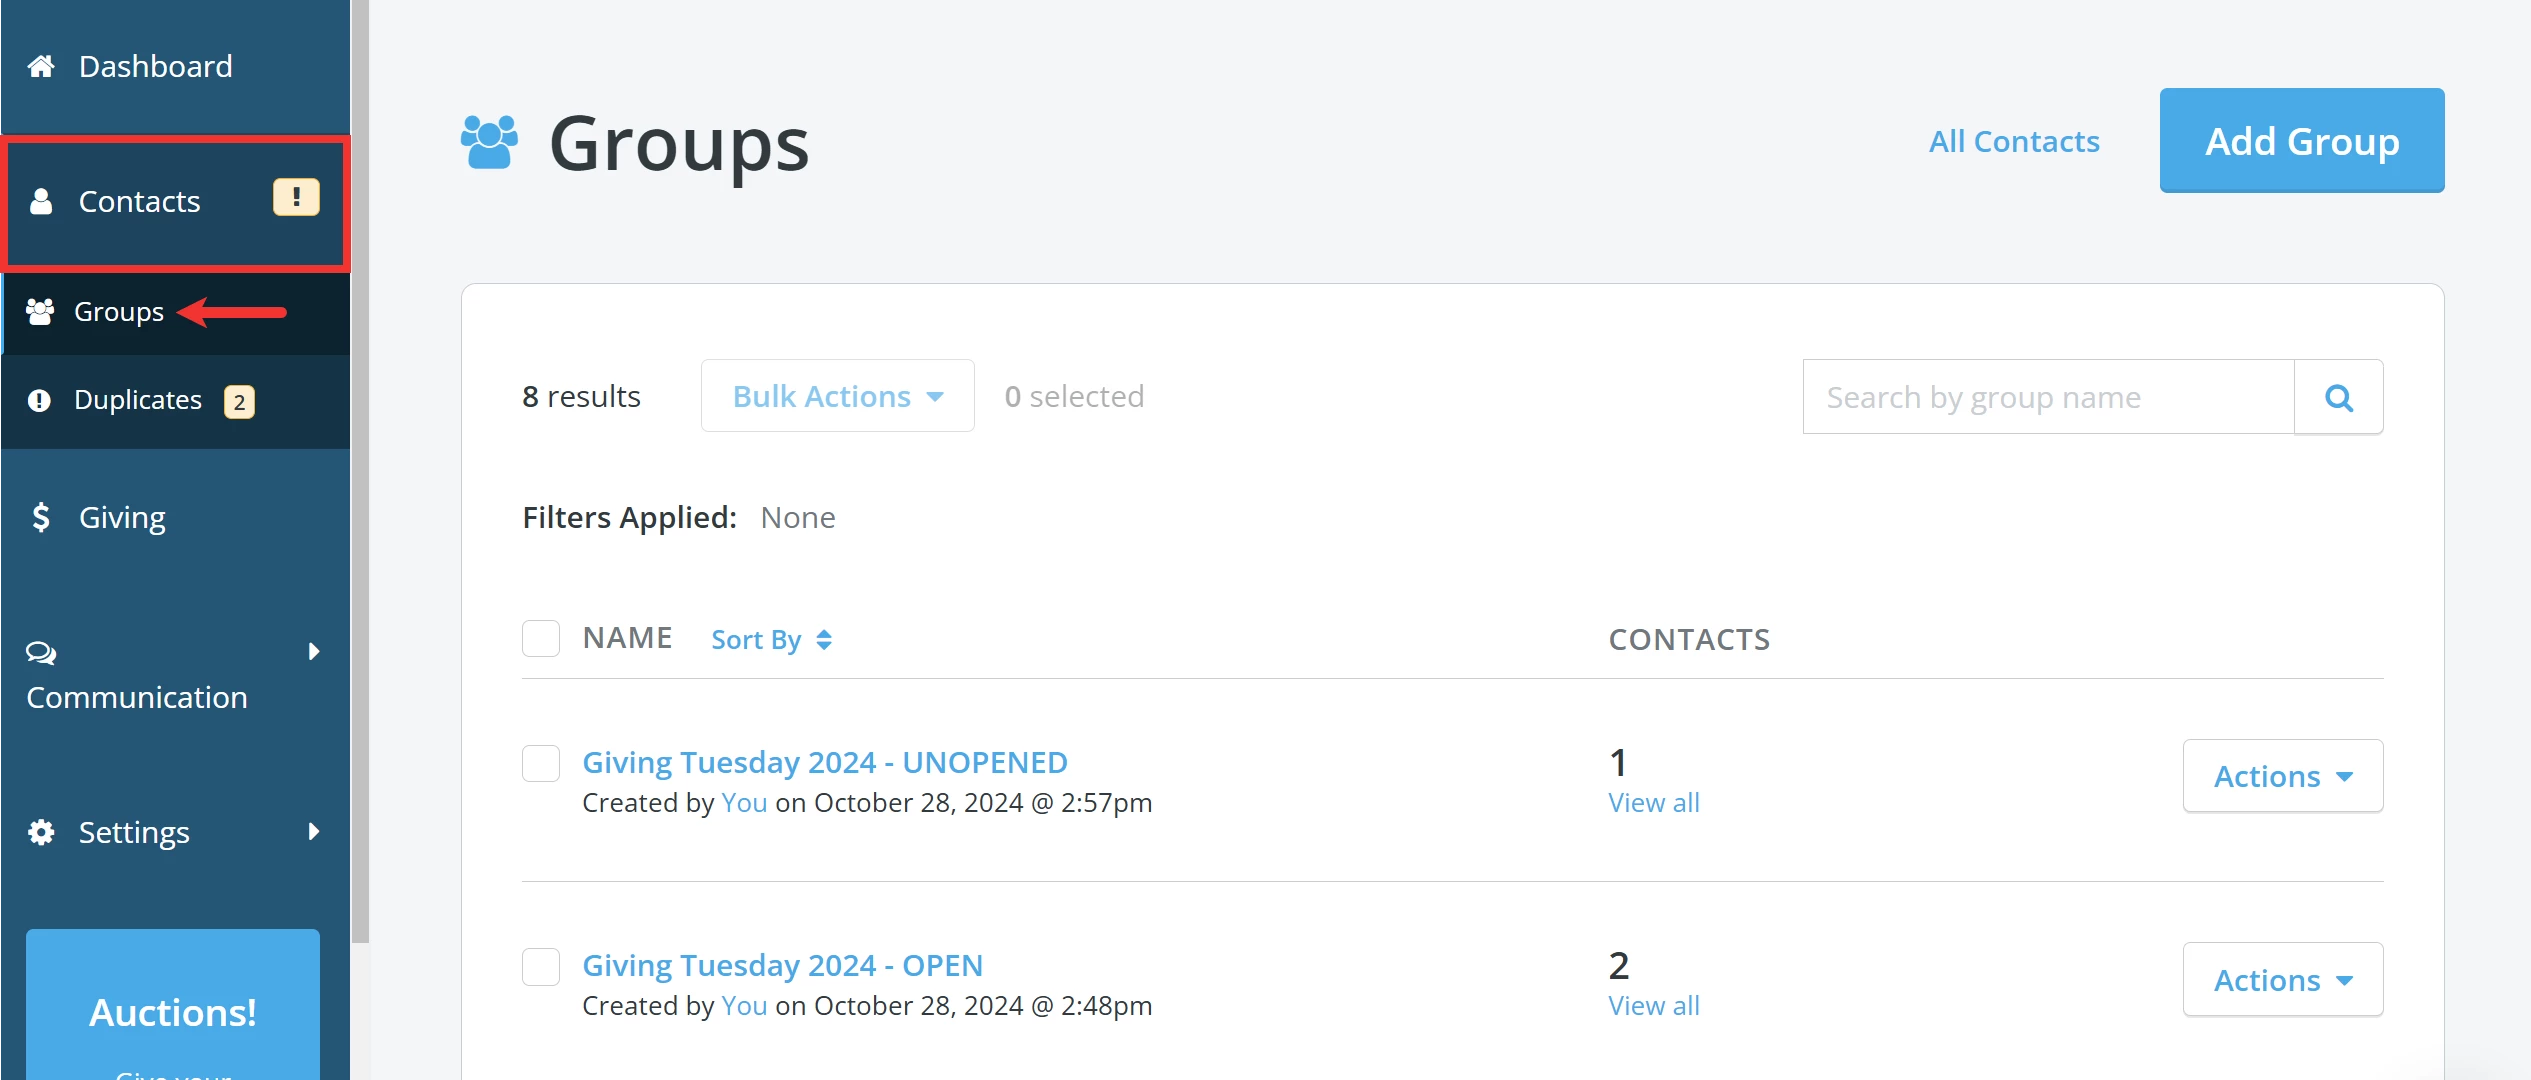
Click the 'Contacts' tab on the left navigation menu and select 'Groups'.
For this example, we created two groups - those who opened the e-mail and those who have not.
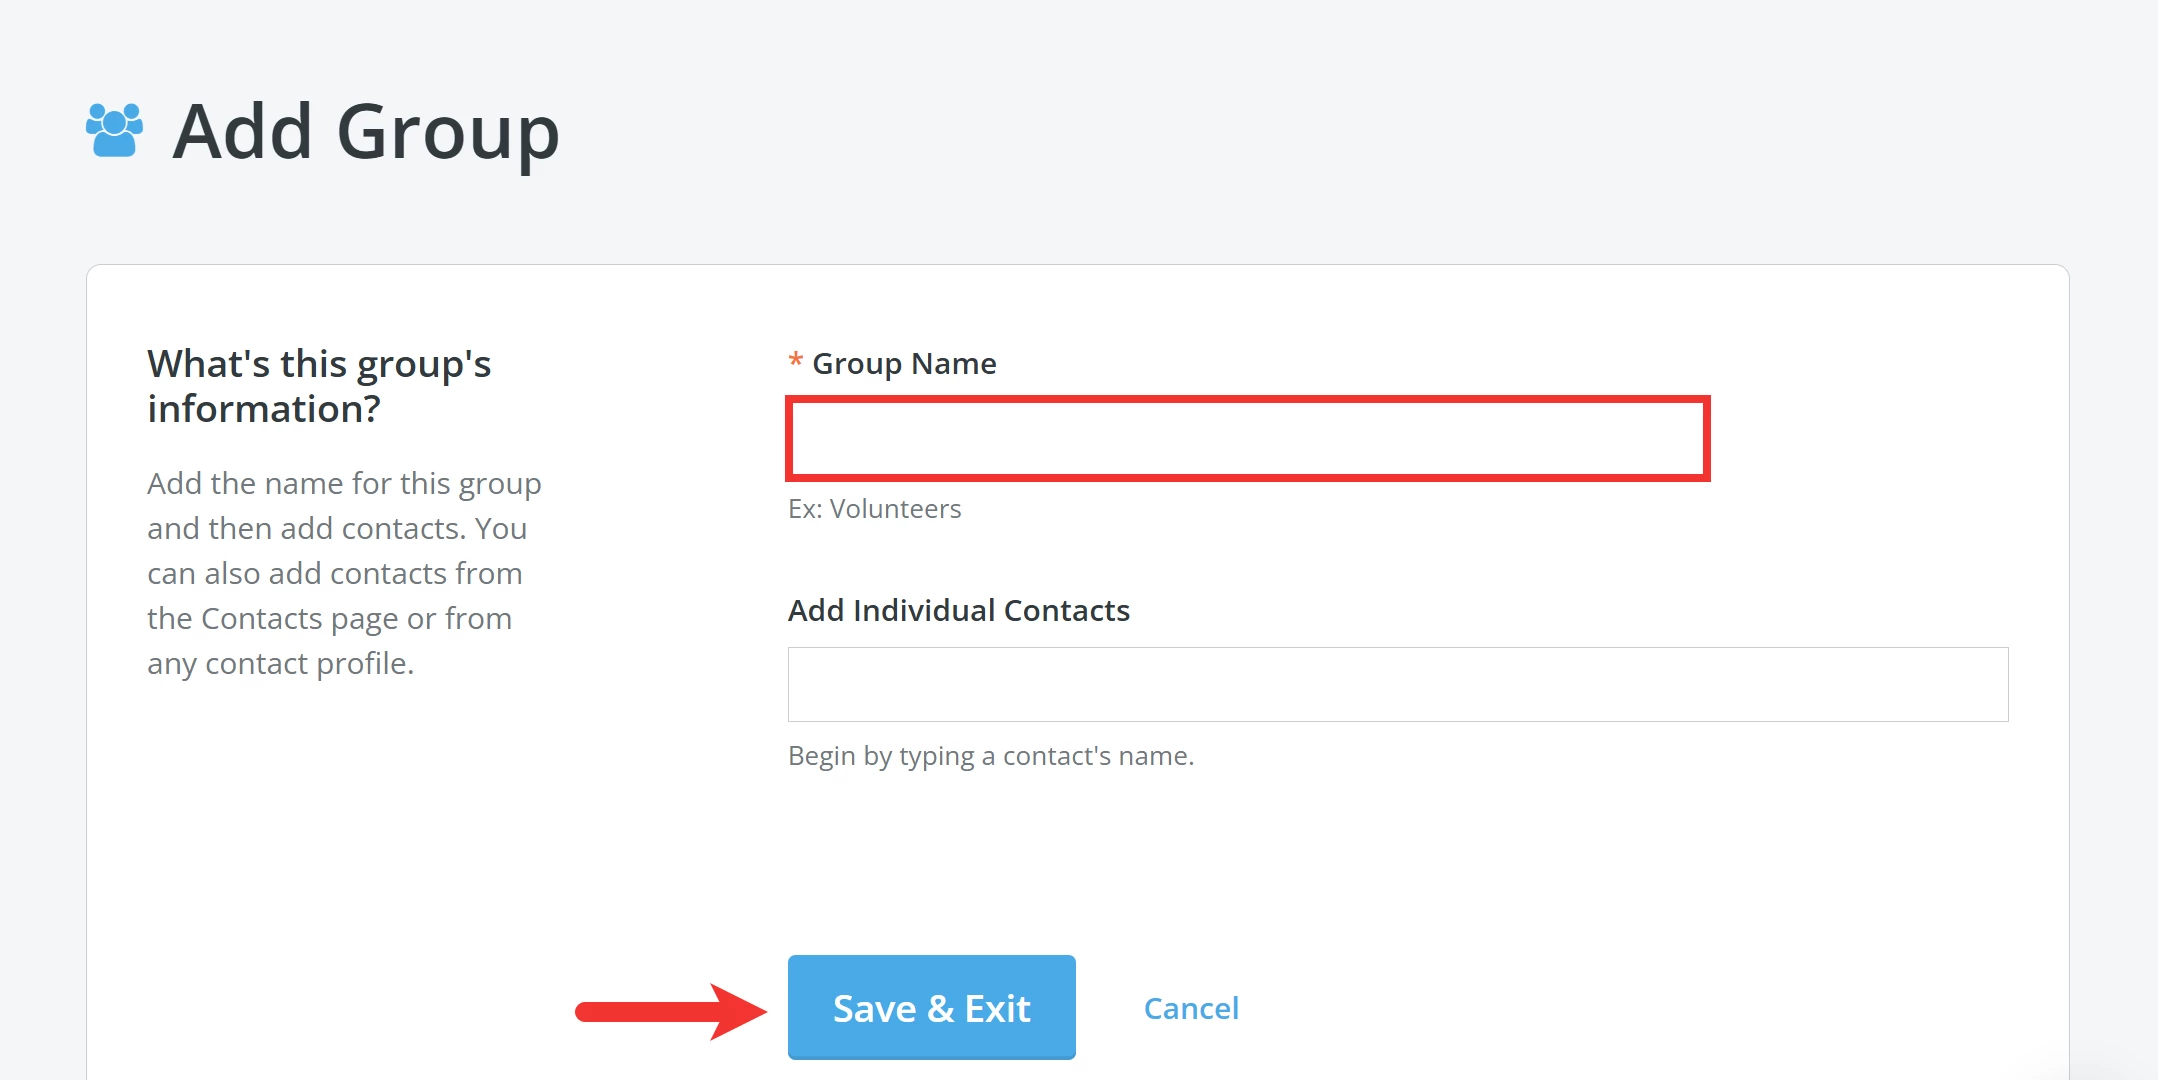
Click the 'Add Group' button in the upper right corner of the 'Groups' page.

Enter an easy-to-remember, recognizable name for your group and add your contacts. Once you are finished, click the 'Save & Exit' button.
Tip: We recommend you not create groups based solely on e-mail engagement. Groups are not dynamic and will not update retroactively. Once created, recipients included in a group will not change.
Step 4: Create a filter
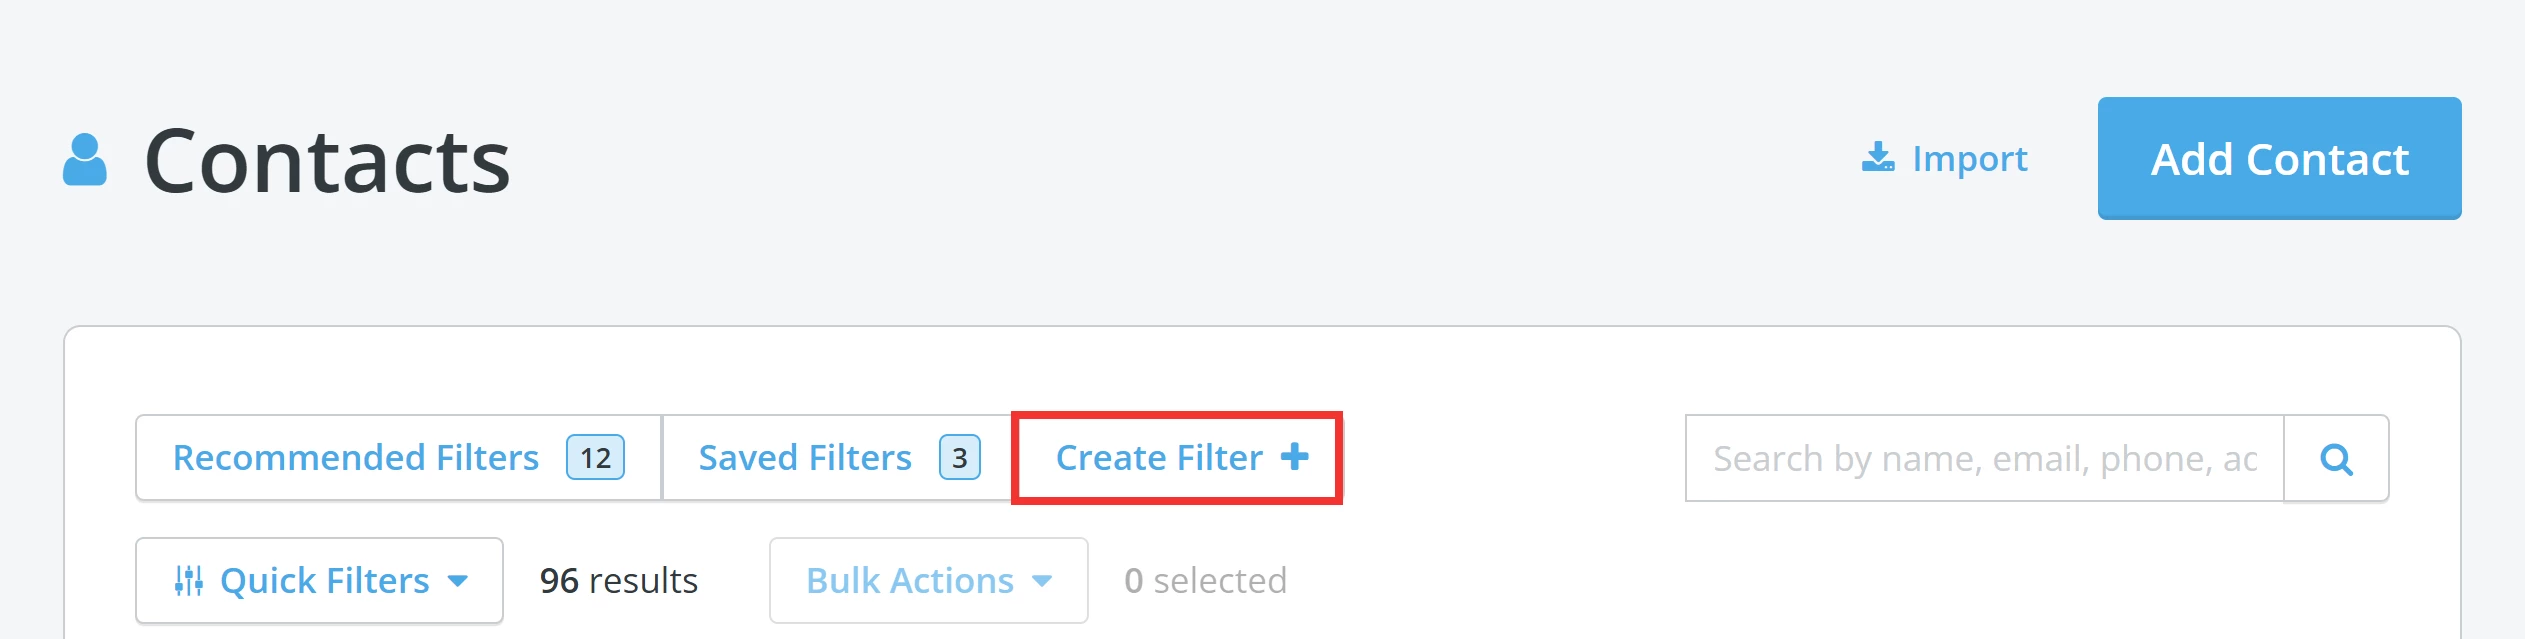
The next step is to click on the 'Contacts' tab once again to navigate to that section's main landing page, where you will want to click 'Create Filter+'
In our example, we want to follow up with folks who received the e-mail but have not donated to the campaign yet. To avoid sending this message to any donors who have already made their gift, we set this filter as 'not equal to'.

Clicking the 'Add Grouping' link, will allow you to add the groups you created. In this case, we included donors who opened the original e-mail and those who did not. We selected 'any' instead of 'all' from the drop-down underneath these two groups so, as a sentence this should read as something like this:
"Include all donors who have not donated to Giving Tuesday 2024 - any donor who opened the e-mail and any who did not."
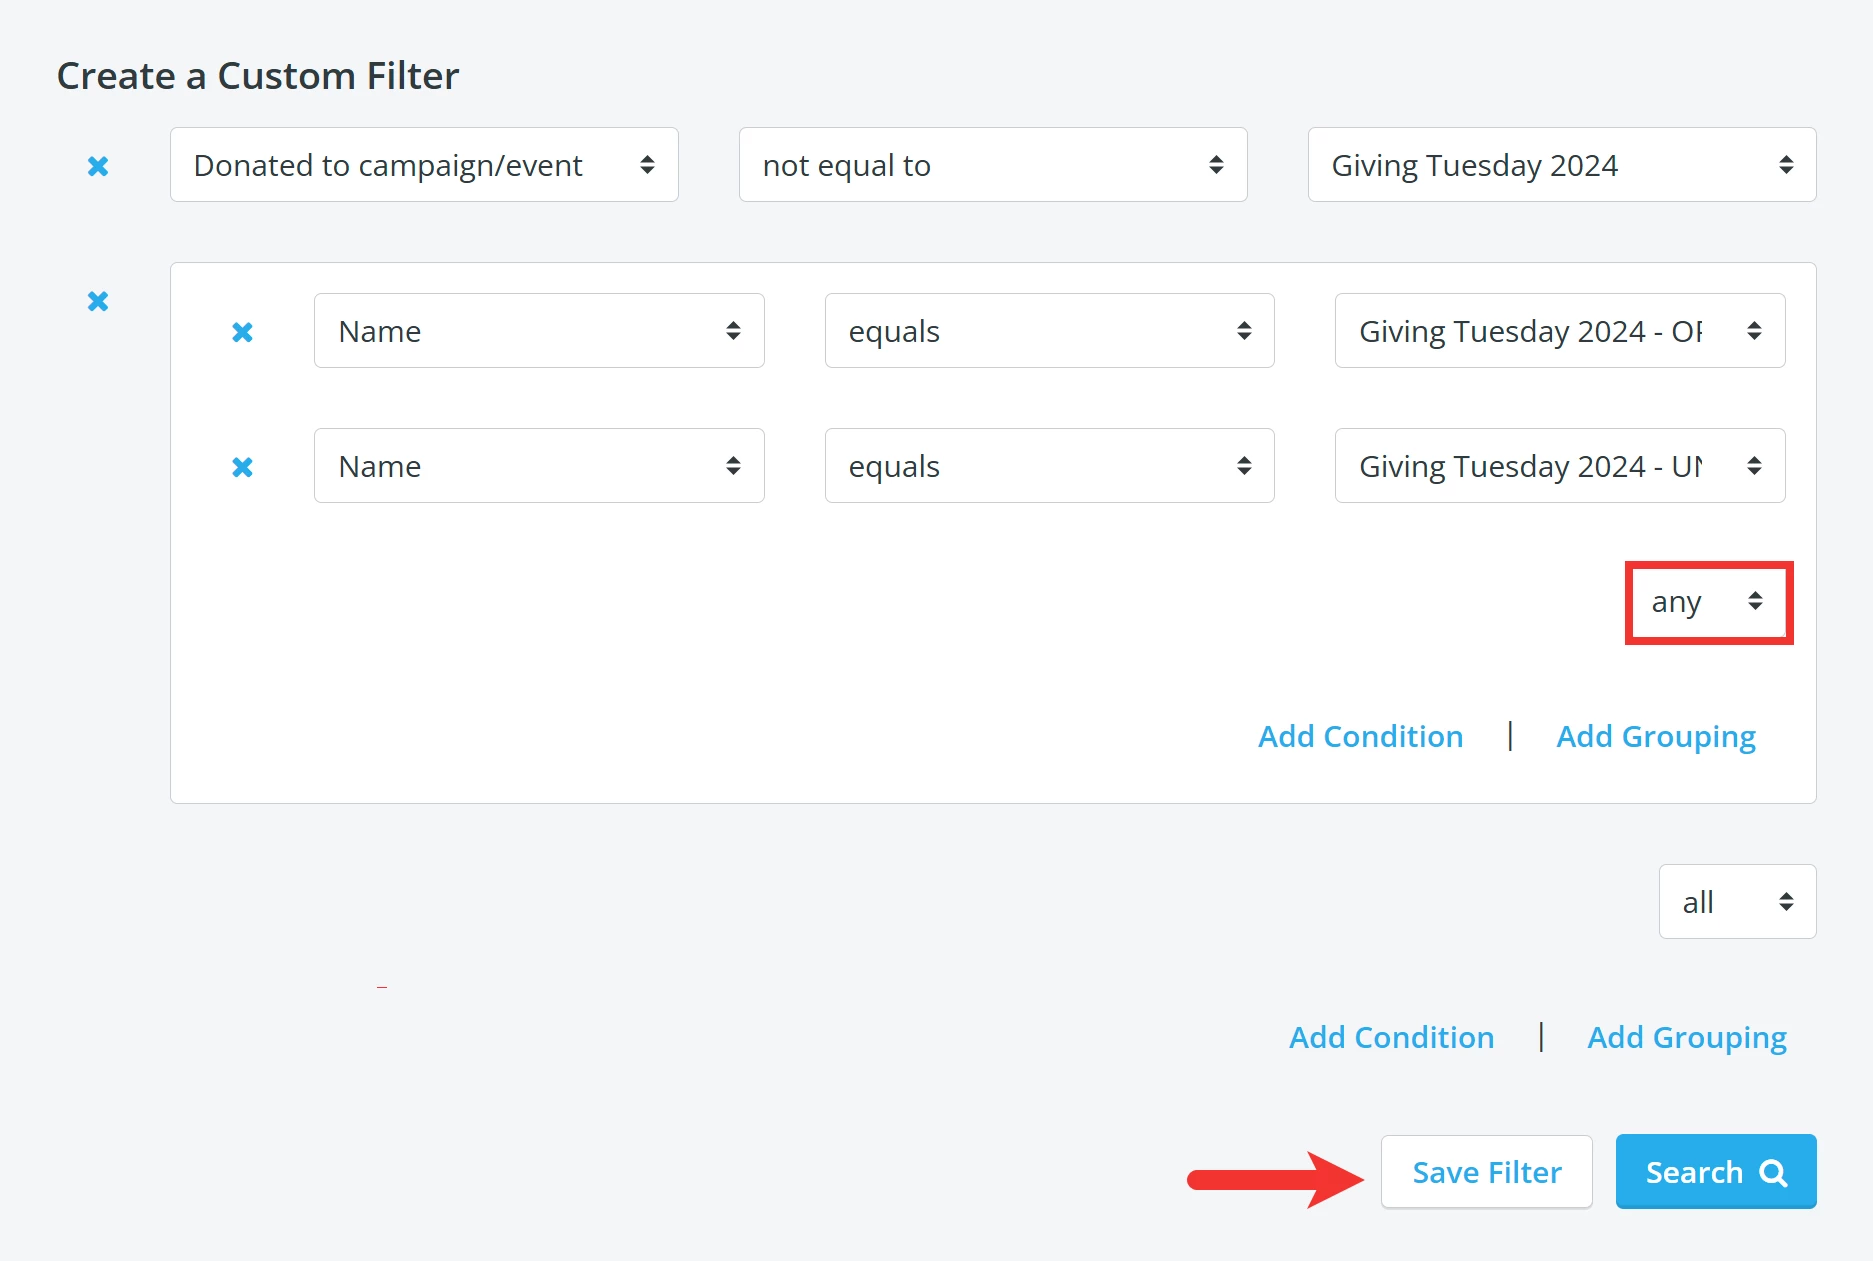
When you are ready, click the 'Save Filter' button to move on to the next step!
Step 5: Create your recipient list
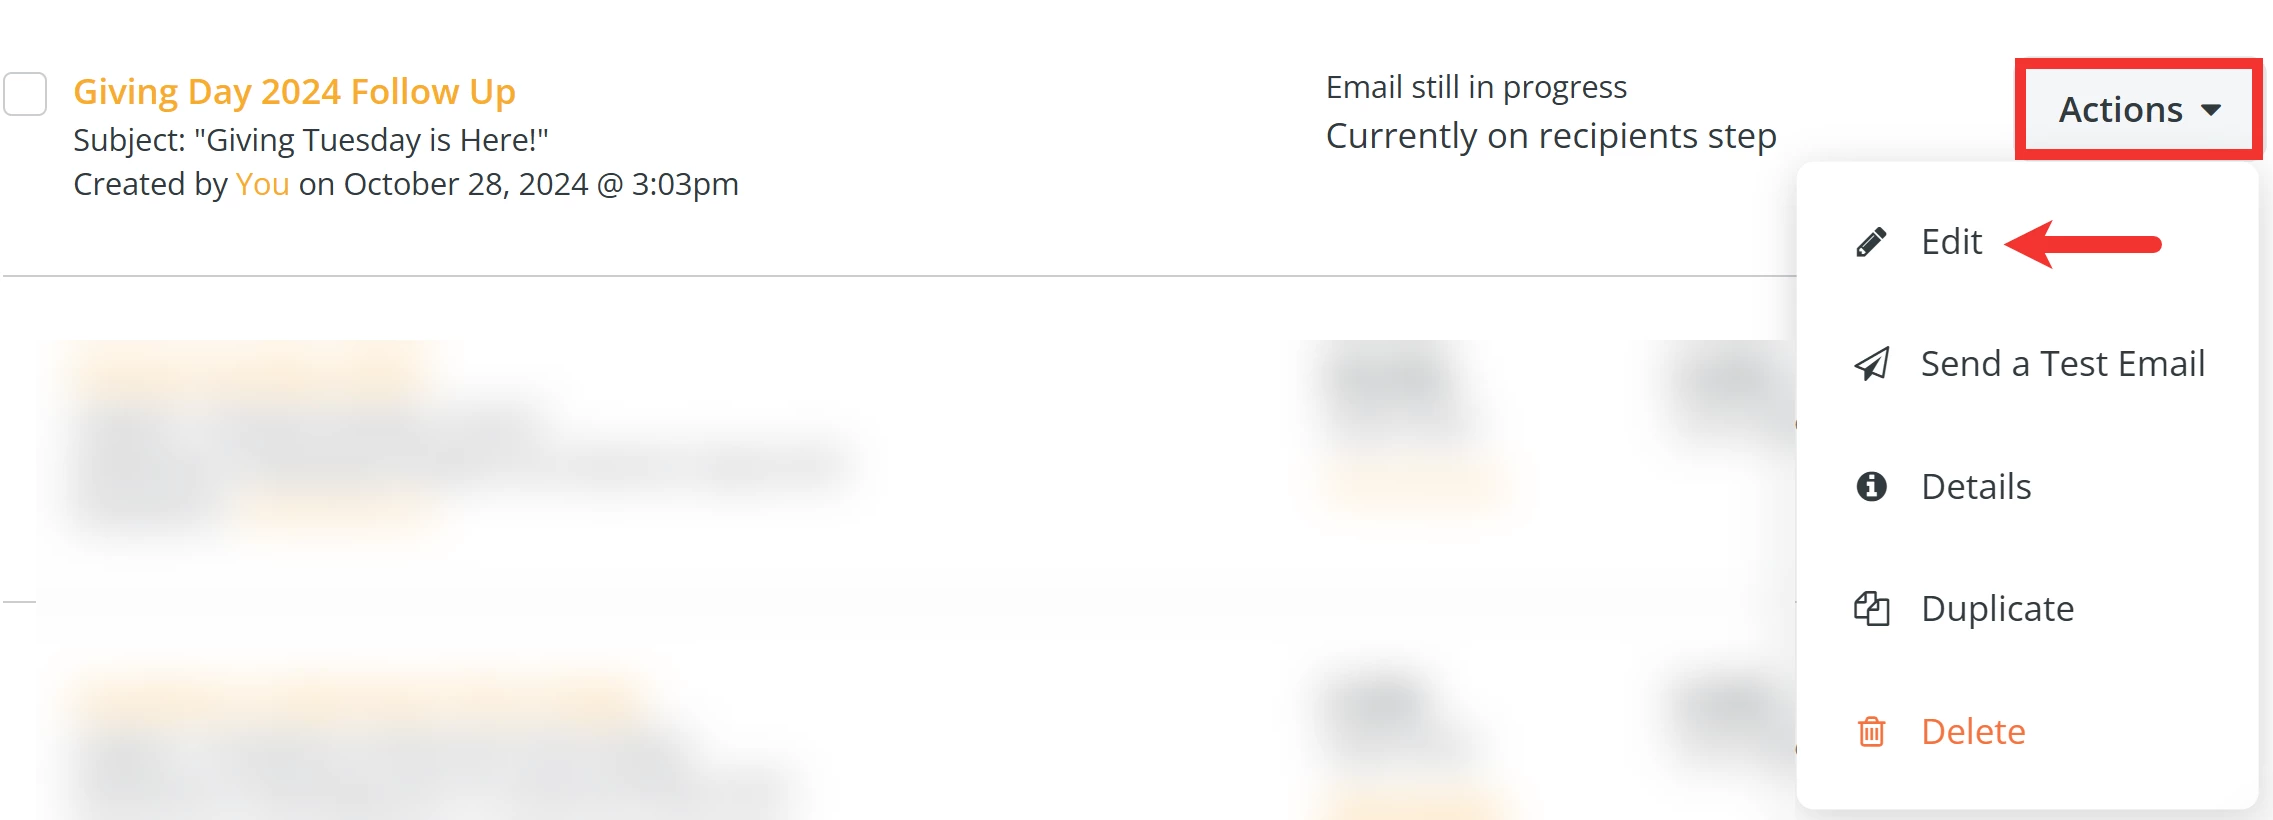
Navigate back to your 'Email Blasts' and locate your drafted message. Click the 'Actions' button next to it and select 'Edit' from the drop-down menu.
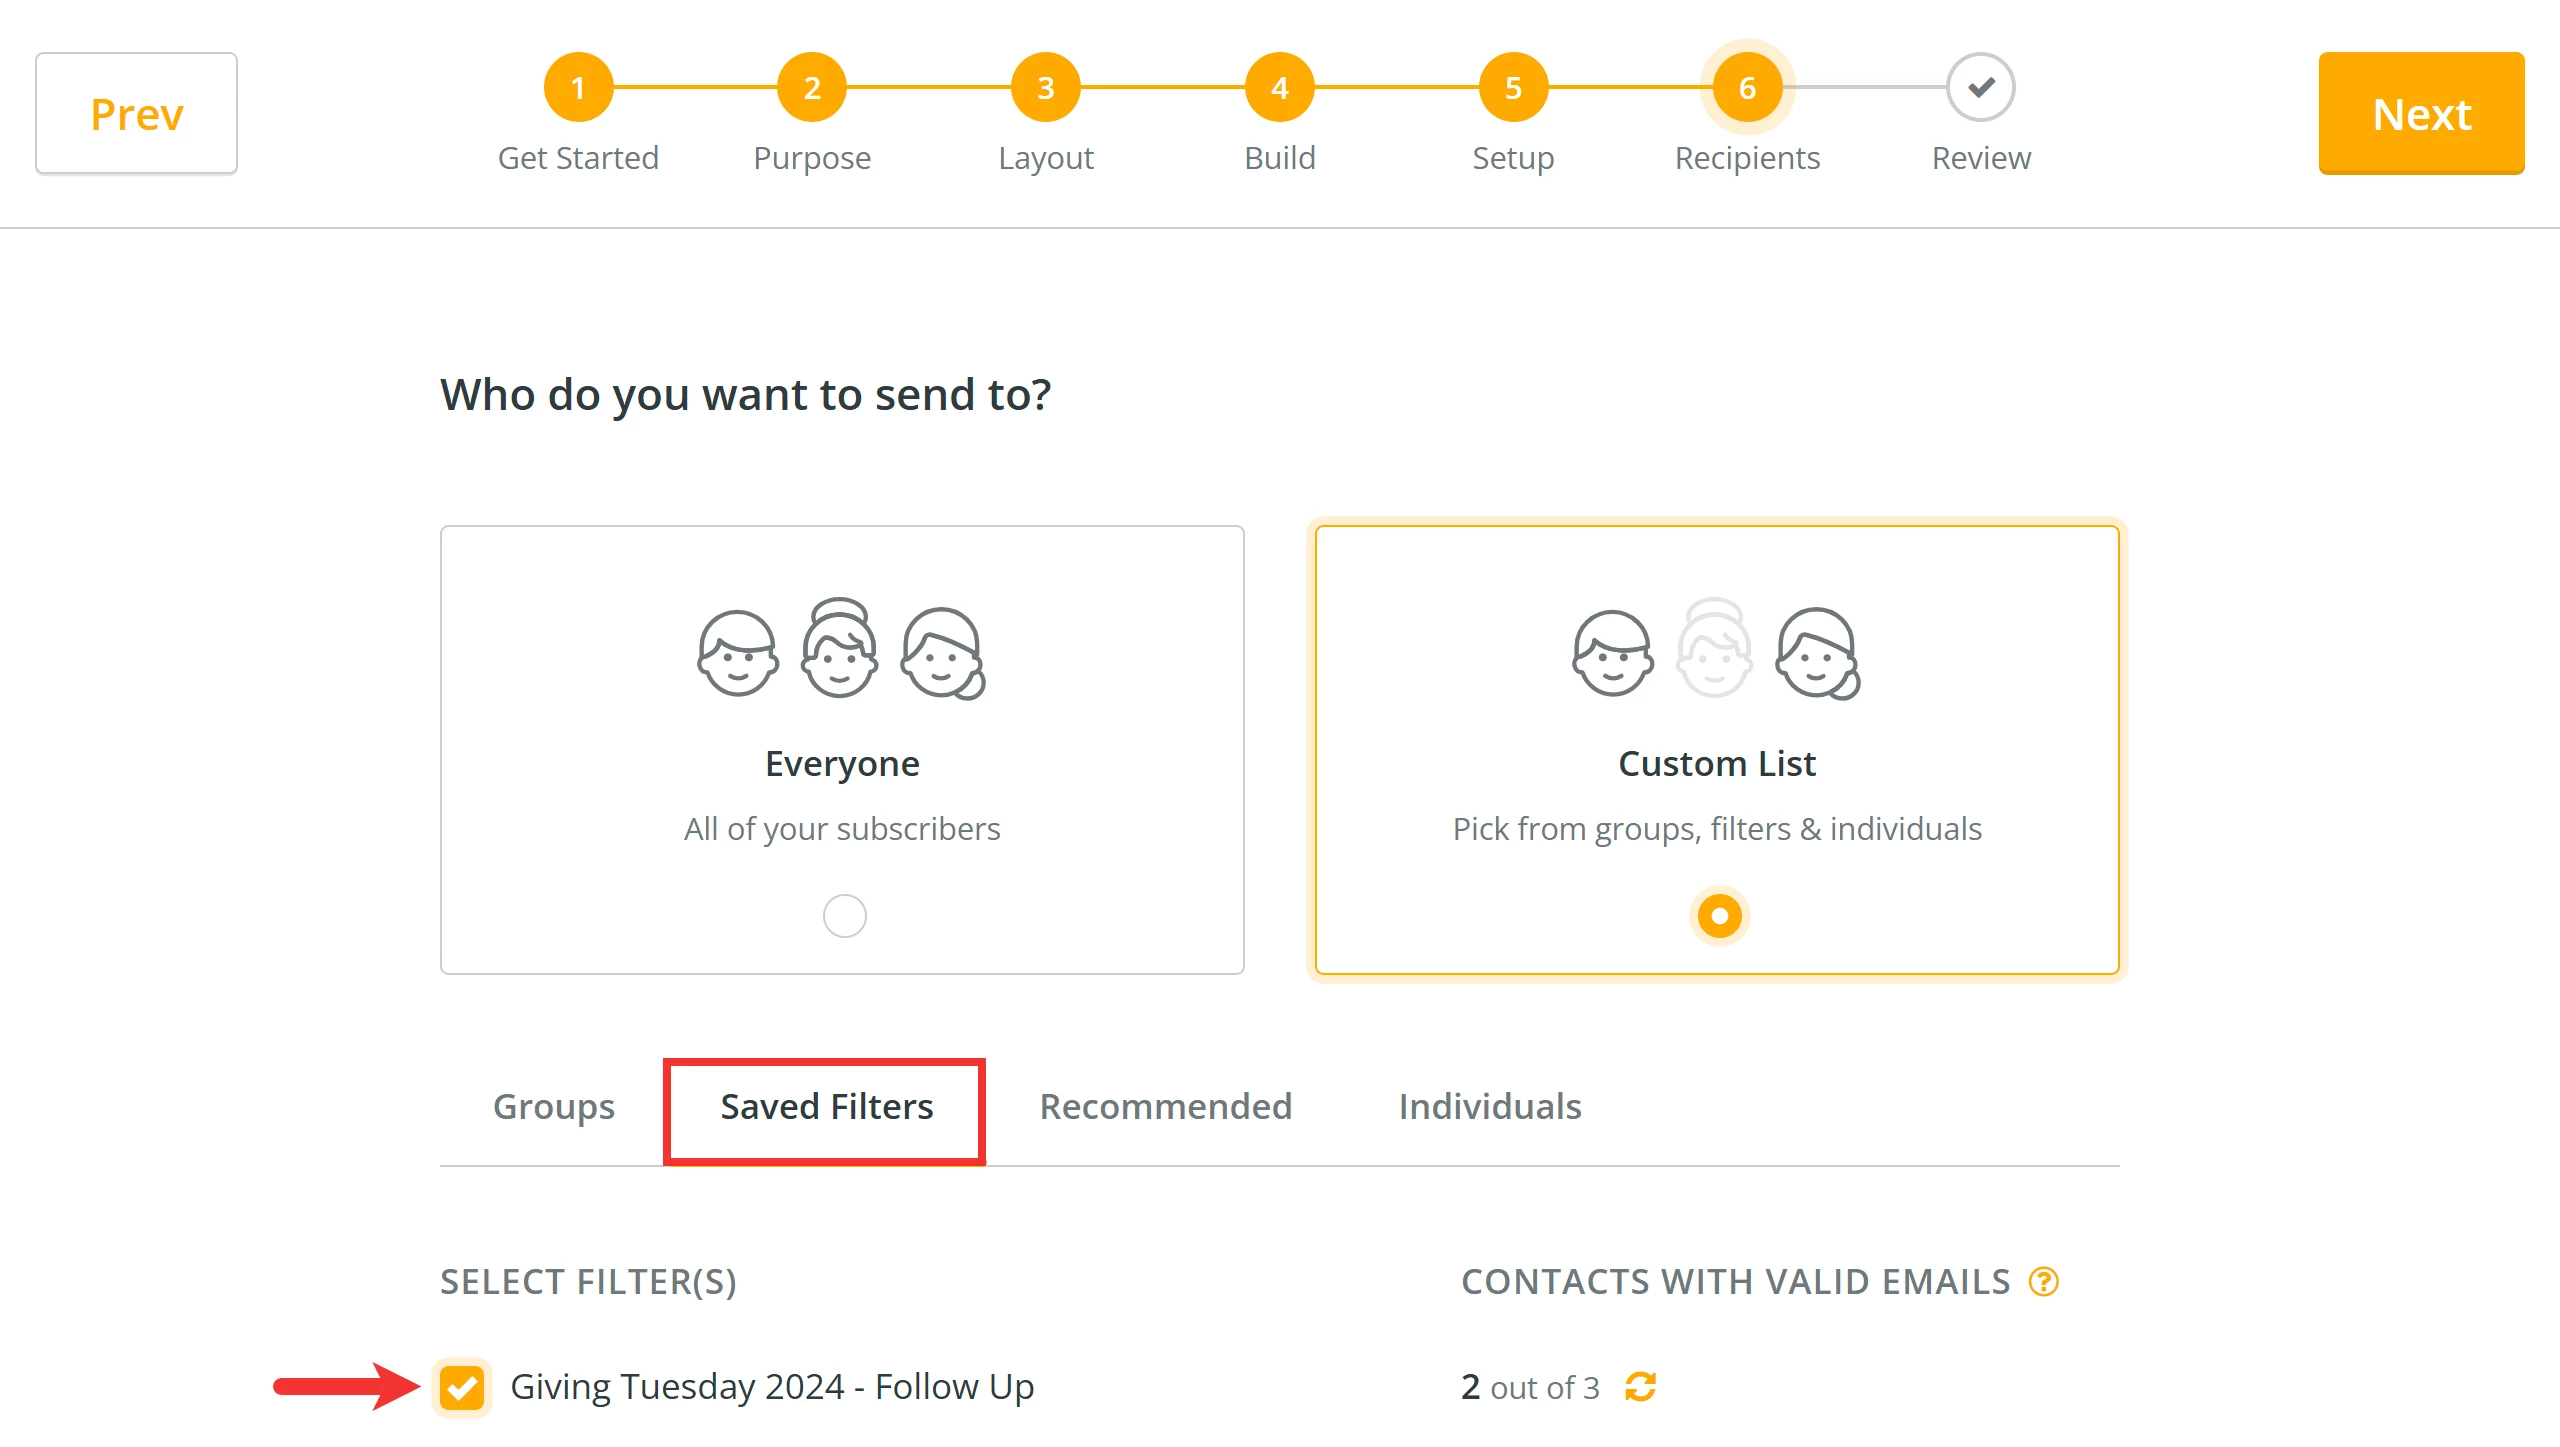
You will be brought back to the onboarder. In Step 6 ('Recipients'), select the 'Custom List' option to choose who you want to receive the message.
Select the saved filter you created under the corresponding tab.
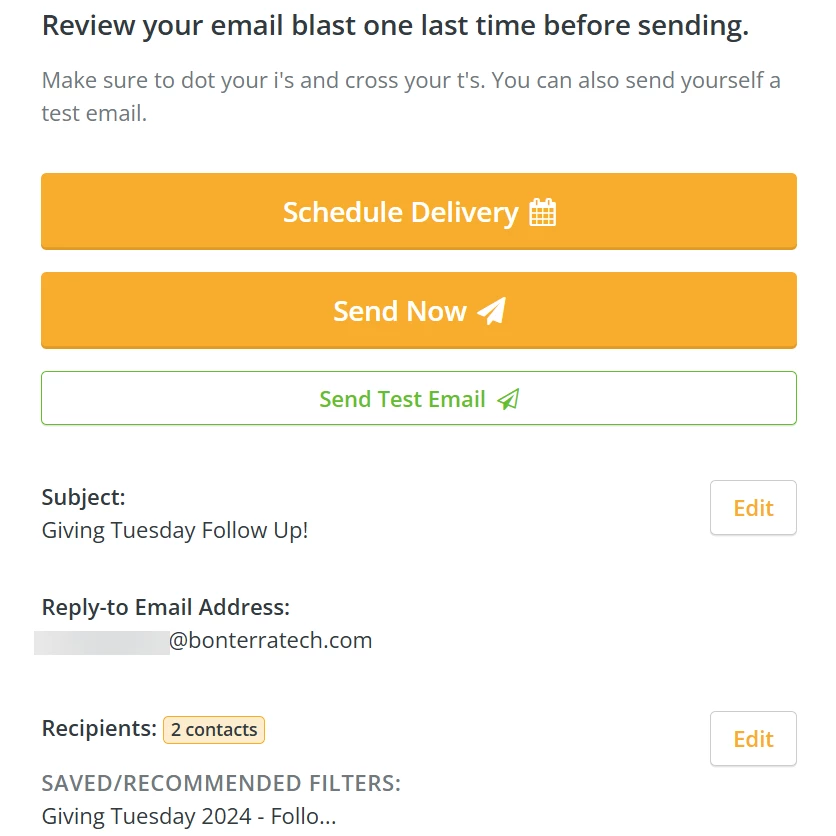
Step 6: Review and send your e-mail blast!
Finally, carefully review your e-mail blast before scheduling delivery or sending it out! The pane on the right will display details including the subject line, reply-to e-mail address, and the recipients your e-mail will be sent to.
Tip: We recommend clicking the 'Send Test Email' button to send a copy of your e-mail to yourself or a colleague to check everything appears correct.
What else do you need help with?
Not quite what you were searching for?
Navigate back to the Feature Overview.
Looking for training?
Explore this feature at your own pace - join a live training session or watch a recorded webinar by clicking the link below.