

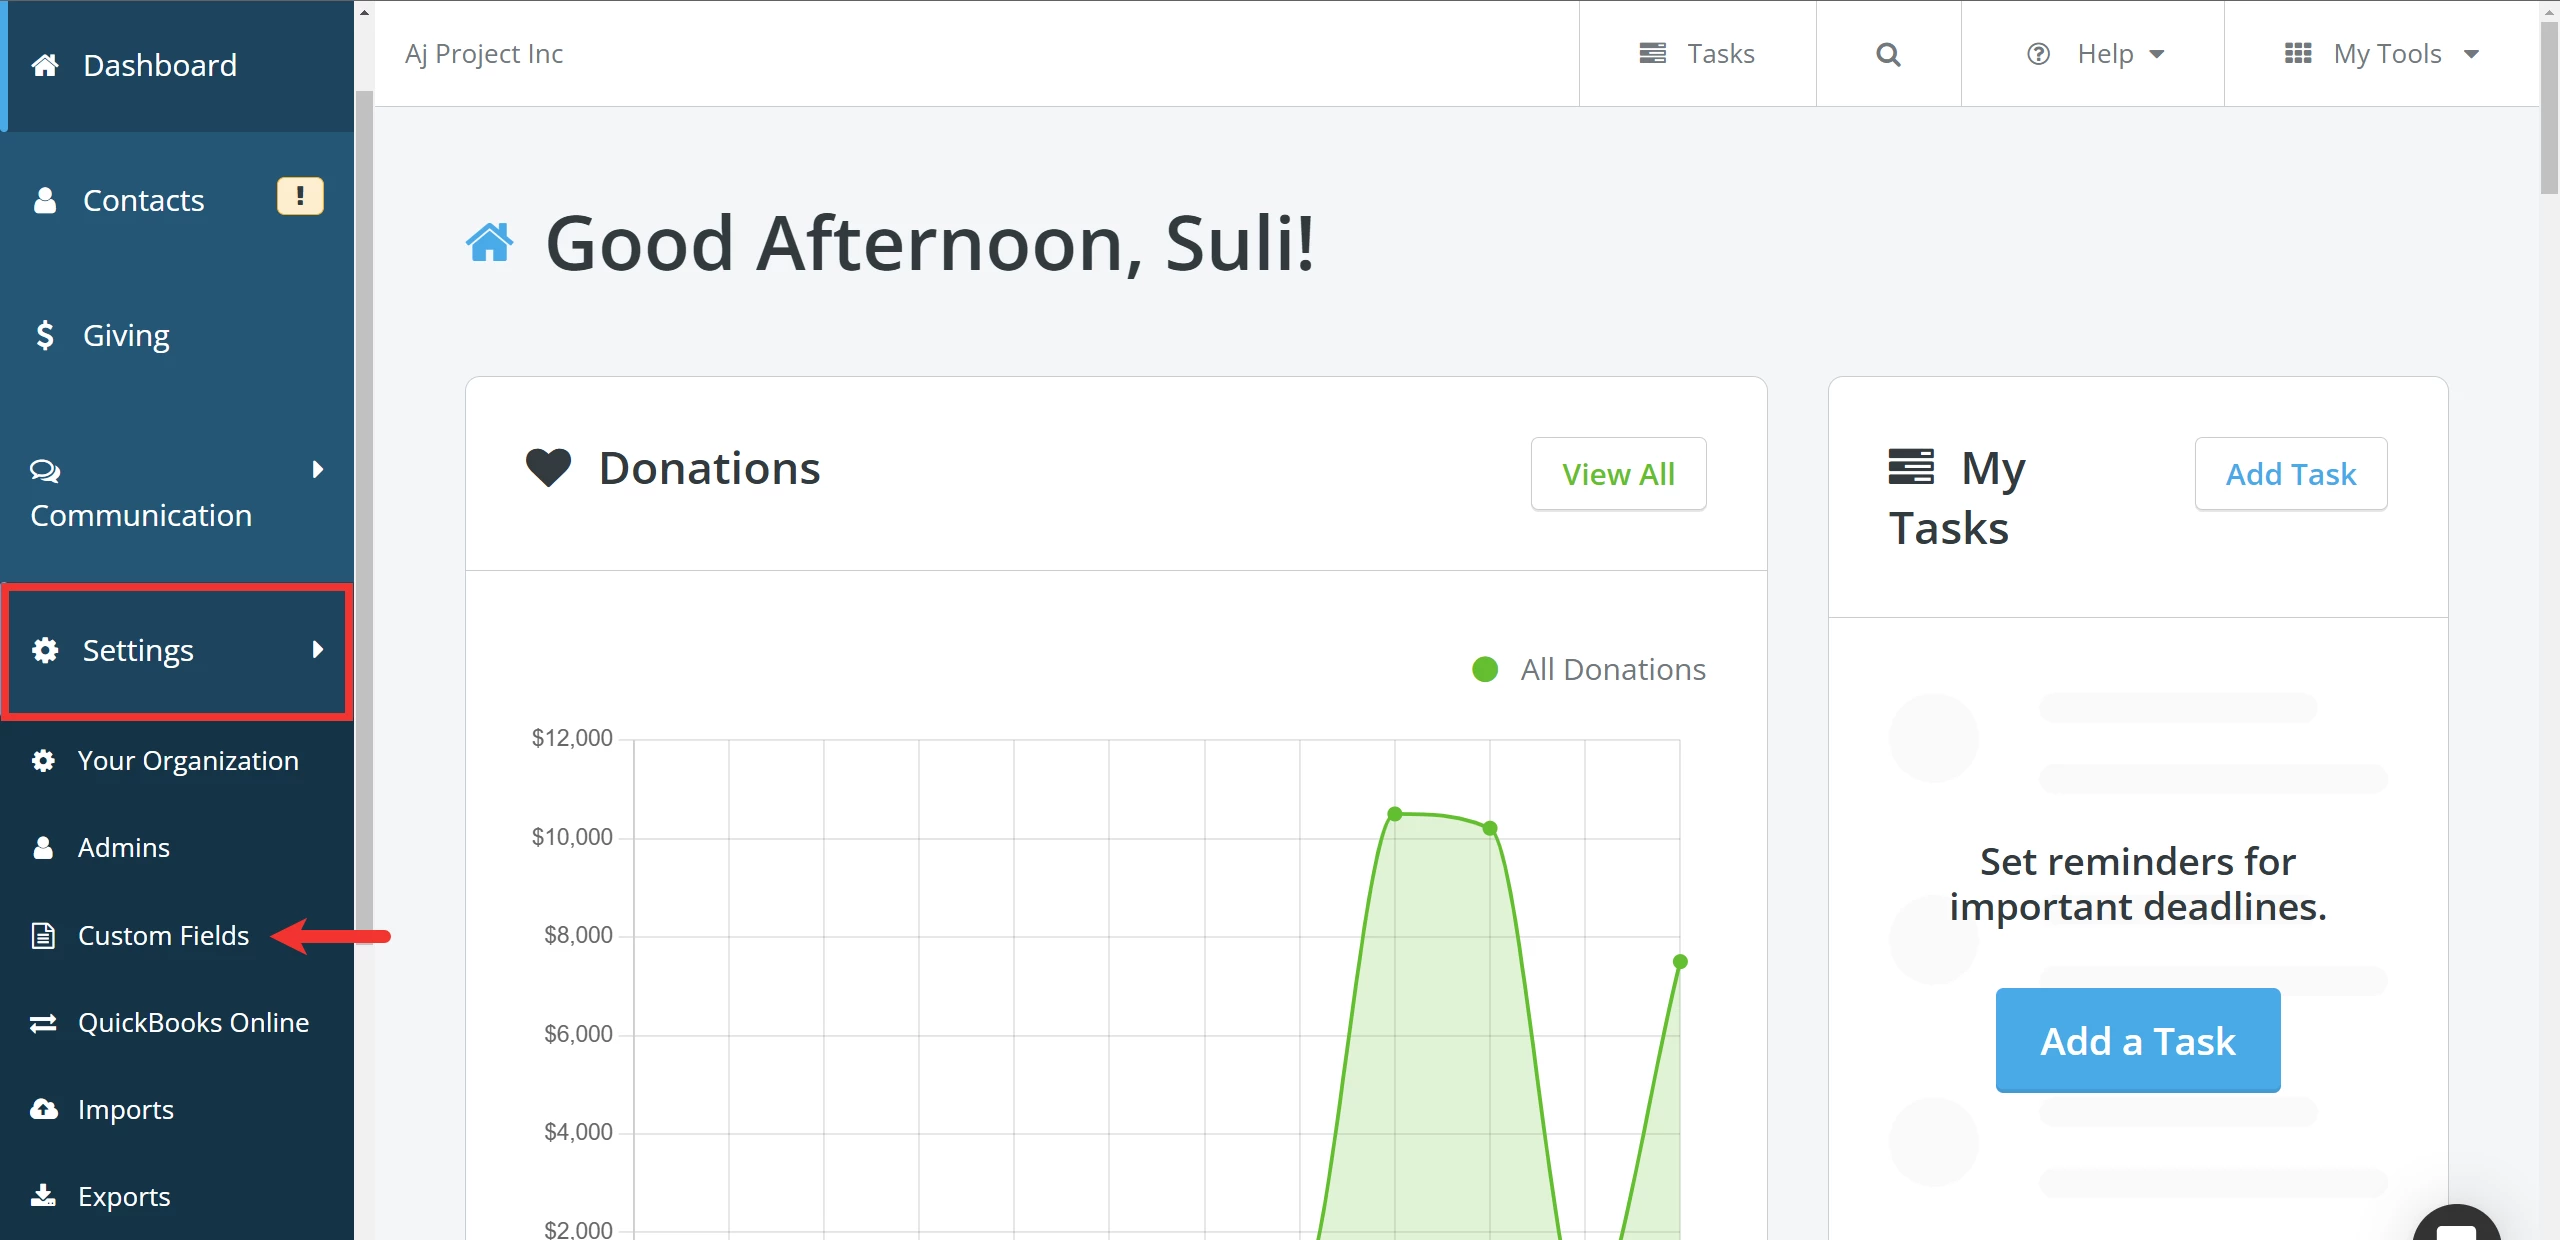
Step 1: Navigate to 'Custom Fields'
From your 'Donor Management' Dashboard, click the 'Settings' tab on the left navigation panel and select 'Custom Fields' from the drop-down list of options.
Step 2: Create 'Contact Custom Fields' to track membership
Need a refresher on creating custom fields? Reference this article.

Step 3: Manage custom fields for new and existing contacts
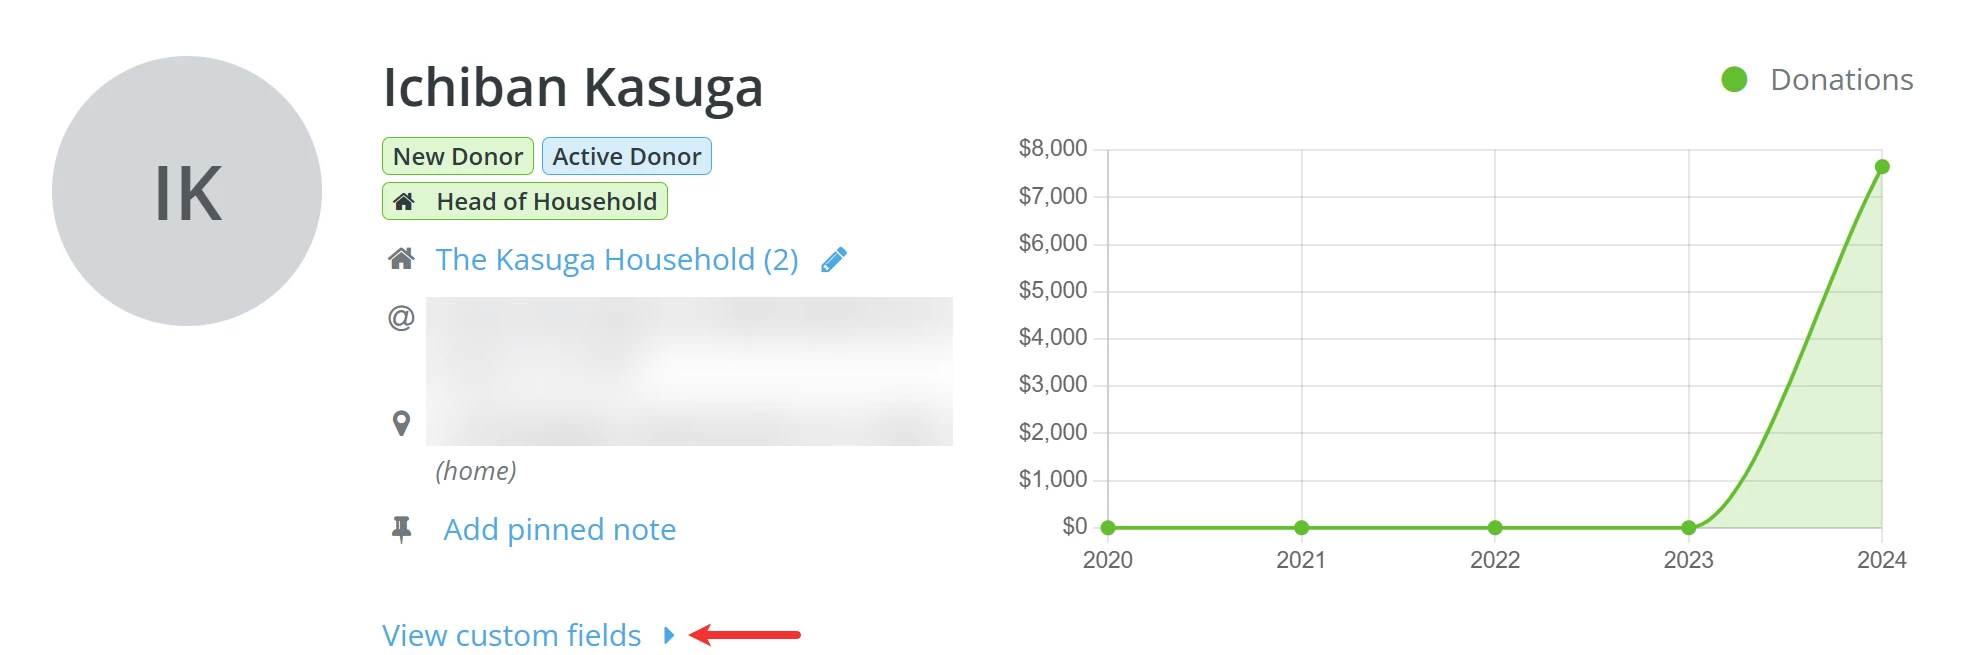
You can add responses for those custom fields when creating a new contact or edit existing records.
Click the 'View custom fields' link on a contact's record.
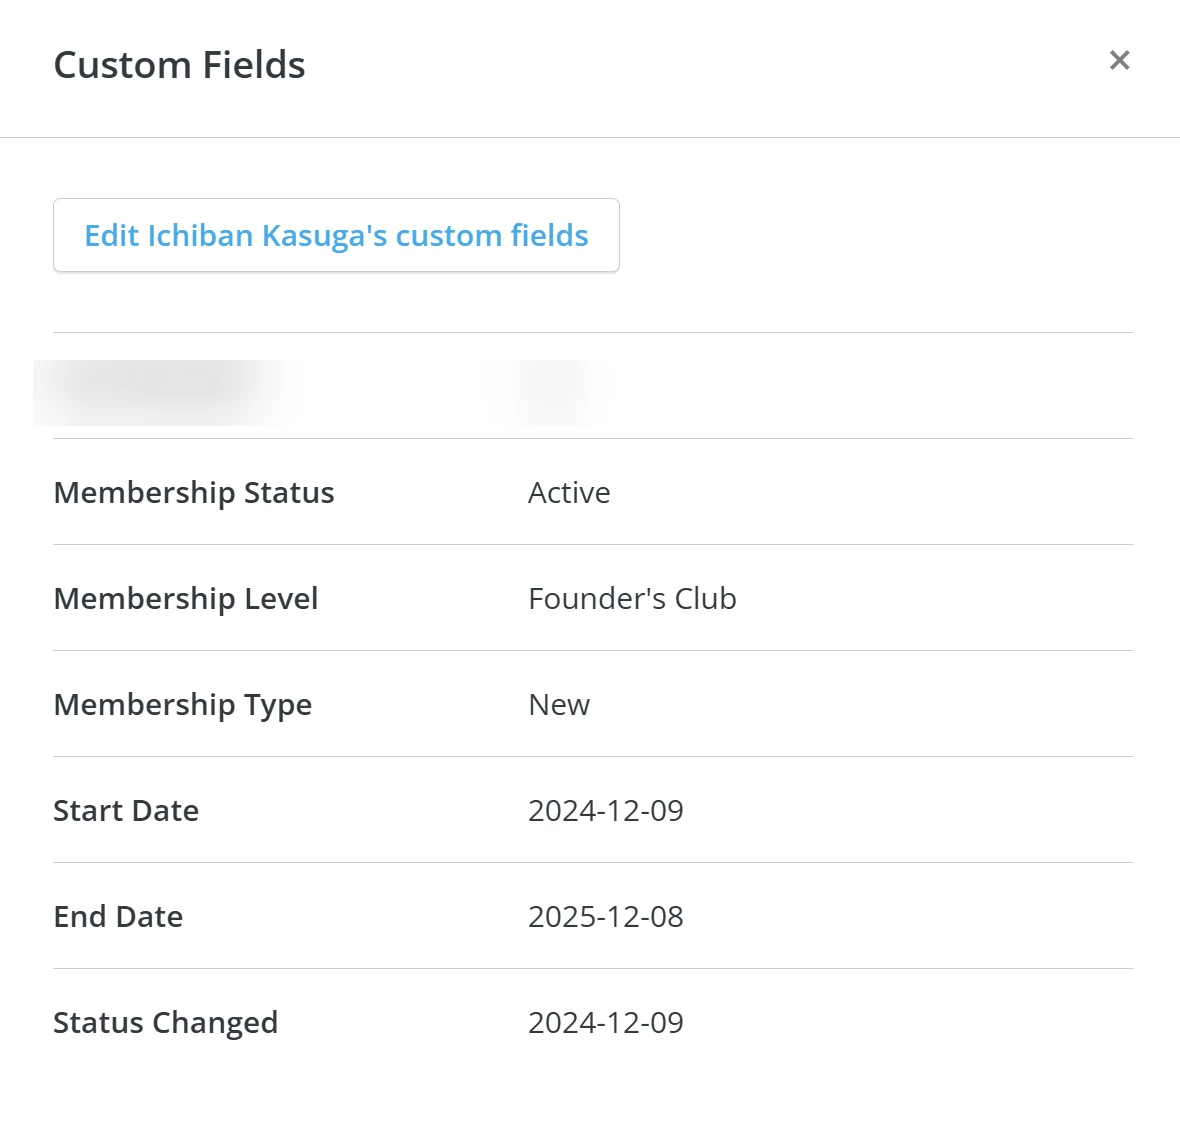
A pop-up window will appear with the option to edit the contact's custom fields and a summary of their details.
Note: If you are migrating from another system that uses similar fields, please indicate this when sending your membership records to our Import team. They will create corresponding custom fields while importing your information into your 'Donor Management' system.
What else do you need help with?
- How do I add a contact record for an individual?
- How do I create a group of contacts?
- How do I add an individual contact to a group?
- How do I add multiple contacts to a group?
- How do I manage membership renewals in ‘Donor Management’?
- How do I report on memberships in ‘Donor Management’
Not quite what you were searching for?
Navigate back to the Donor Management Index.
How do I track memberships in Donor Management? | How do I create a custom field for memberships? | Where do I manage membership status on a contact record? | How do I record member levels in Network for Good? | Can I import membership data into Donor Management? | How do I update membership information for existing contacts? | How do I use custom fields to track membership renewals?